Sunday, February 10, 2013

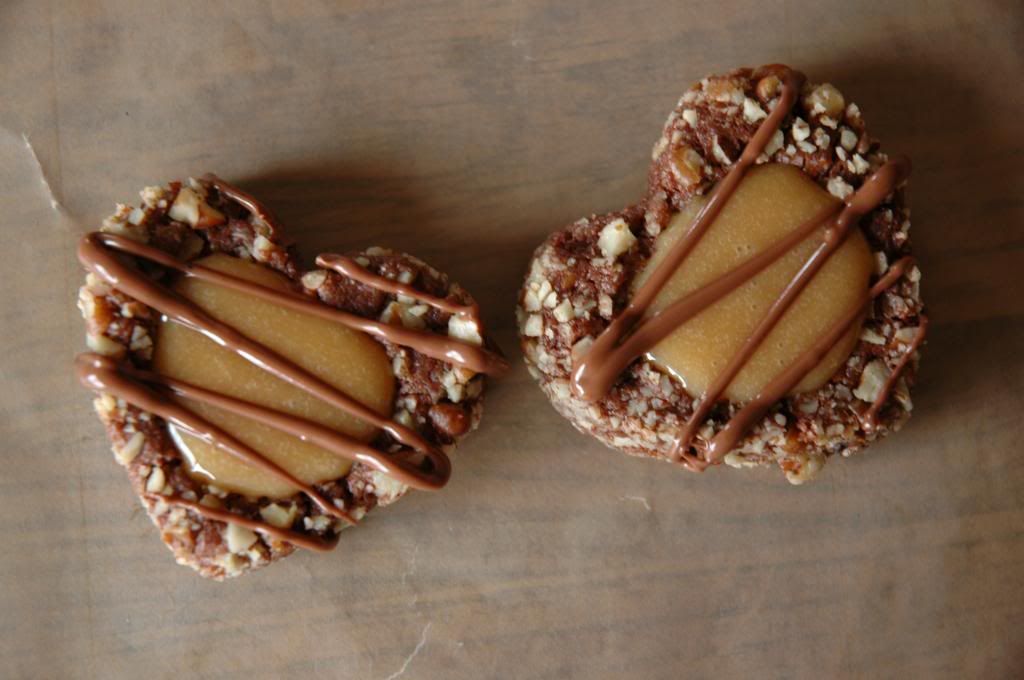
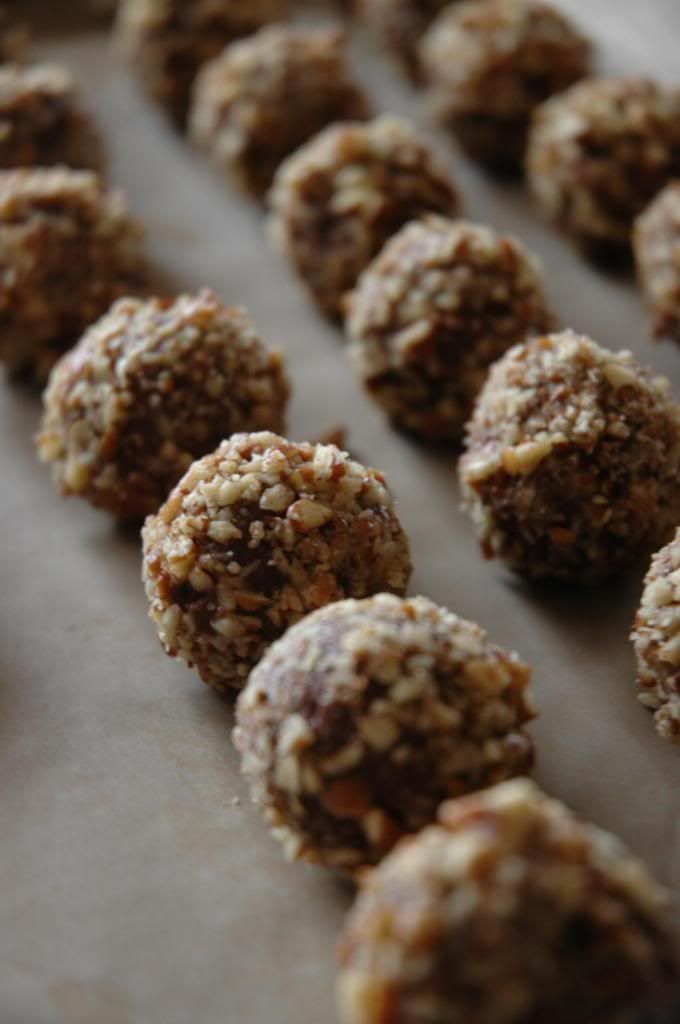
Salted Caramel Turtle Heart Cookies

Pin It
You know, I initially wanted to make turtle cookies that looked like the actual animal. I had it all envisioned -- a fat head and plump little flippers. Well given the time of the year and my shabby sculpting skills, heart shaped turtle cookies seemed like the better choice. Maybe my turtles will take form in icebox cookies later this year. Oh, which reminds me, Happy Lunar New Year! I hope those on the east coast got to celebrate!
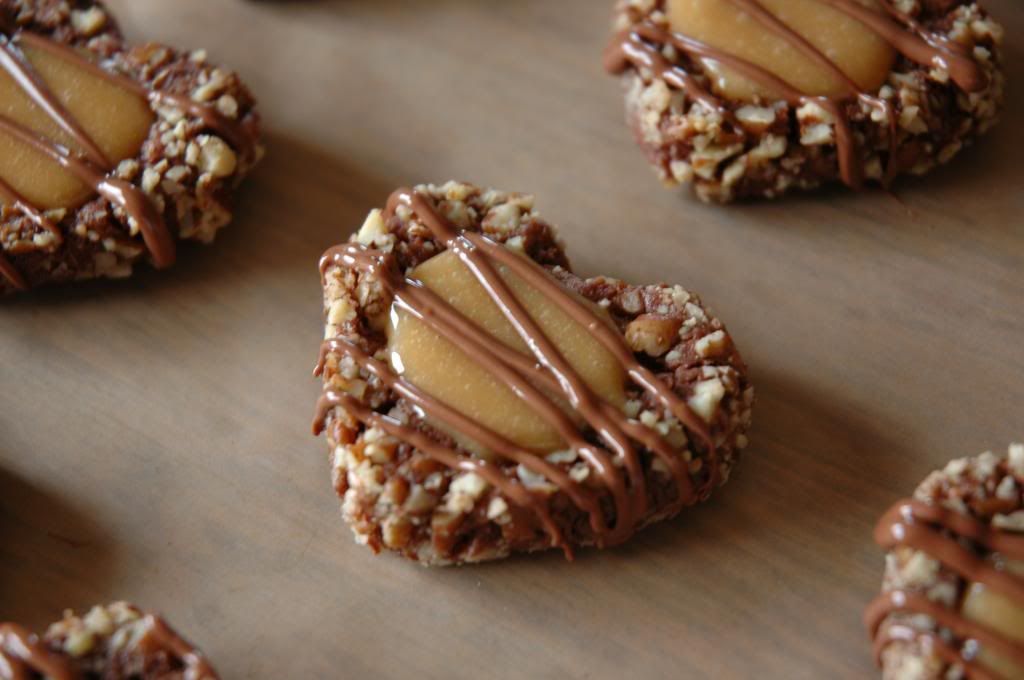
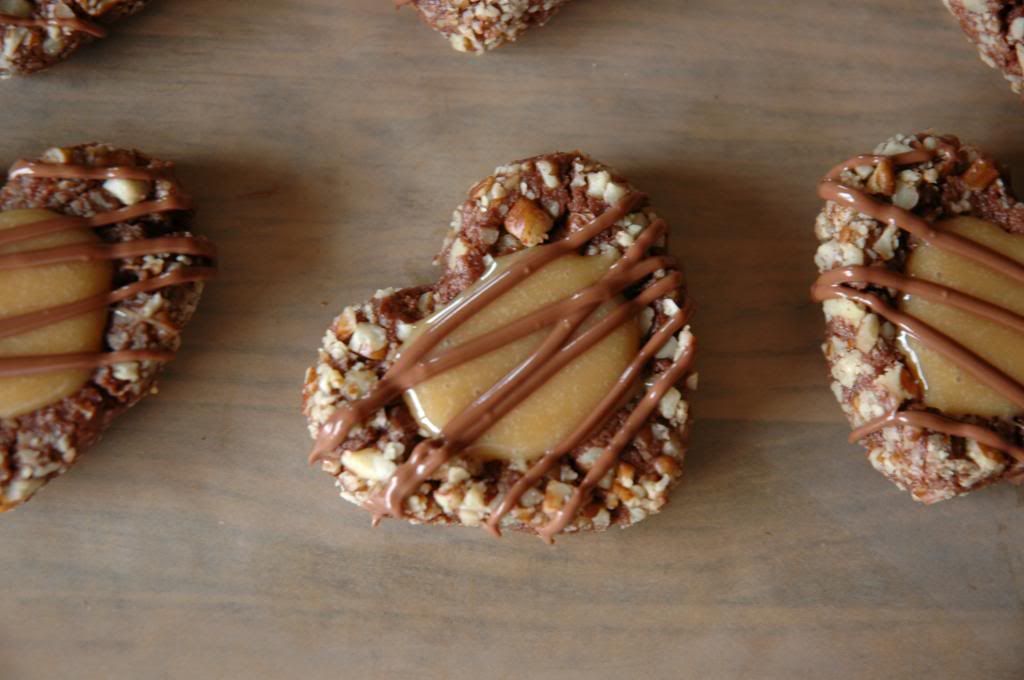
To make these special, I added a bit of sea salt to the caramel mixture and drizzled milk chocolate on top to finish them off. The chocolate cookies are soft, the caramel gooey, and I have eaten too many already. Make these yourself and give them all away before you feel guilty after stuffing your face.

My tips for these cookies:
  1. Freeze the hearts before baking so they can better retain their shape. Pop them in the freezer for 30 or so minutes until firm. (I ended up just watching the latest Big Bang Theory episode. Oh Sheldon is just too funny.)
  2. Use more or less cream for the center depending on how gooey you want the caramel. If you use the full amount, the caramel will not set very well, so it would be difficult to pack these to give away.
  3. I ended up baking these for 18 minutes instead of the 12 minutes recommended. 
  4. Not to be OCD or anything, but if you want to obtain the full yield each dough ball should weigh around 15-16 grams before you add the pecans. 
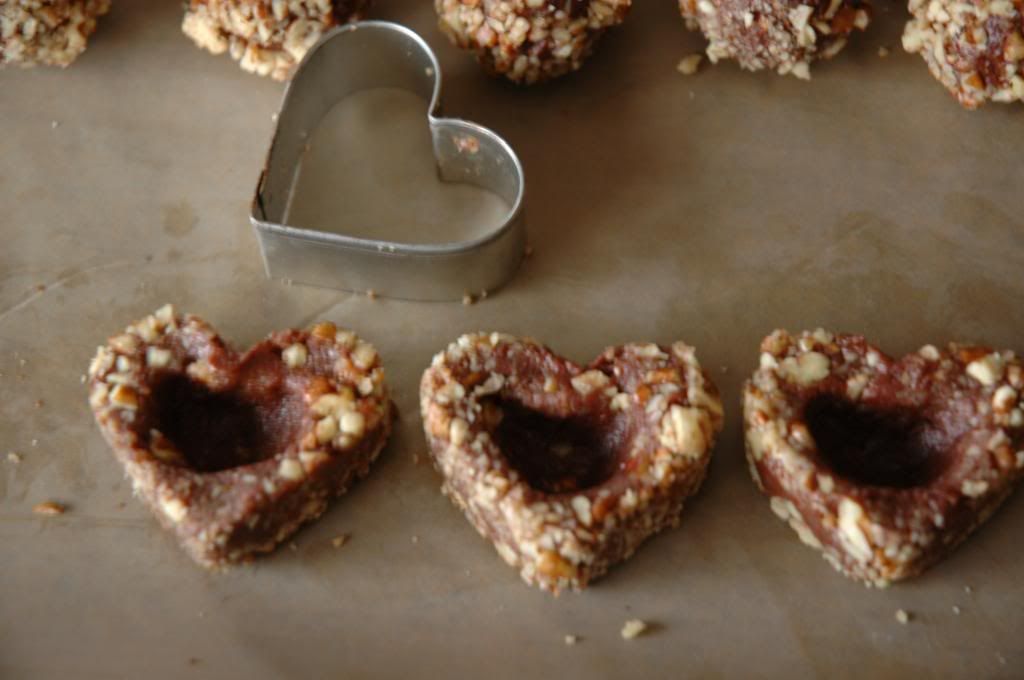
Here's a little tutorial!

(I resized these pictures to be smaller because they came out quite blurry. Sorry!!!)
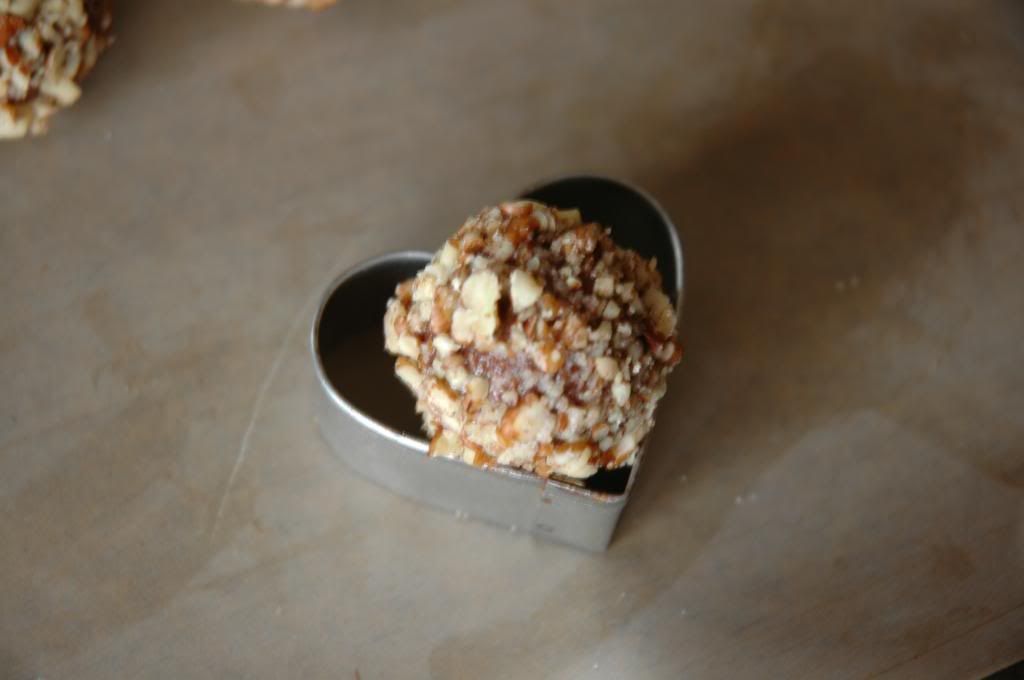

Roll out all the cookies and coat them in the chopped pecans.

Plop a cookie into the center of a small heart shaped cookie cutter.
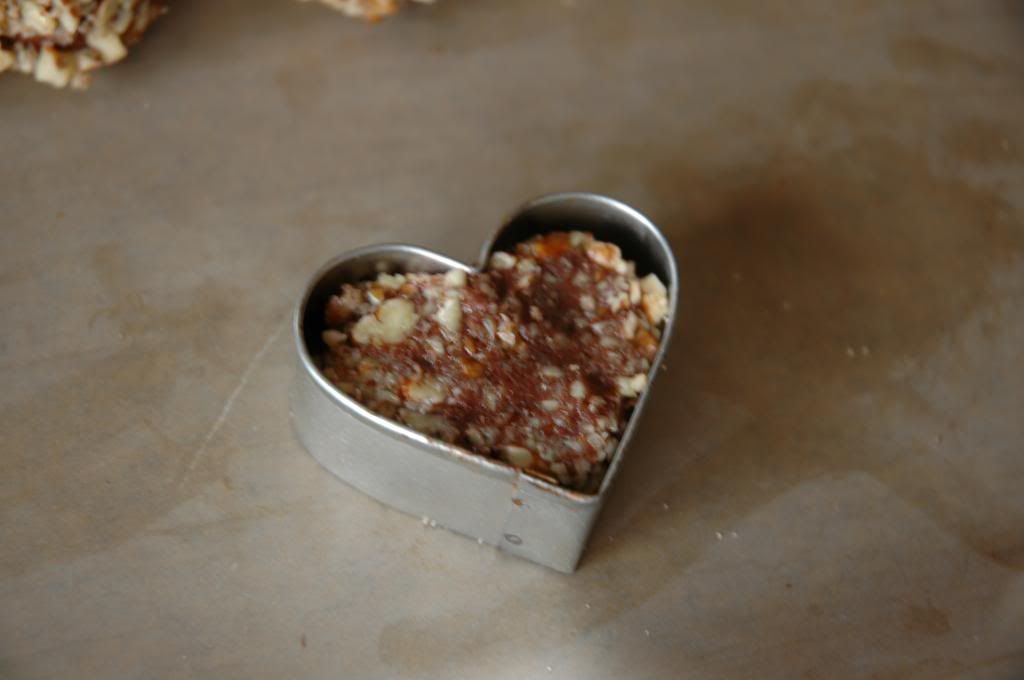


Gently press the dough into the shape of the cookie cutter.

Using a teaspoon, or your fingers, make an indentation in the center. Gently push the the heart out of the mold. 


Salted Caramel Turtle Heart Cookies

INGREDIENTS
From America's Test Kitchen
Yields 2.5 dozen cookies
  • 1 cup all-purpose flour
  • 1/3 cup cocoa powder
  • 1/4 teaspoon salt
  • 8 tablespoons (1 stick) butter, softened
  • 2/3 cup sugar
  • 1 large egg, separated, plus 1 egg white
  • 2 tablespoons milk
  • 1 teaspoon vanilla extract
  • 1 1/4 cups pecans, chopped fine
  • 14 soft caramel candies
  • 3 tablespoons heavy cream
  • 1/2 teaspoon sea salt (optional addition to caramel)
  • milk chocolate to drizzle
DIRECTIONS
  1. In a large bowl, combine flour, cocoa, and salt; set aside. In the bowl of a stand mixer fitted with the paddle attachment beat butter and sugar on medium-high speed until fluffy, about 2 minutes. Add egg yolk, milk, and vanilla and mix until incorporated. Reduce speed to low and add flour mixture until just combined. Wrap dough in plastic wrap and place in the refrigerator until firm, at least 1 hour.
  2. Adjust oven rack to upper-middle and lower-middle positions and heat oven to 350 degrees F. Line 2 baking sheets with parchment paper.
  3. In a small bowl, whisk 2 egg white until frothy. In a shallow bowl, place pecans for rolling. Roll a heaping tablespoon of dough, dip in egg whites, then roll in pecans. Place balls 2 inches apart on prepared baking sheets. Repeat with the remaining dough
  4. Using a teaspoon measure spoon, make indentation in center of each ball. Bake until set, 10 to12 minutes, rotating sheets halfway through baking.
  5. While cookies are baking, microwave caramels and heavy cream in medium bowl, stirring occasionally, until smooth, 1 to 2 minutes; set aside.
  6. Once cookies are removed from oven, gently press existing indentations with teaspoon measure. Fill each indentation with 1/2 teaspoon caramel mixture. Cool 5 minutes, then transfer to wire rack and cool completely.

Monday, November 12, 2012

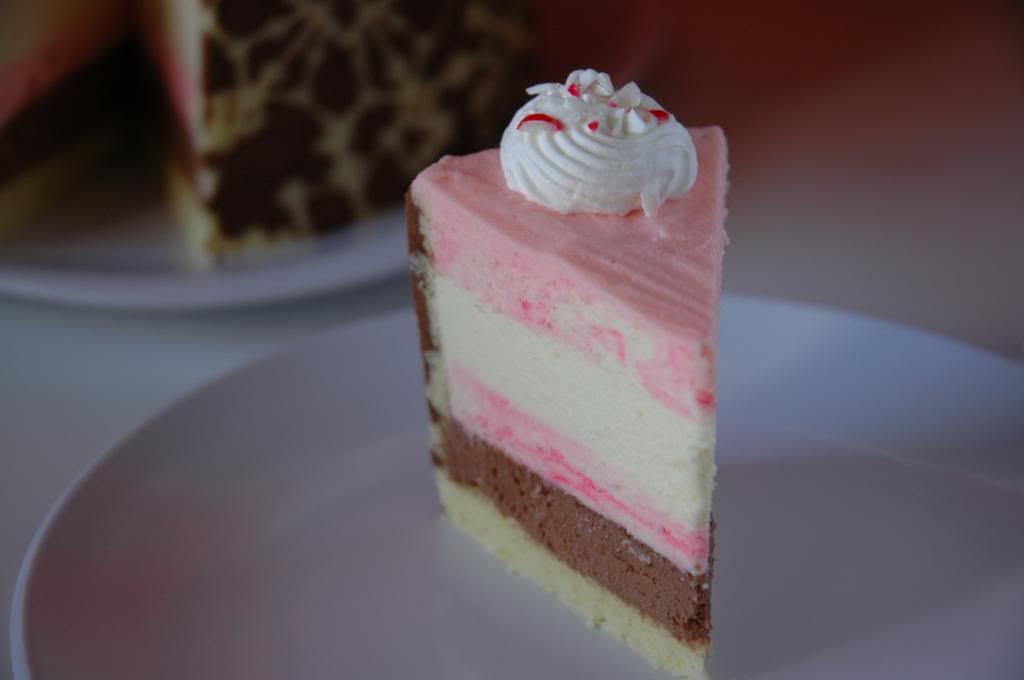
Peppermint Entremet

Pin It
Okay, so the pomegranate entremet didn't work out so well. I couldn't get the right flavor for the pomegranate mousse component, so I ended up tossing out the entire cake a week after it was just sadly sitting in the refrigerator. It's hard to part ways with a project you've worked so hard on! 
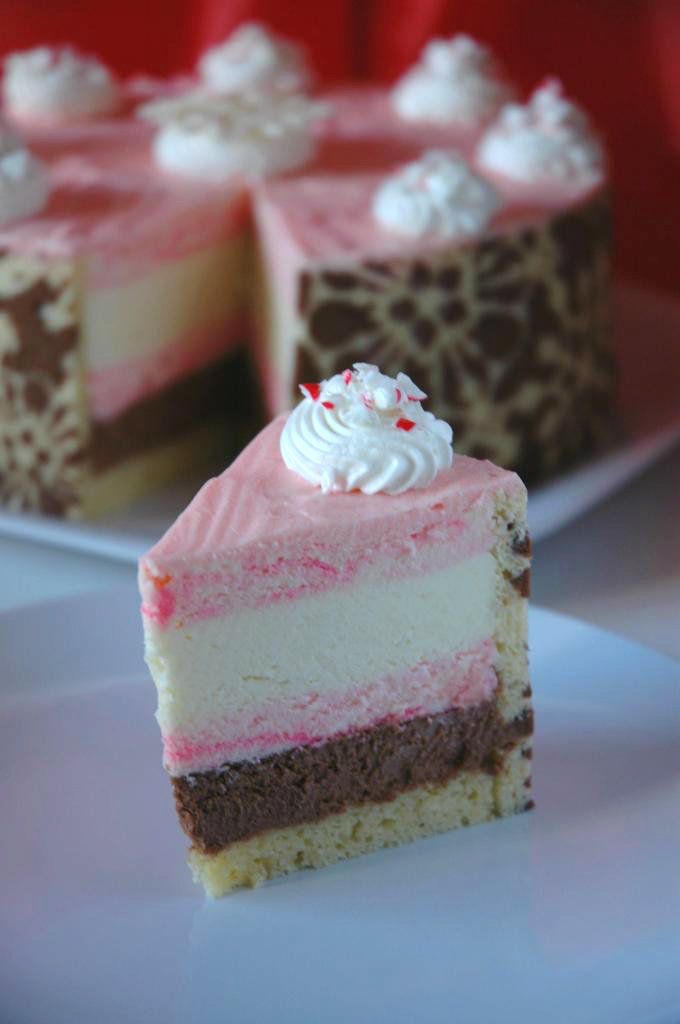
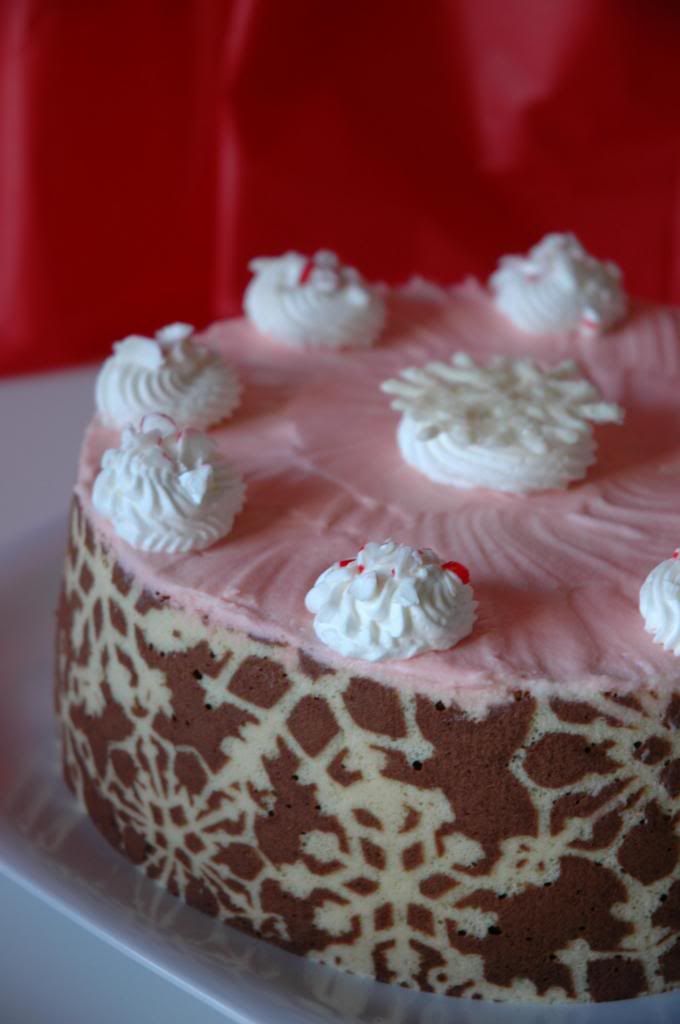
Looks like I've hopped on the Christmas bandwagon before Thanksgiving even rolled around. There's one layer of dark chocolate mousse, one layer of white chocolate mousse, and two layers of white chocolate peppermint mousse. I tried swirling the peppermint layer to look like a candy cane, but the combination of smoothing the layers and over-mixing in the first place simply resulted in a homogeneous pink. 
I made six snowflakes, and only one survived! I need to learn to temper chocolate properly.
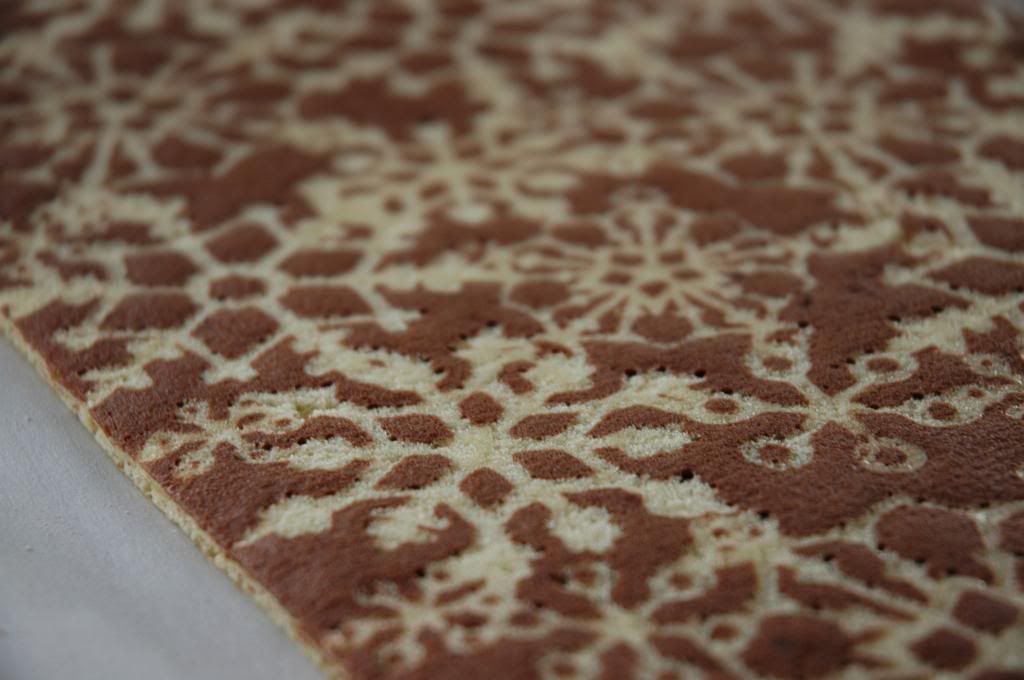
The snowflake pattern joconde sponge that wraps around the mousses.
I had to try the white chocolate mousse twice. I initially thought I could fold in crushed peppermint candies to achieve a nice mint flavor with an added crunch from the candies. The more I folded, the more the candies dissolved and then disaster. The mousse started to curdle, so I'm assuming there was some sort of water soluble chemical in the peppermints that adversely reacted with the cream. I think I made a total of four trips for ingredients for this cake. Resilience is a trait all bakers need to have!

To make his cake a little less tedious, I recommend measuring out all the cream the mousse recipes call for and whip it all together in a very large bowl.. You can eyeball and allocate the whipped cream to the separate mousses.
Joconde Sponge
Refer to this link: Here!
For my entremet, I halved the chocolate paste, and doubled the sponge recipe component. You will end up with a lot of sponge left over, but I couldn't figure out how to resize the recipe for my particular needs.

White Chocolate and Peppermint Mousses
Refer to this link: Here!
Make the entire recipe, and then split it in half. Add a 1/2 teaspoon of peppermint extract to one half. Add a bit of red food coloring if desired. If you don't want the peppermint layer to be as pink as mine, be sure to barely fold to maintain a swirled effect.

Dark Chocolate Cream Cheese Mousse
INGREDIENTS
  • 4 oz dark chocolate
  • 3 tablespoons cream cheese
  • 3 tablespoons heavy whipping cream
  • 1/4 cup sugar
  • 1 1/2 cup heavy whipping cream
  • 1 tablespoon cold water
  • 1/2 teaspoon gelatin
DIRECTIONS
  1. Melt the chocolate, cream cheese, 3 tablespoons of cream, and sugar over a double boiler or in the microwave. Stir well until all is combined and smooth.
  2. Sprinkle the gelatin over the cold water. After letting it sit for a minute, microwave until gelatin is melted. Roughly 20 seconds. Whisk into the chocolate mixture.
  3. Whip the remaining cream. Fold in half of it into the chocolate mixture to lighten it up, then fold in the remaining half until everything is evenly incorporated.
ASSEMBLY OF ENTREMET
  1. Make the joconde and cut out strips to line a round cake pan to create the sides of your cake. Place a round piece of joconde in the center to make the base. Be sure to make the cake pieces fit as tightly as possible so mousse doesn't leak out. 
  2. Make the dark chocolate mousse. Spread it out on top of the base layer of cake. Freeze or refrigerate until set.
  3. Make the white chocolate mousse and divide as directed above. Spread half of the peppermint mousse on top of the dark chocolate mousse. 
  4. After the second layer of mousse is set, add all of the plain white chocolate mousse on top. After that is set, add the remaining peppermint mousse on top and smooth it out. Garnish with whip cream, chocolate decorations, or peppermint candies.

Wednesday, October 31, 2012

Long Lost Fruit Tart

Pin It
I plan on making a pomegranate entremet this weekend, so be on the lookout for that post!

College applications are more stressful than I thought they were going to be. I figured that organization would protect me from any hectic mishaps. In a sense that's true, but I still have had many late nights of editing and revising essays. Dark eye circles have consumed my face, so hopefully once I am able to submit everything I will get a good night's sleep.
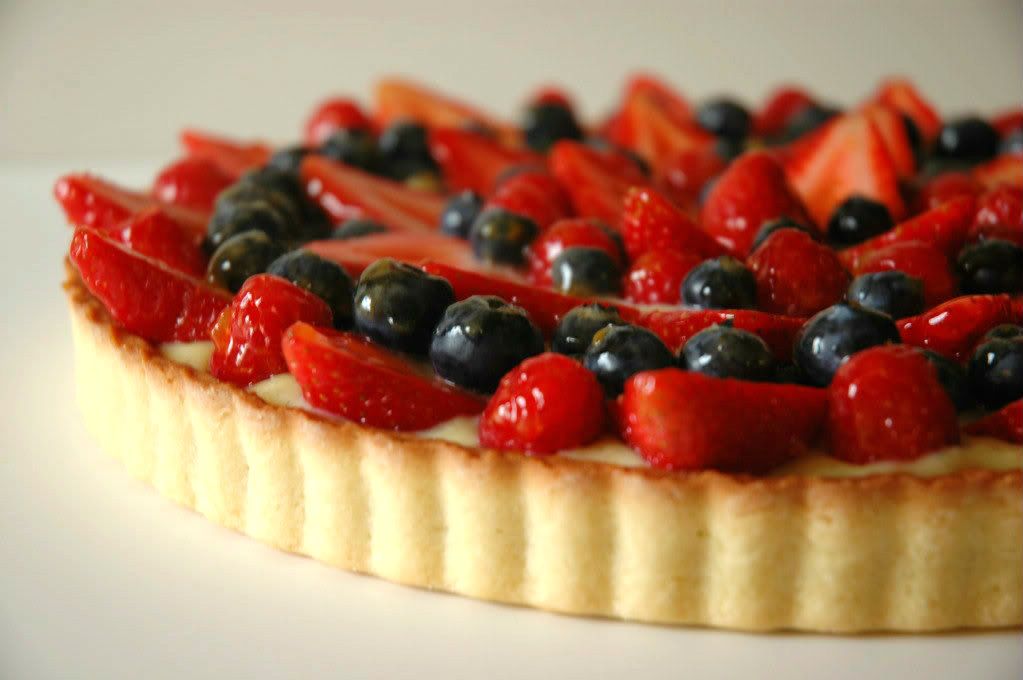
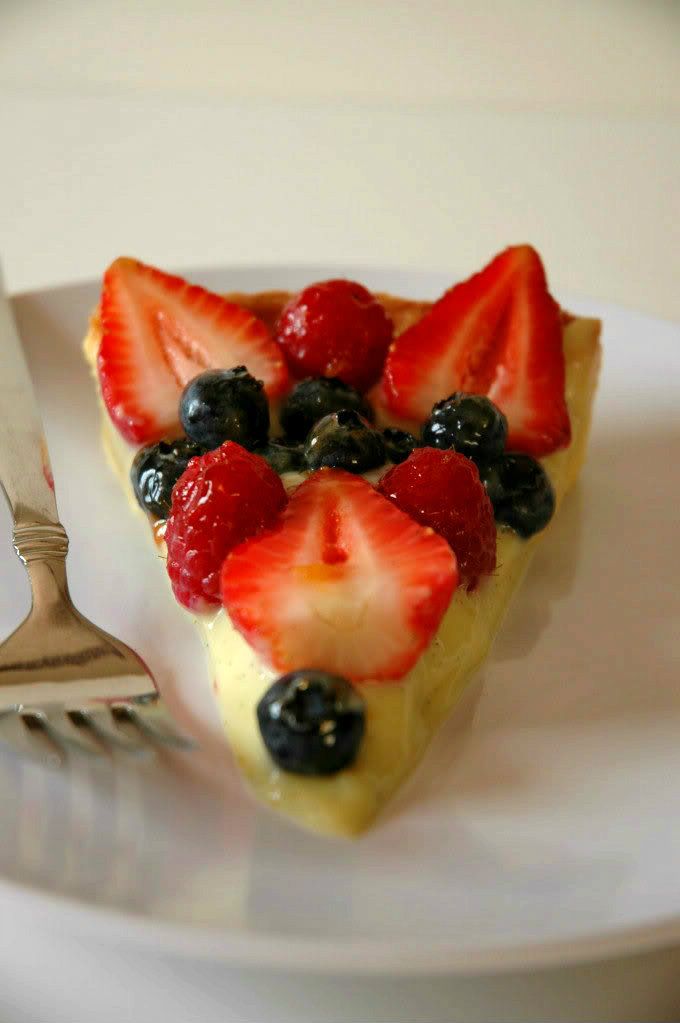
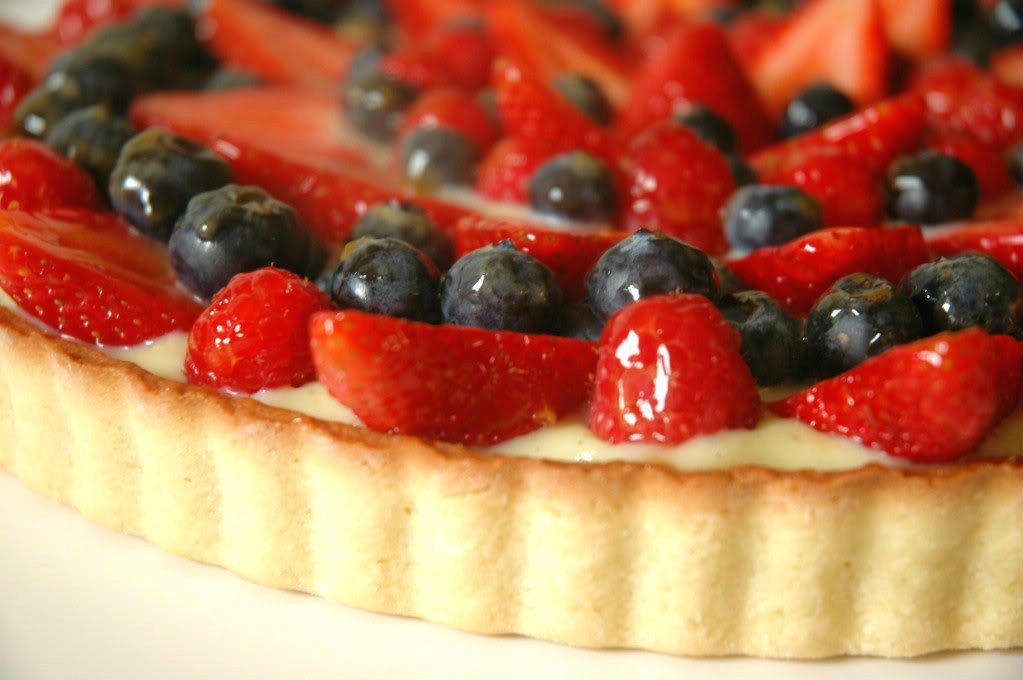
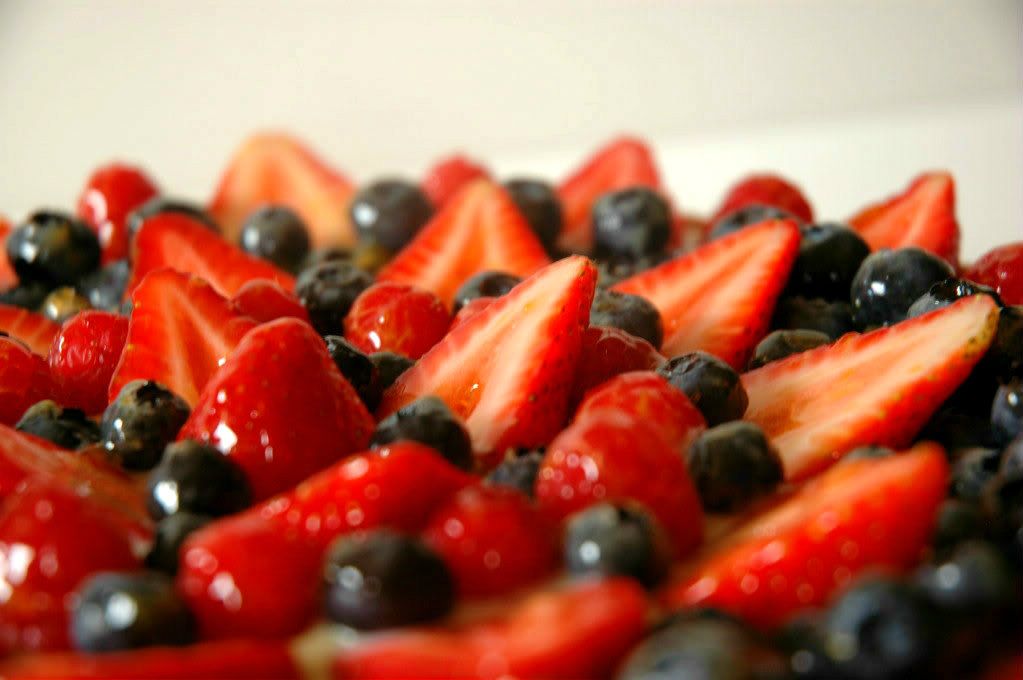
So this tart... was my dad's birthday "cake". A buttery shell with sweet vanilla pastry cream dolloped inside, and topped with a pattern of concentric circles of mixed berries. It is indeed fall where I live, so how did I find these ripe berries? That's where the "long lost" part of this blog post title comes in. My dad's birthday is in July. I found these pictures on my computer as I sweeping out my folders of any useless rubbish. I had uploaded them the day of my dad's birthday, but updating them to this blog must have completely escaped my mind. On a side note, these pictures bring up sad memories. My dad went fishing on his birthday! I starting preparing this tart, and then after completion, my mom told me the birthday boy wasn't going to be back for two days! Next year, we need better communication.

Please visit Gourmet or Gourmand for the recipe that I used. She has very thorough instructions to help you through the process of creating a beautiful tart.

A few tips:
  1. What I've learned from a little research is to brush the baked pastry shell with apricot jam to create a moisture barrier. The cream will not be able to seep through the crust, and you'll be left with a delicate dessert. 
  2. Make sure you eat this tart on the day you prepare it. If necessary, you can create the tart shell and cream ahead of time. However, do not slice or assemble the berries until you are ready to serve. 
  3. Add a little almond extract (or liqueur if you're of that age) to the pastry cream to add a different dimension for flavor. I also recommend using vanilla beans if you have any on hand, because it is both pretty and delicious.
  4. I absolutely despise blackberries, which is why they never came near this tart! The berries I ended up using were raspberries, blueberries, and strawberries. Use whatever fruit combinations that you like. 

Sunday, May 27, 2012

Hazelnut-Almond Dacquiose

Pin It
So it's been a while since I've put up a post... To my defense, AP testing and finals had me pretty busy for the past couple of weeks. Study, eat, study, sleep, study. That was my routine as the year came to its end. Worst, most stressful year of high school is over with though! Time to enjoy summer vacation! 
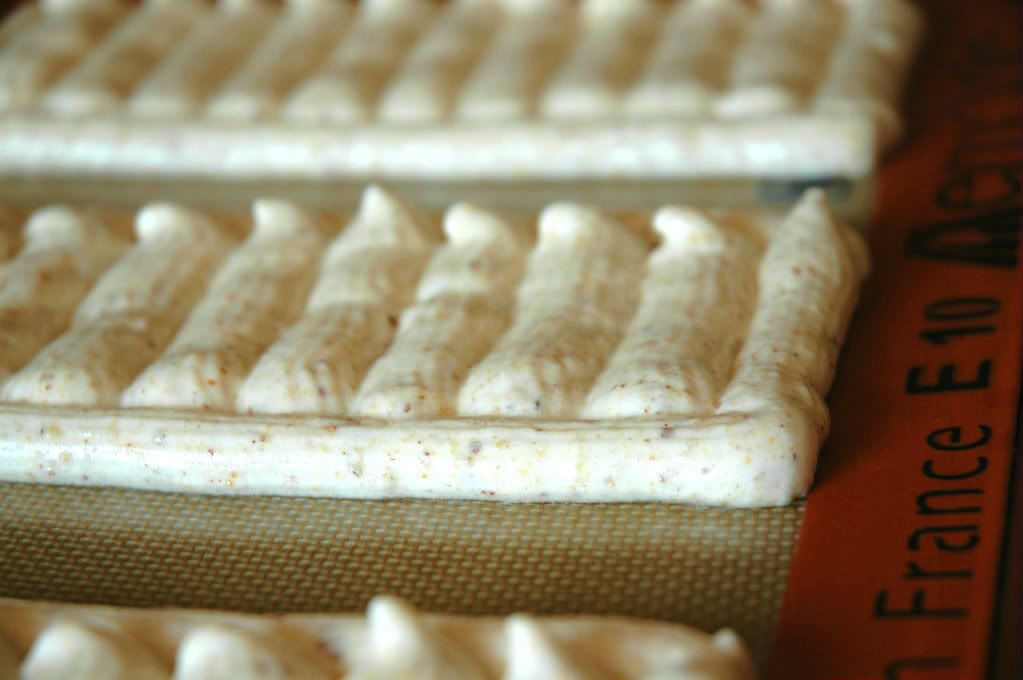
Piped meringue on my fantastic silpat mat!
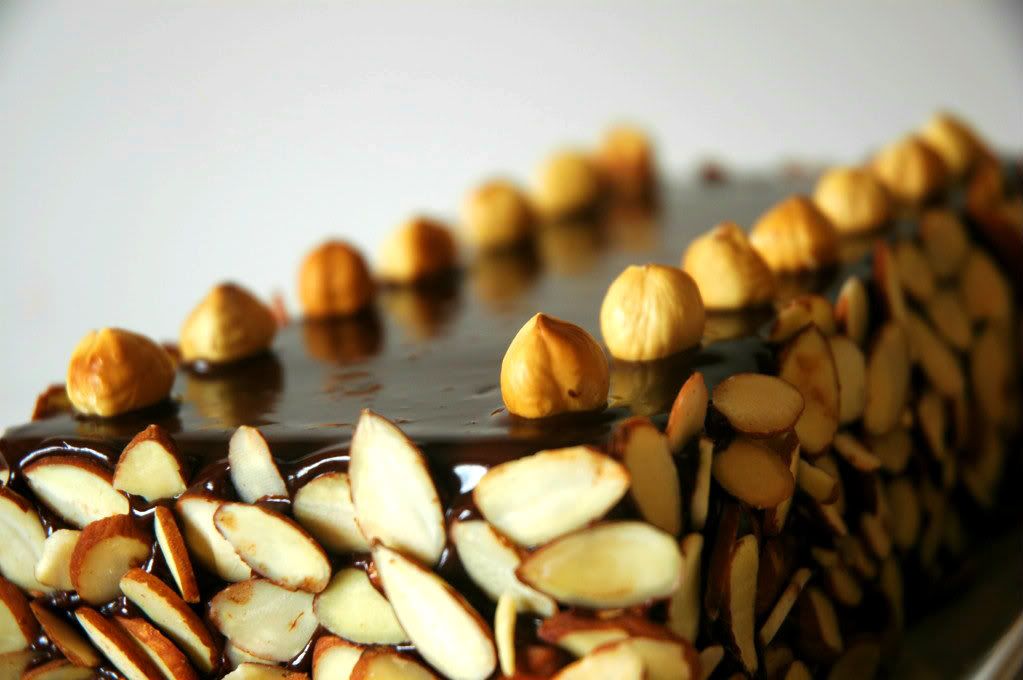
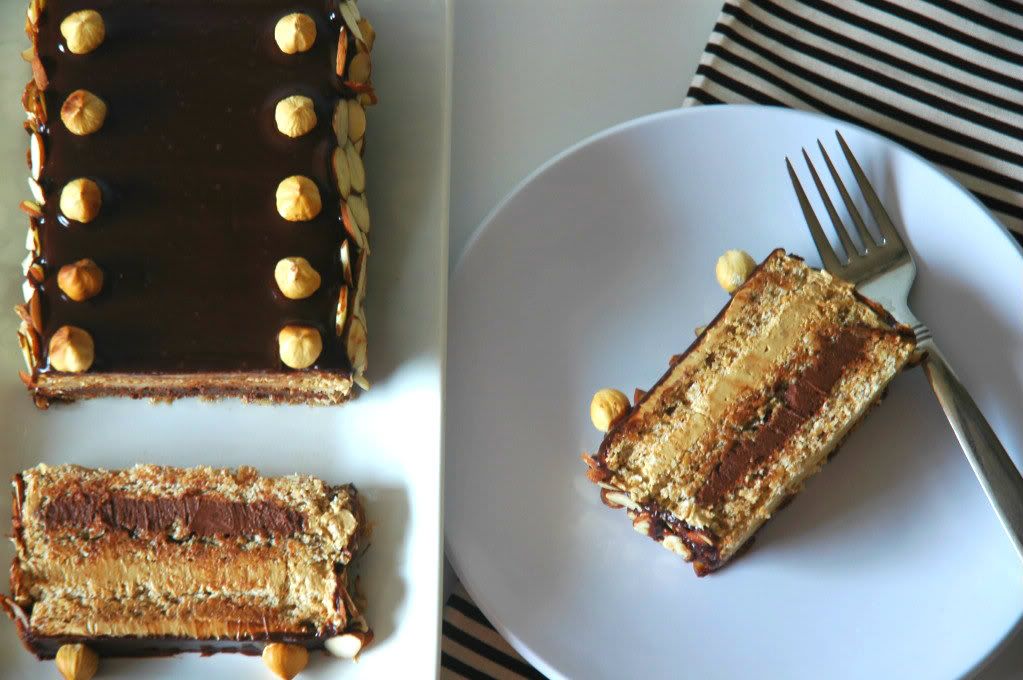
I went fancy on this baking project this time. Dacquoise? I can attempt to pronounce that in a French accent and completely butcher it. I can also pronounce it with a mixture of my parents' accent and my regional accent to get a laugh out of my sisters. Either way, it's a delicious meringue dotted with nuts (almonds and hazelnuts in this case). 
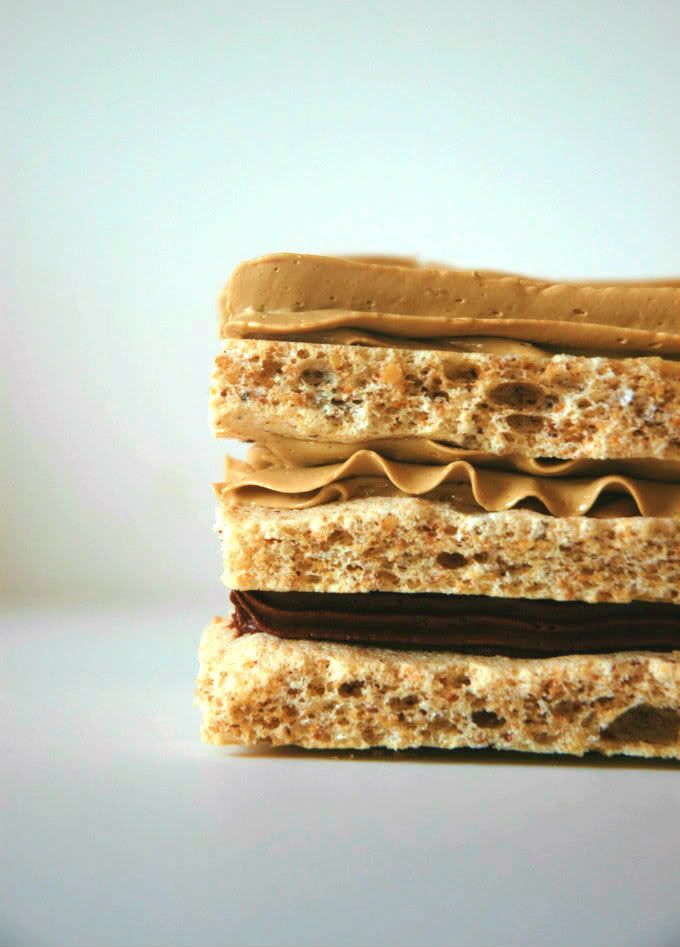
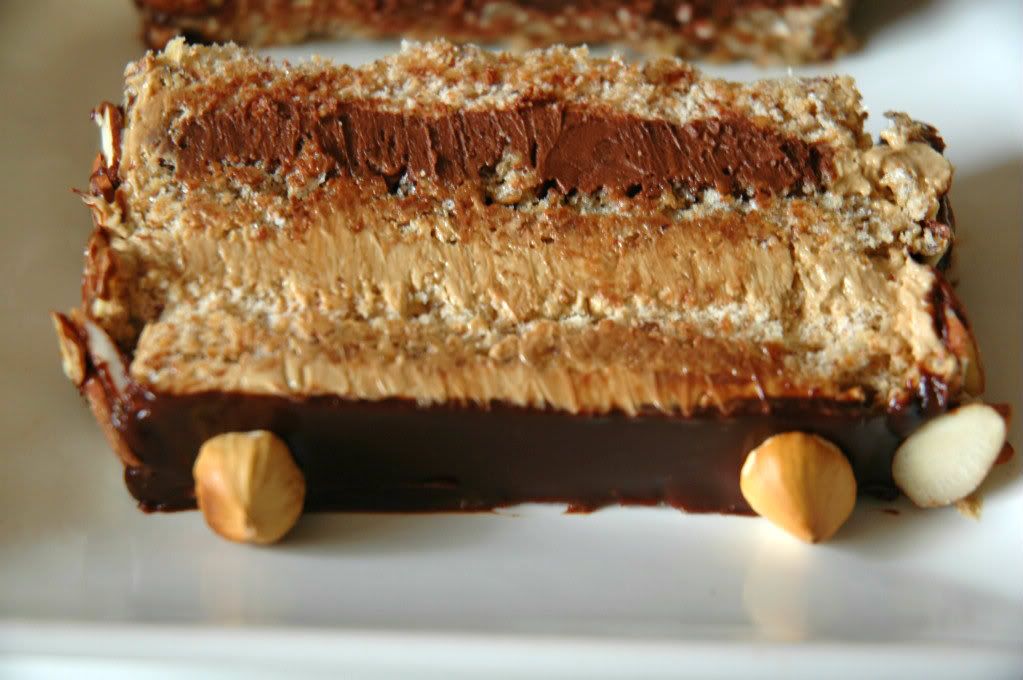
Referring to the picture right above, this dessert is make of three layers of crispy dacquoise, one layer of creamy bittersweet ganache, one layer of espresso buttercream, and then drenched in even more ganache to finish it off. The epitome of decadence. 

On a side note, I'm tempted to make my own vanilla extract. The only problem is getting a hold of some vodka... Buying pure, quality vanilla extract is very expensive. A minimum of $7.00 a bottle is too much to handle. 
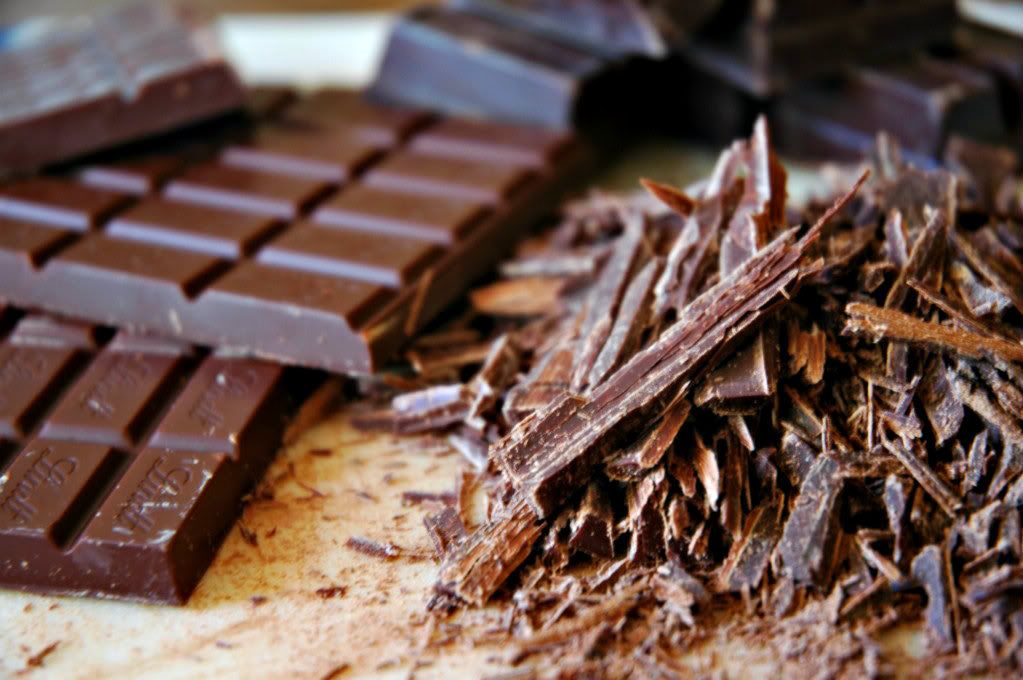
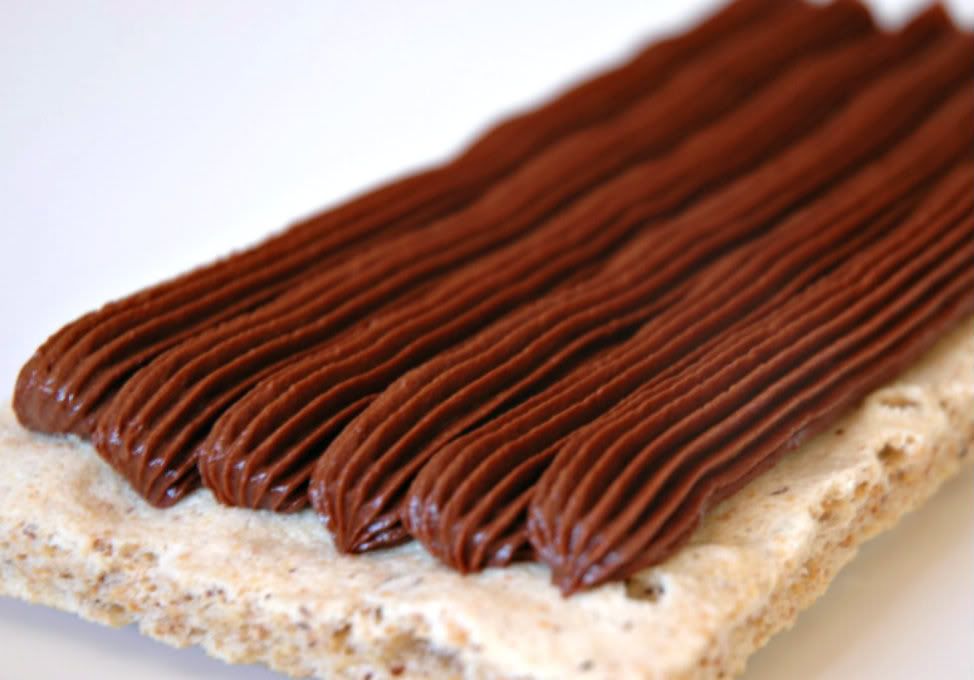
Good chocolate is key to luscious ganache! DO NOT use chocolate chips!
This cake had me tied up in the kitchen for a while. This is not necessarily because the technique utilized is inherently difficult, but because I'm a perfectionist. I did the meringue threes times. The first time I greased the silpat mat as directed in the directions, and the dacquoise just spread out too much. The second time the meringue got just a little too toasty, borderline burnt. Third time is definitely the charm. 
Because I'm quite certain it's illegal to redistribute the recipe I used, please check out the Flour Bakery cookbook by Joanne Chang. You can find it on amazon and probably your bookstore. It has a multitude of recipes with thorough instructions. My only complaint would be... not enough pictures! I am always on the hunt for good cookbooks that have pictures for every recipe. 

My few tips for this recipe:
  1. Try to use a silpat mat for the meringue and do not grease it. They layers peel off easier.
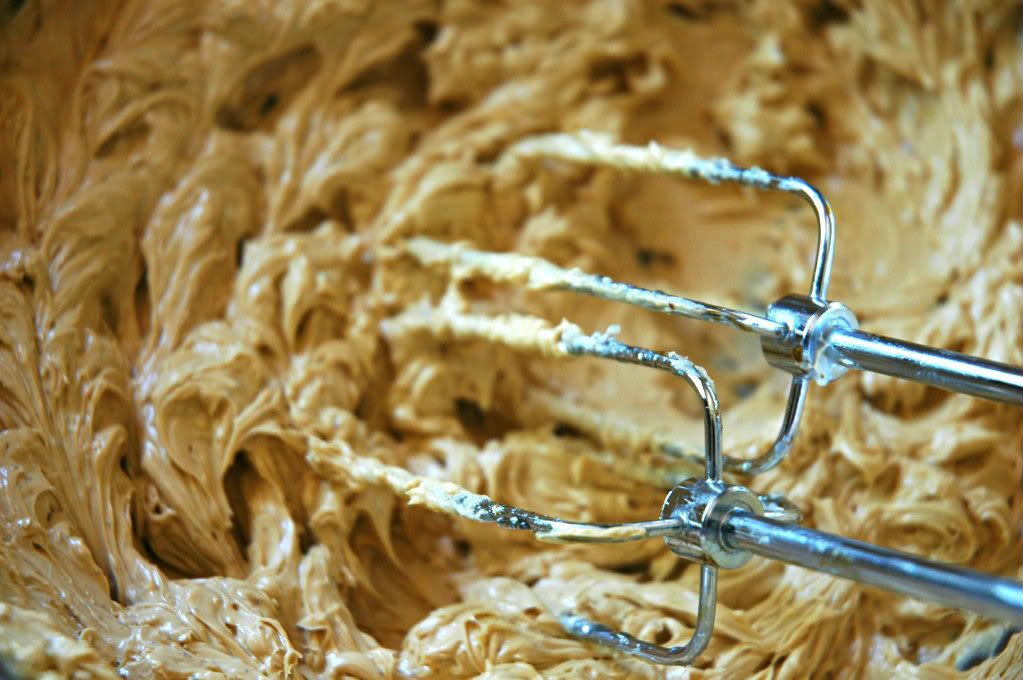
  2. The buttercream requires you to pour hot sugar into whipped eggs. I set my eggs over a pot of simmering water to bring them up to a lukewarm temperature. It your eggs are cold, the sugar will harden immediately and you'll be stuck with candied whisks and soupy eggs:( No good.

Sunday, April 22, 2012

Island Escape

Pin It
♫ Put the lime in the coconut... 
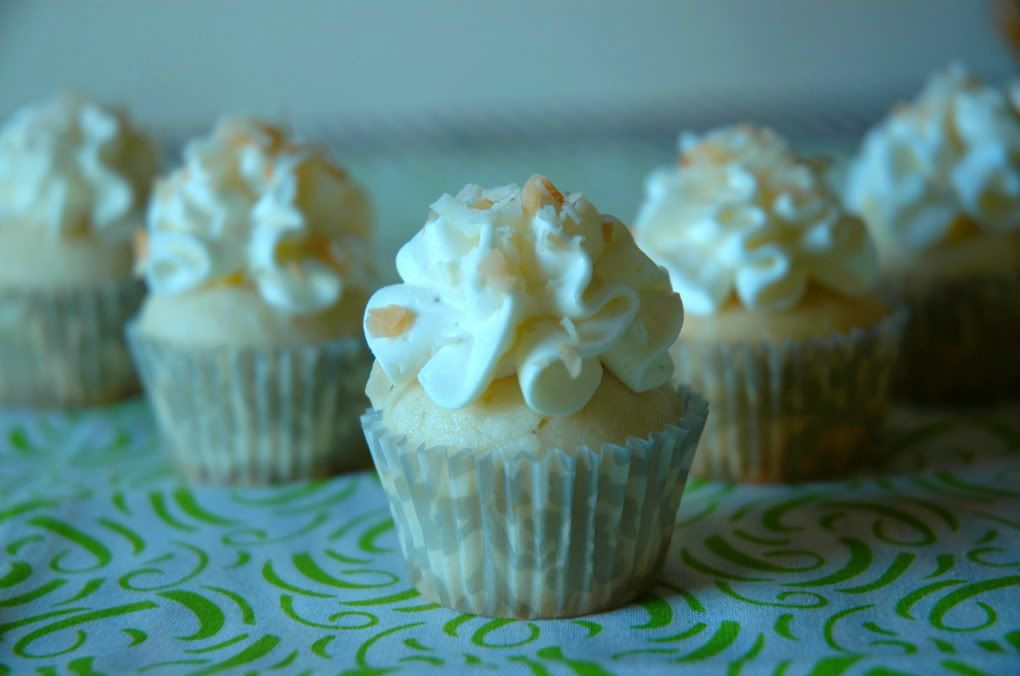
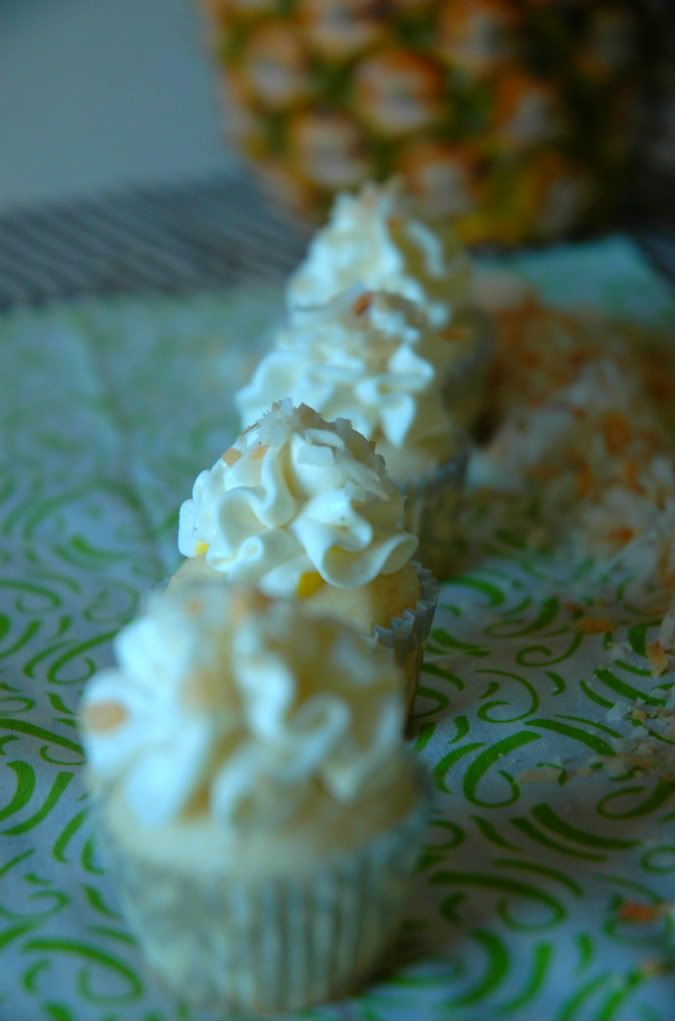
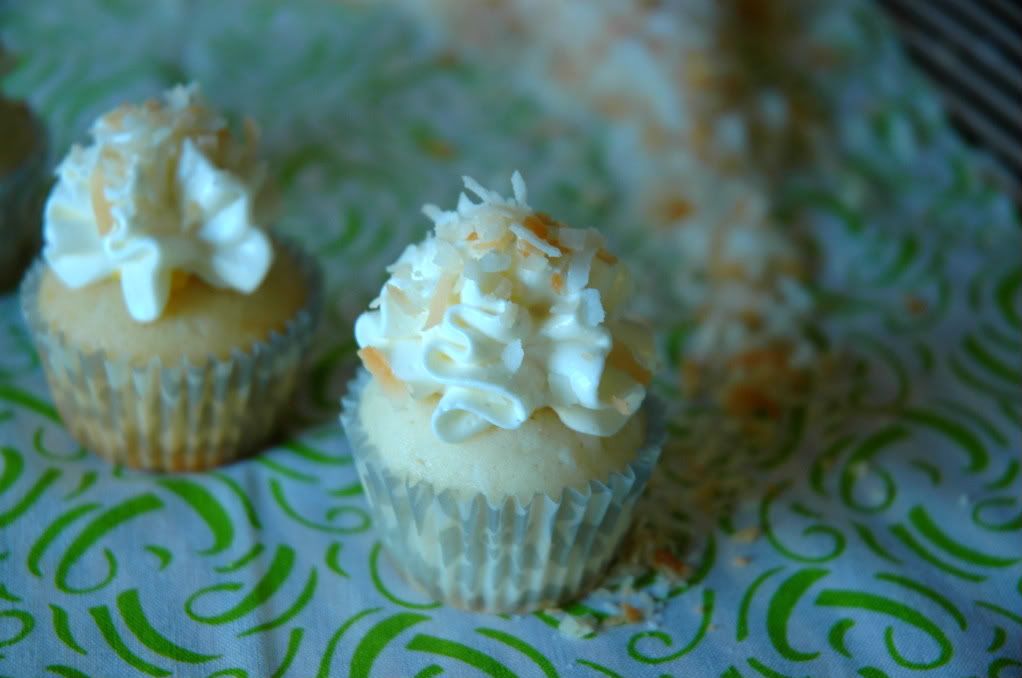
Well actually, in this case, a mango. These mini cupcakes are bursting with coconut flavor in both the cake and fluffy frosting. I tried filling them with a mango mousse, but I didn't squeeze enough into the center for that component to stand out. Nonetheless, these are certainly tasty.
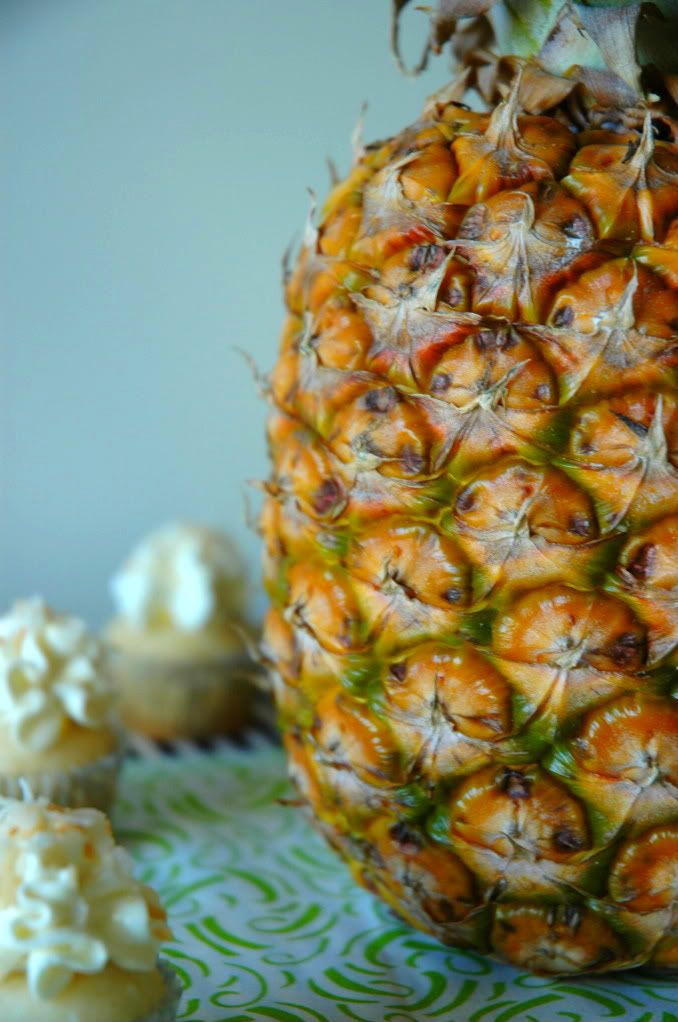
Okay, okay. The pineapple is only slightly random in these pictures. There is absolutely no pineapple in these cupcakes. I picked up this pineapple last week, but I guess I don't know how to select good fruit because my mother joked around that I have a fantastic eye for picking out the most unripe fruit out of the bunch. LOL. I grabbed the biggest one! It is almost ripe! Anyway, coconut just reminds me of the tropics and so does pineapple. I was going for a theme for these pictures. 
These pictures also came out with a very cool hue. I tried altering the white balance on the camera menu, but none of my pictures came out as bright or warm as I had intended. I hate cloudy days! All the cupcakes have already been eaten too, so there is no way to take more pictures!
The cake recipe I tried was delicious. Because it is made out of egg whites though, you risk over baking mini cupcakes. Once they spring back, take them out of the oven! The batch I baked until golden were quite dry unfortunately. I used Flour Bakery's recipe, but it is similar to Martha Stewart's recipe you can find online here.
Sunday, April 15, 2012

Baking With The Sis: Neapolitan Cupcakes

Pin It
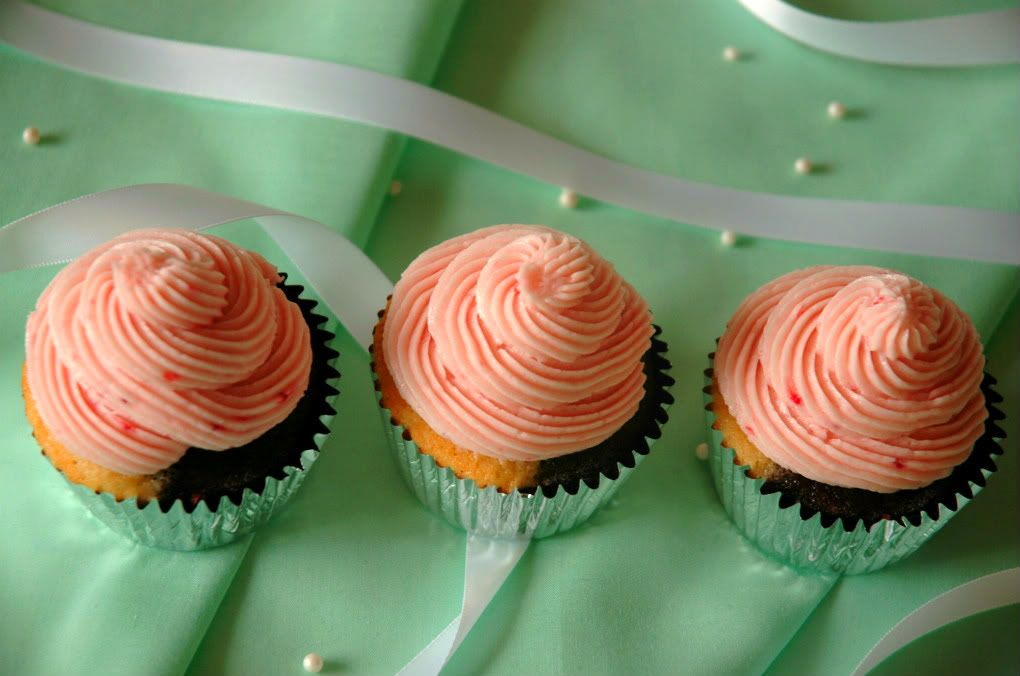
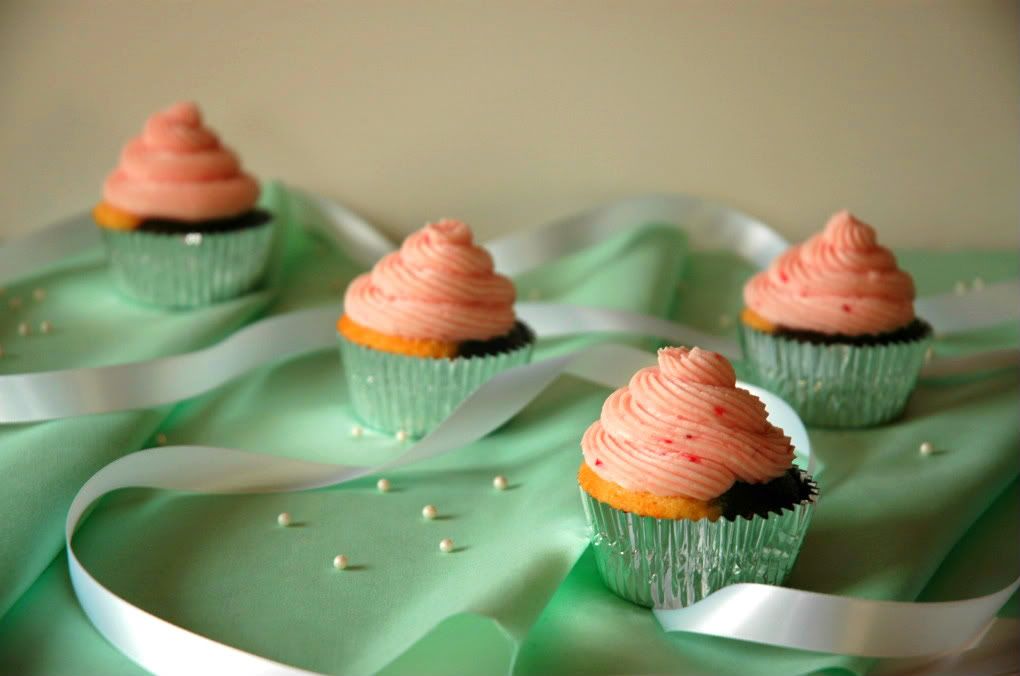
My sister is on her Spring break, so she is back in town! Mid April is an odd time to schedule break though, but I guess that's the way dental school rolls. None of my sisters' spring breaks coincided with mine. Sad.
When my sisters were younger, my dad used to buy neapolitan ice cream for them to eat. I however only remember him buying french vanilla ice cream. What made it special was sprinkling Rice Krispies on top to get that crunchy texture along with the silky smooth ice cream. Is that a weird combination? I just know it's one of my more vivid memories of my childhood. Of course what I remember the best deals with food. 
I have attempted to bake with my sister several times in the past. Yet, each project has gone terribly wrong. We made chocolate cookies that came out of the oven deformed, mangled, crunchy, and just bad. They looked like amoebas. We tried making buttercream together. Who knows what went wrong there. The frosting was curdled and lumpy. Today we made cupcakes and aside from this batch, they puffed up, sunk, and spread into amoebas in the cupcake tins. Come to think of it, whenever we need to refer to one of these baking endeavors, we just need to say one word: amoeba.
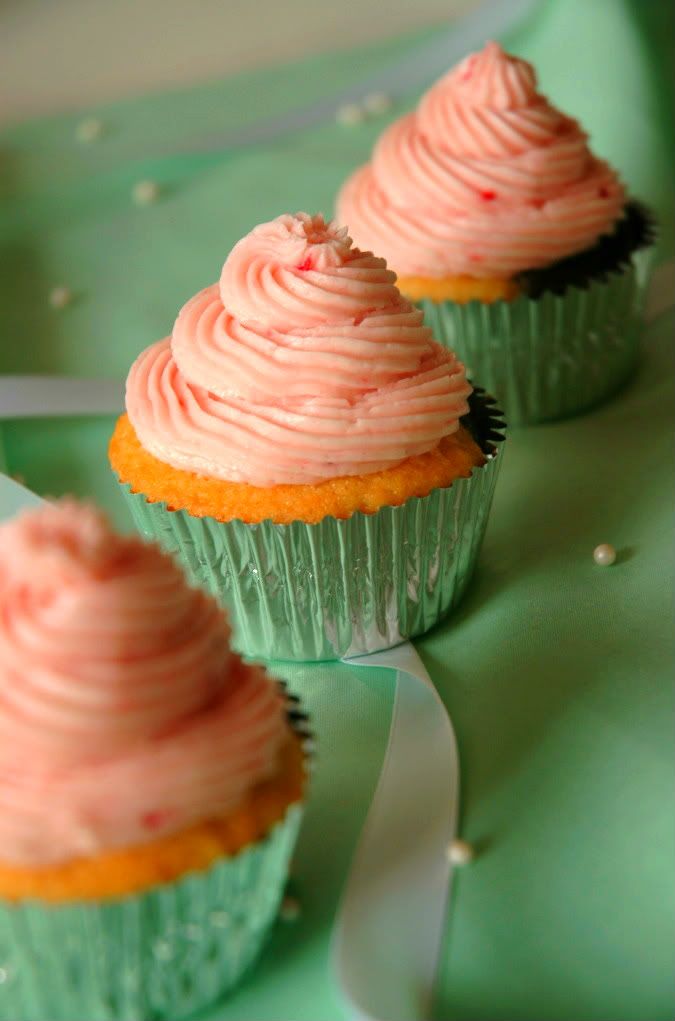
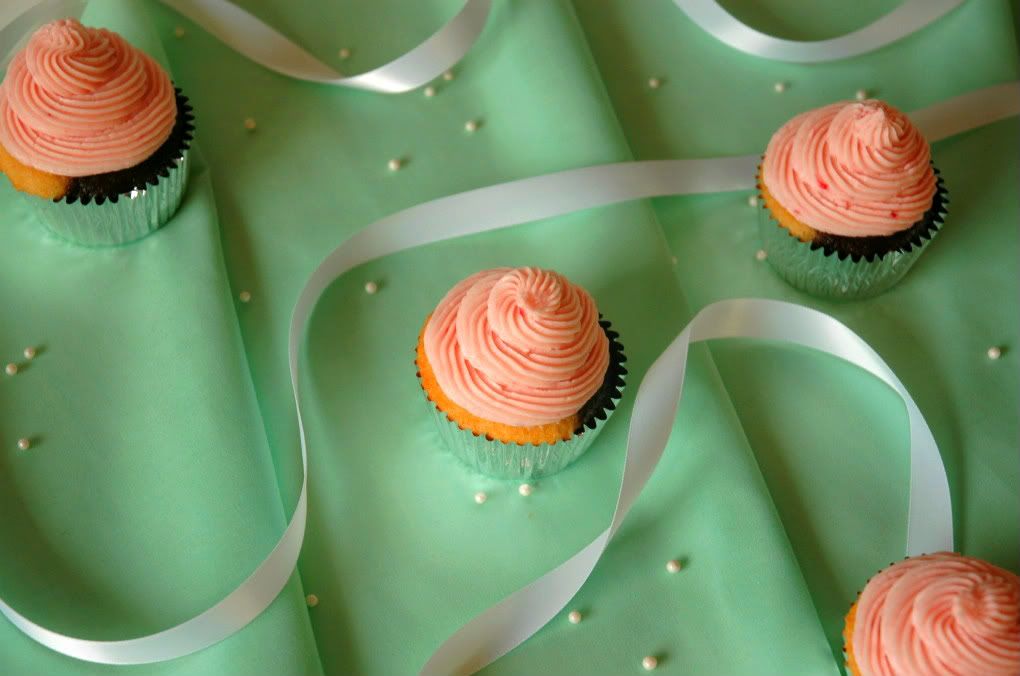
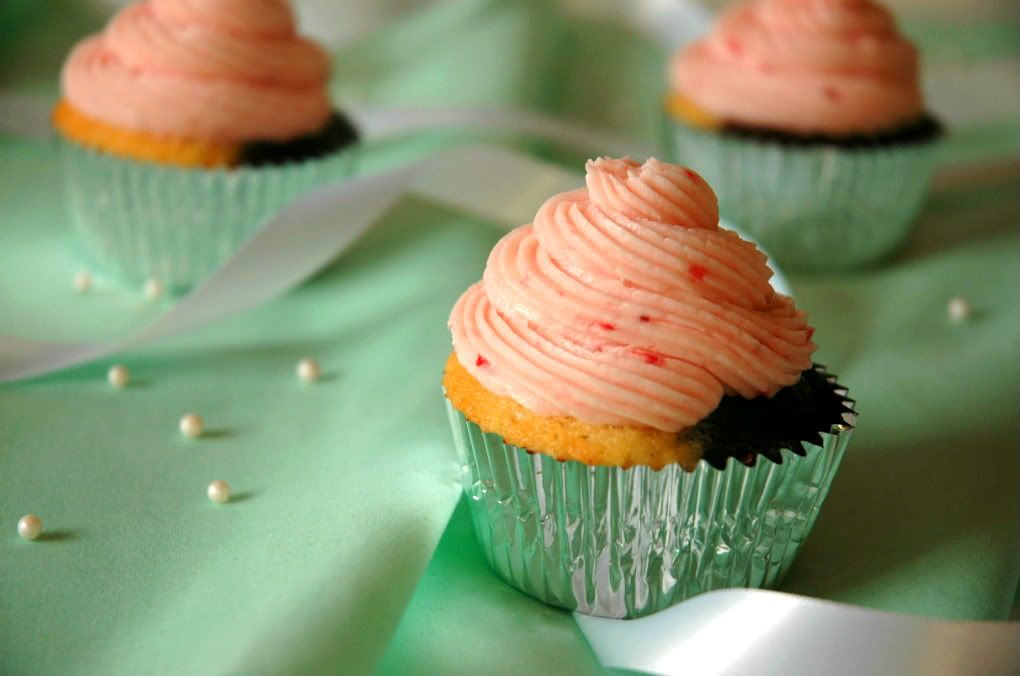
I must give her credit for the piping of the frosting on these cupcakes though. She did a fine job. She was able to utilize my brand new french piping tip. It is so pretty!
Below is the recipe for the buttercream frosting that literally tastes like strawberry ice cream. I ended up mashing the frozen strawberries with a fork instead of whipping out the food processor so that there were bright red speckles throughout. The cake itself is half chocolate cake, which you can find the recipe here, and the magnolia vanilla cake, which you can find a reference to here. I normally hate confectioner's sugar frostings because I find them grainy. However, I find that you just need to beat the frosting for a very long time so that it gets smoother, fluffier, and creamier. Enjoy!
Whipped Strawberry Frosting
From Sweetapolita
INGREDIENTS
  • 3 sticks + 2 tablespoons butter, room temperature
  • 4 cups sifted confectioner's sugar
  • 1 tablespoon milk
  • pinch of salt
  • 1 1/2 teaspoon vanilla
  • 3 tablespoons strawberry puree, made from frozen strawberries
DIRECTIONS
  1. Beat the butter on medium speed of a mixer until pale and fluffy. Roughly 8 minutes.
  2. Turn down the speed to low and dump in the rest of the ingredients except for the strawberry puree. Beat for one minute, and then increase the speed to medium again for 6 minutes so that the frosting becomes very light and fluffy.
  3. Add in the strawberry puree and beat to thoroughly combine. Use immediately. 
Saturday, April 7, 2012

Rose Cherry Pistachio Cake

Pin It
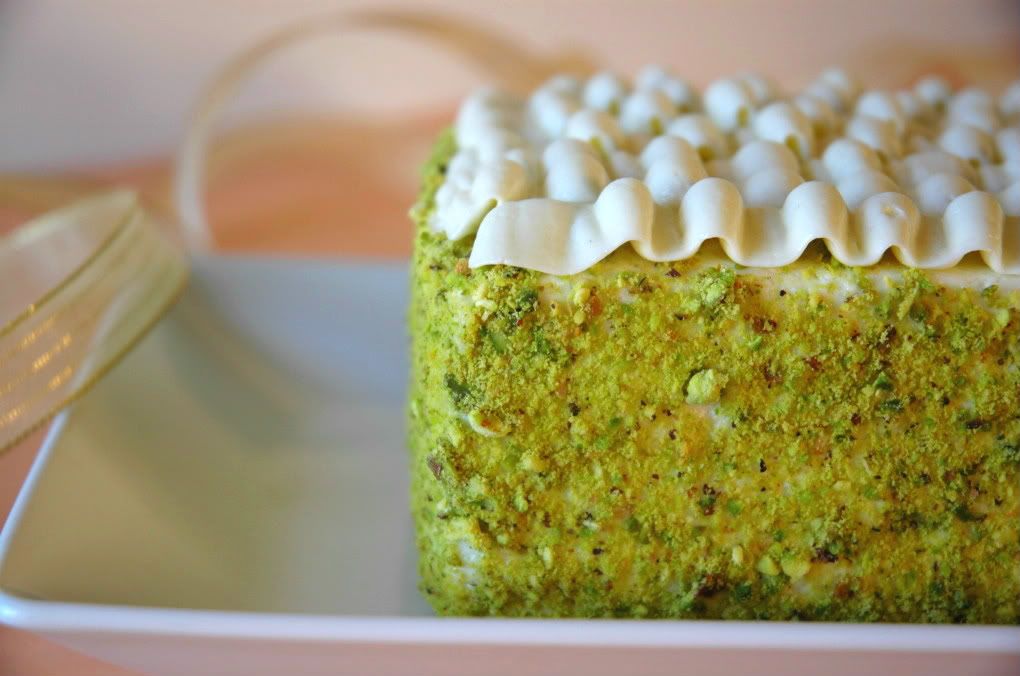
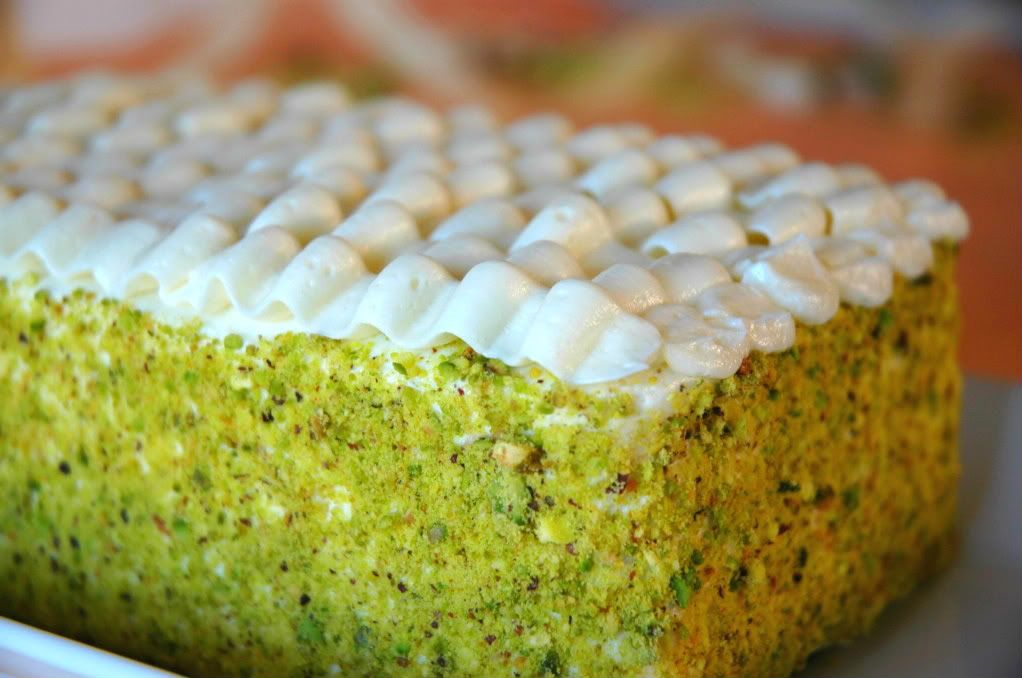
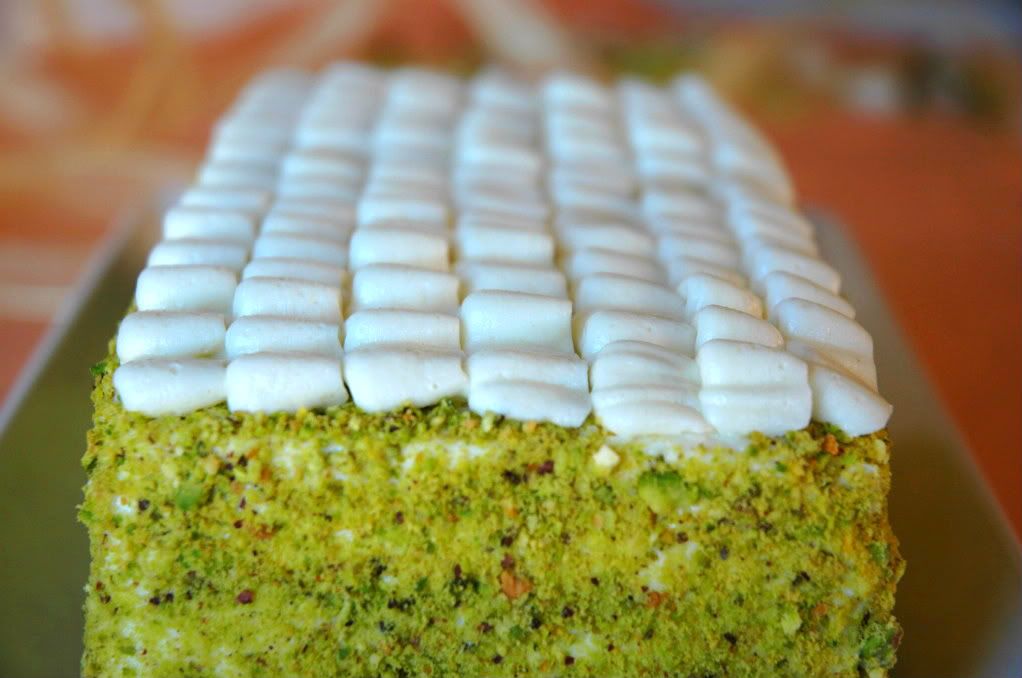
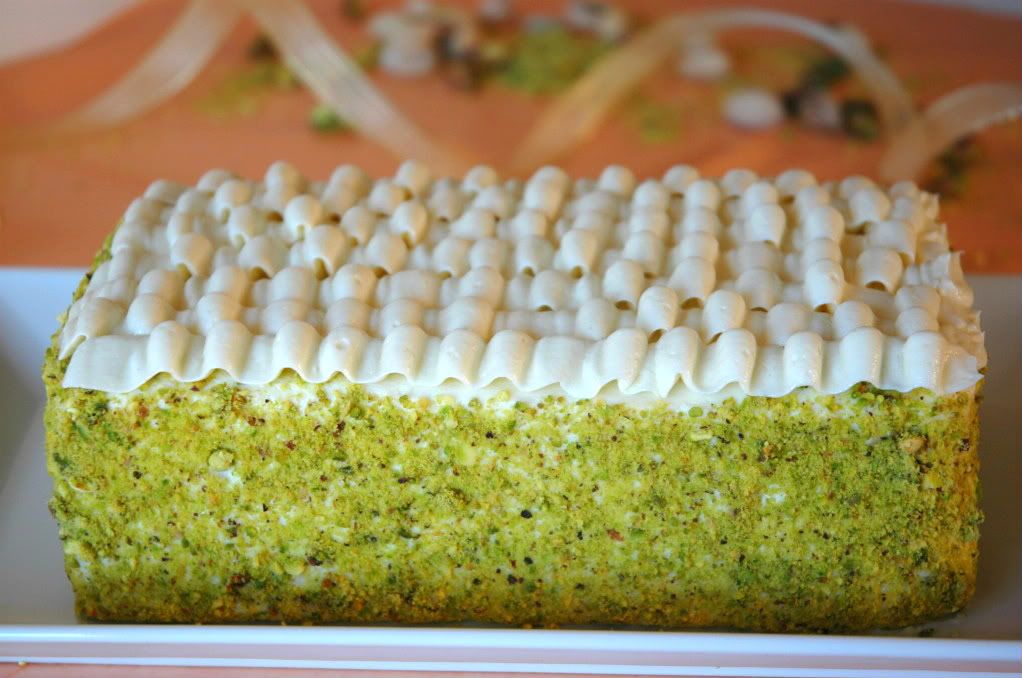
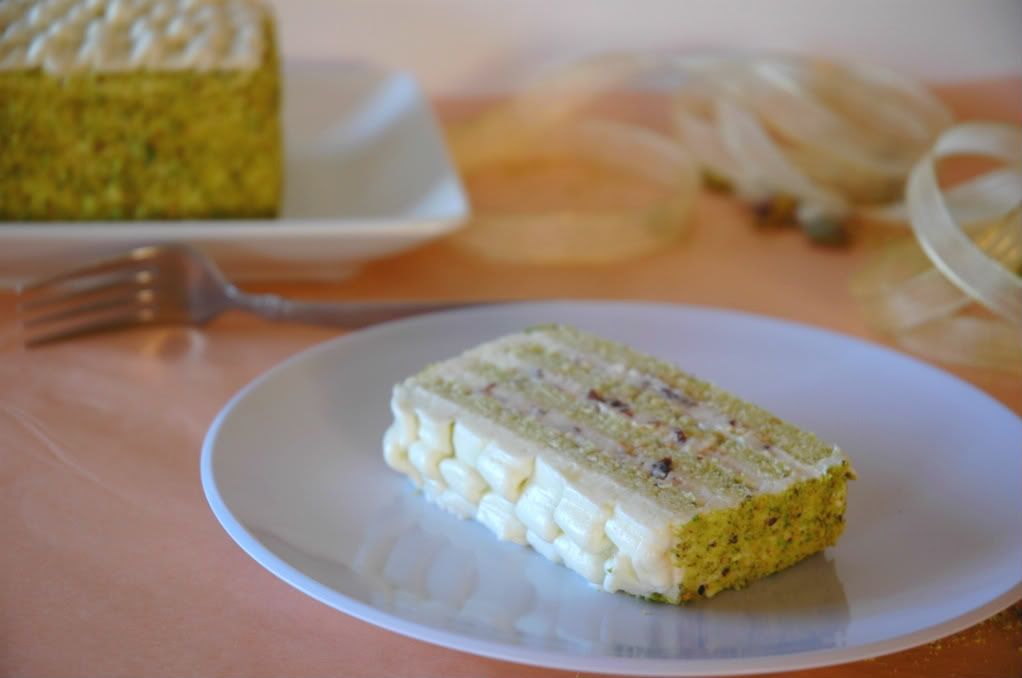
This week's inspiration was one of the new Quaker oatmeal flavors: cherry pistachio. Talk about yum. I also make a box shaped cake. Creative adjectives are not coming to mind. Though, I employ much effort to state that I do believe the structure gives this cake more elegance. Sharp, crisp, clean.
I initially wanted to post this cake last weekend, however catastrophe struck and the cake was a mess. Who knew you could ever have too fluffy of a cake? The layers I baked simply fell apart in my hands. Sad because it did taste good. Sad because I spent so much time whipping up the batter. Sad because the pistachios cost me $14.99 a pound... Back to the farmers market I went so I could post these pictures today. It's been a while since my last post about those strawberries and cream scones. I am determined to keep up with this blog!
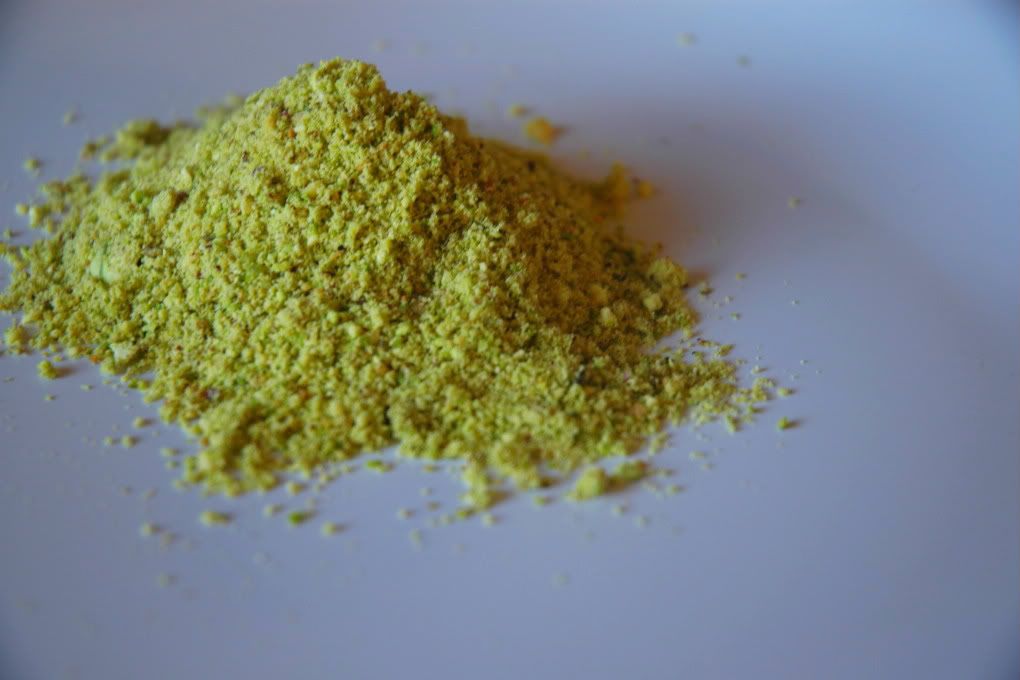
I love the color green, perhaps that's why I love pistachios!
I also had to brainstorm what design I wanted to decorate the cake with. I ended up jet doodling sketches of this cake curing calculus. I kid you not, the guy to my right was just doodling memes while the guy to my left checked out into la la dreamland for the period. Within my vicinity I was the most productive. No worries, I will hop right onto calculus studying this weekend!
The funny thing about this cake was that I thought I would have saved money by buying pistachios and shelling them myself. I bought a jar for $5.00 and to my dismay the shelled pistachios fill up a quarter of the volume of the container. Talk about a moment of utter despair when I just stared at the bowl of shells and then the pathetic jar of pistachios. Words of advice, just buy unsalted shelled pistachios. Save yourself the anguish.
This cake has fine crumb almost like a chiffon, but it is also dense. The pistachio flavor came out well, and the green hue is simply delicate. The cherries added a bit of tartness and the rose added a hint of a floral note to tie it all together. I also used the delicious buttercream frosting from Cherry Choc Cupcake. I posted the scaled down version I used below using marscapone, but definitely check out her post. This was definitely a fun cake for me to make despite the bumps in the road. Enjoy!
Pistachio Chiffon
Yields one 20 x 16 inch jelly roll pan
INGREDIENTS
  • 120 grams cake flour
  • 160 grams sugar
  • 50 grams finely ground pistachios
  • 1/2 teaspoon baking powder
  • 1/4 teaspoon salt
  • 2 1/2 egg yolks
  • 1/3 cup water
  • 1/4 cup melted butter
  • 1 teaspoon vanilla extract
  • 4 egg whites
  • 3/4 teaspoons cream of tartar
DIRECTIONS
Preheat oven to 325 degrees fahrenheit
  1. Combine the flour, sugar, pistachios, baking powder, and salt in a large mixing bowl.
  2. Whisk together the egg yolks, vanilla, water, and melted butter. Pour this liquid into the dry ingredients and whisk to combine.
  3. Put the cream of tartar into the egg whites. Beginning on low speed of a mixer, beat the egg whites. Increase the speed gradually to obtain soft peaks.
  4. Fold the egg whites into the batter in 3 additions. Pour into a parchment paper lined pan and bake until golden. Roughly 15 minutes for a 20x16 inch jelly roll pan.
Marscapone Buttercream
INGREDIENTS
  • 1 cup sugar
  • 2 1/2 tablespoons flour
  • 2 tablespoons cornstarch
  • pinch of salt
  • 1 cup milk
  • 1 teaspoon vanilla extract
  • 4 oz marscapone
  • 2 sticks unsalted butter, room temperature 
DIRECTION
  1. Whisk together the sugar, flour, cornstarch, salt, and milk. Pour through a sieve to get any chunks out, and cook the mixture over medium heat, stirring constantly until it becomes thick. Allow to cool to room temperature.
  2. On medium speed of a mixer, beat the cooked milk mixture for a few seconds, and then begin adding in the butter a few tablespoons at a time. Once all the butter is incorporated, add in the marscapone.
  3. Beat the buttercream until fluffy, and then add in the vanilla. Use immediately.
  4. To get the cherry rose filling, add in some finely chopped dried cherries and a drop or two of rose essence depending on how you divvy up the frosting.  

Tuesday, March 27, 2012

Strawberries n' Cream Scones

Pin It

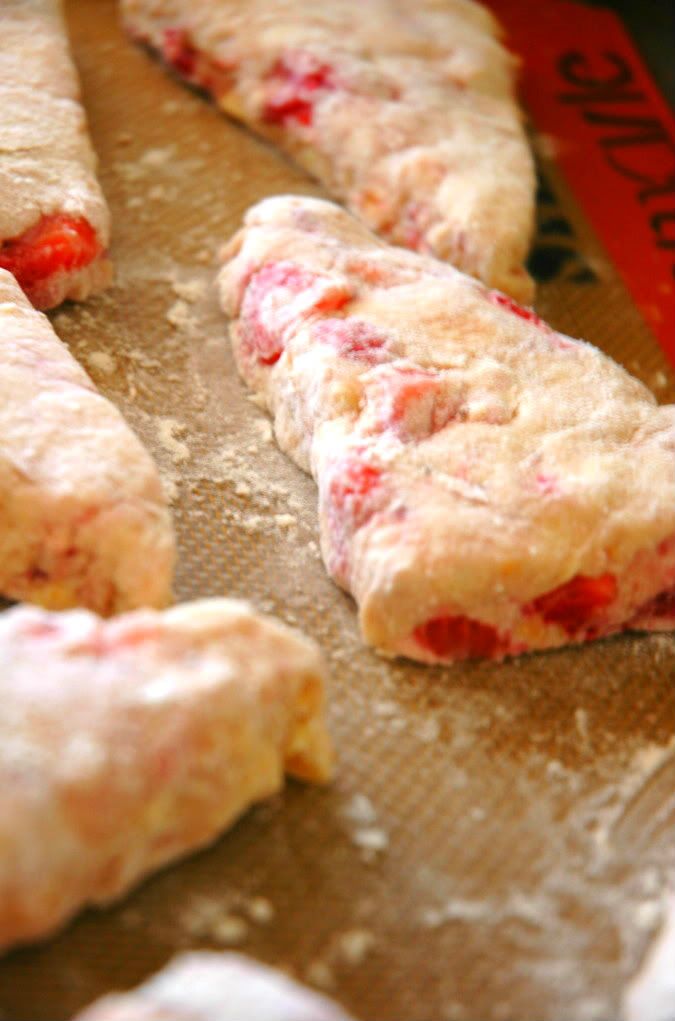
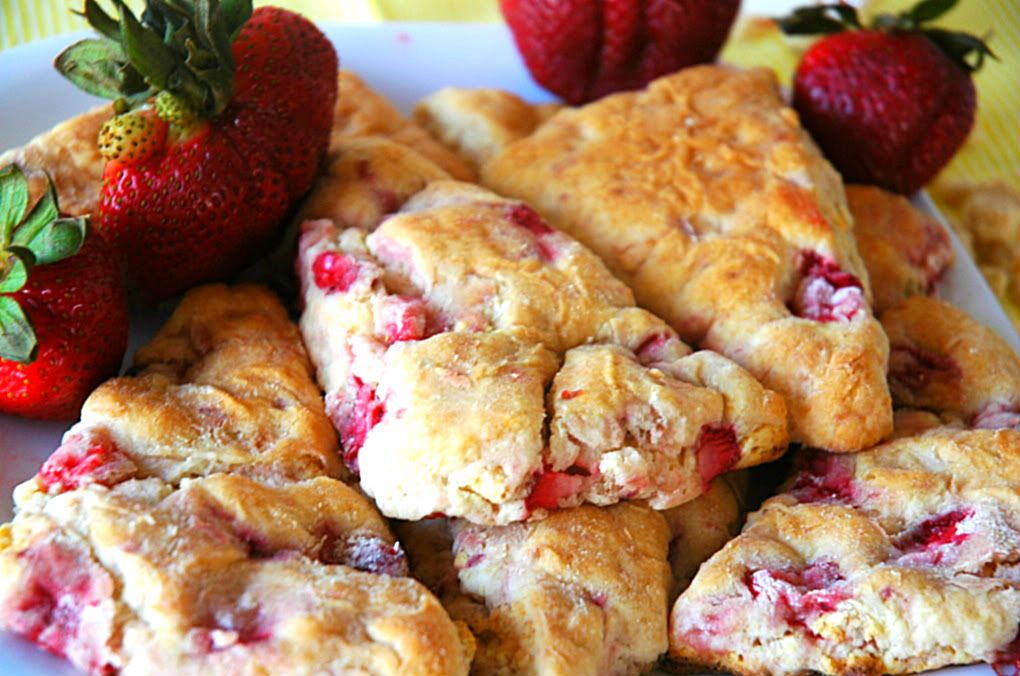
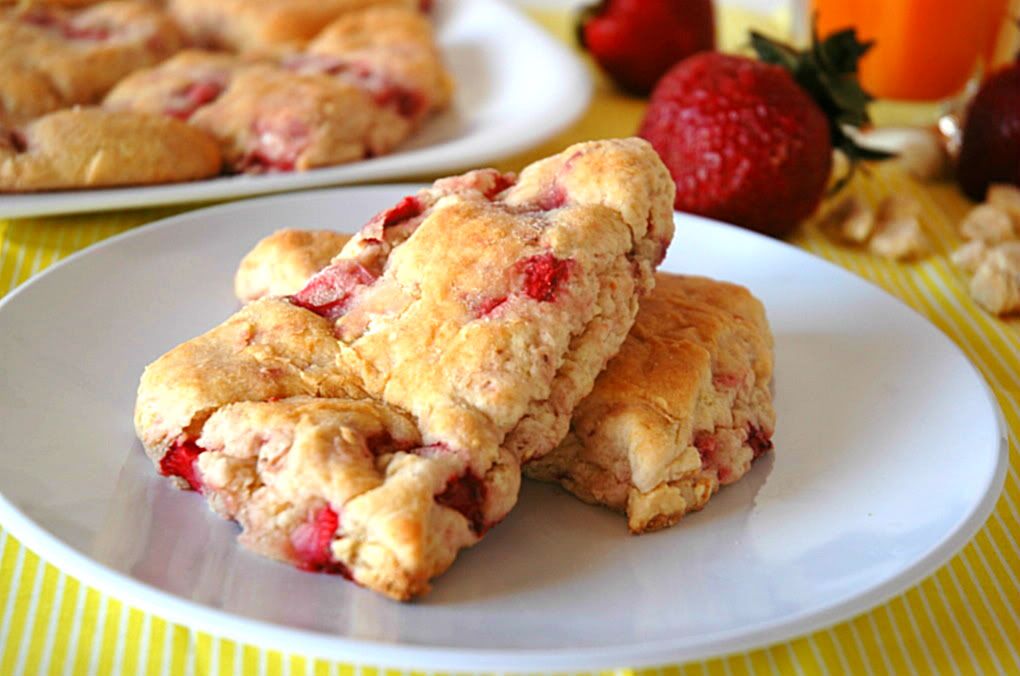
I woke up and decided to make strawberry scones. Usually my sister gives me ideas on what to bake. She saw a picture of animal cupcakes on Facebook which prompted me to make these earlier this week. To make the scones even more special, I added milk crumbs and opted for the all out usage of heavy cream instead of half and half or buttermilk. SO much cream. I do admit the dough was silky smooth because of it though.

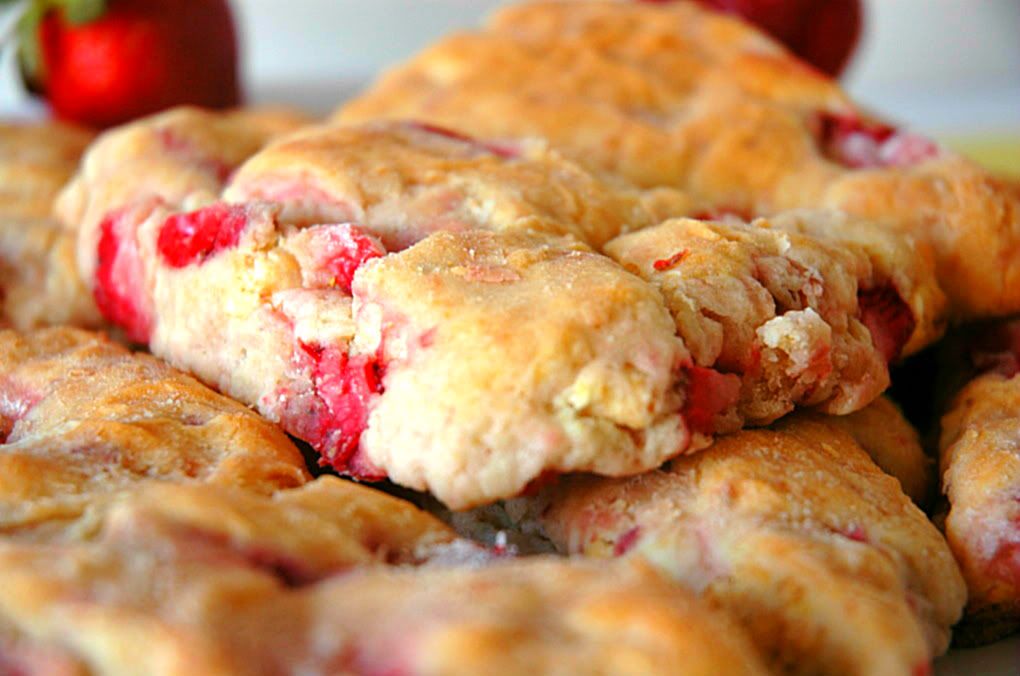
These are amazing. They're tender, chock full of strawberries, and that crunchy milky bite from the milk crumbs ties all the flavors together. Sure there were a ton of dishes to clean, a few extra steps for the milk crumbs, but rest assure they are worth every tasty morsel. The scone recipe itself is actually quite simple.
Mmmm... milk crumbs
I promised my older sister I would make her mandu (Korean dumplings) this week, so I will hop right on that later today. That means I can use my nifty dumpling press I got from the Asian supermarket! It's so exciting to whip that contraption out. Perhaps I'll make a post about those dumplings, but they're not necessarily baked goods.
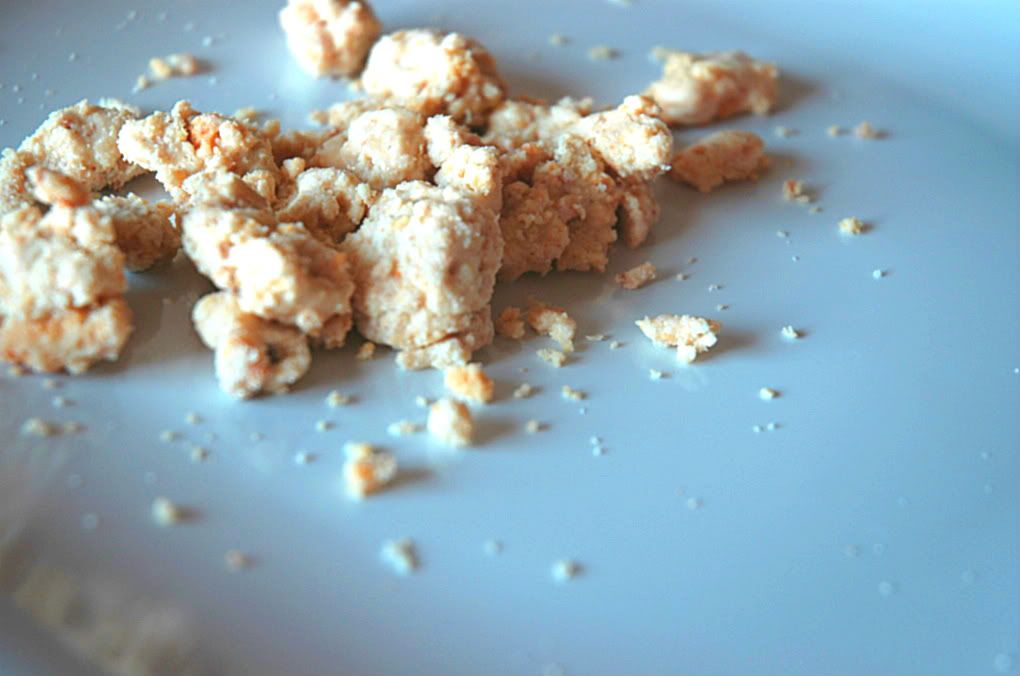
You can find the milk crumb recipe here. You may not need use all of the milk crumbs the recipe yields, but cutting the recipe down may result in some funky measurements.
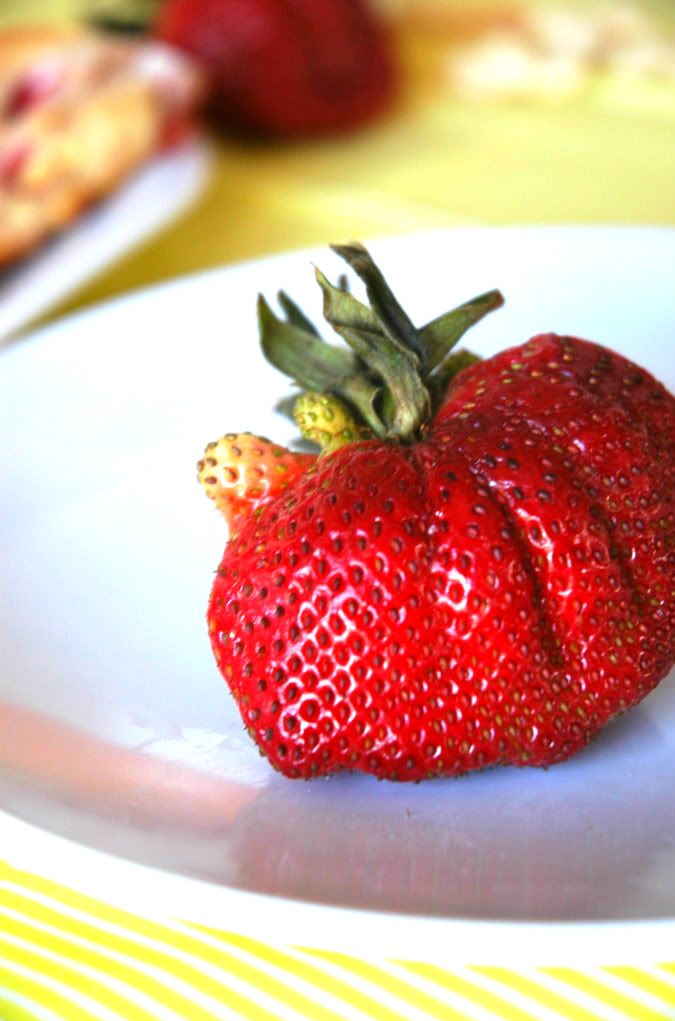
...? Wart? 
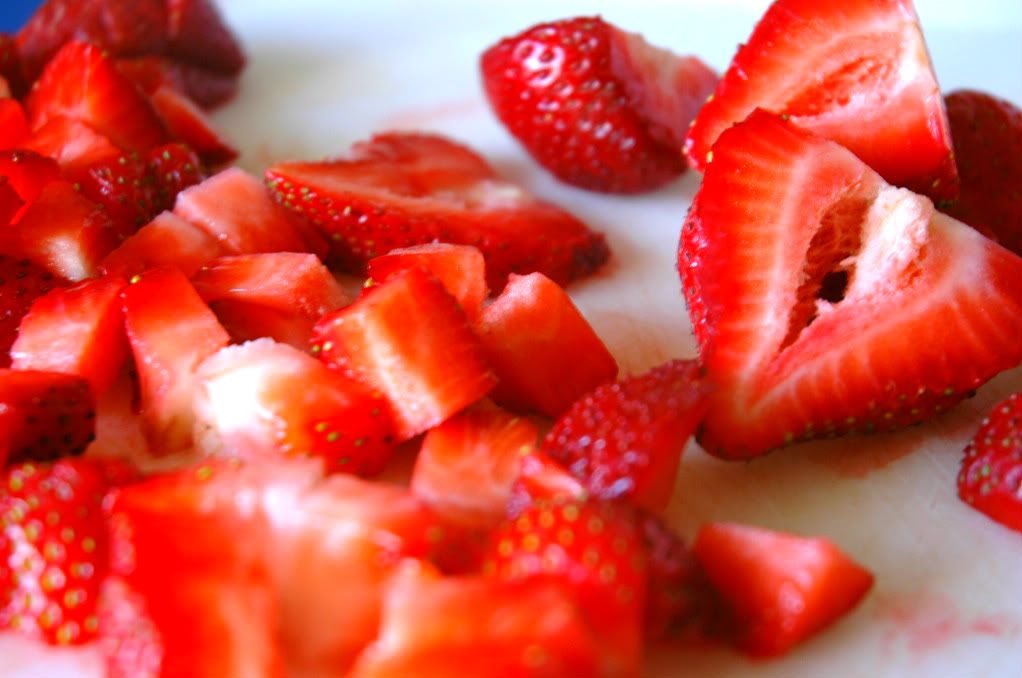
If your strawberries are extra juicy, dice them up and spread them out on paper towel to soak up the moisture. They will be difficult to incorporate into the dough if they're too wet. Enjoy!
Strawberries n' Cream Scones
Yields 8 scones
INGREDIENTS
  • 2 cups all-purpose flour
  • 1 tablespoon baking powder
  • 3 tablespoons sugar
  • 1/2 teaspoon salt
  • 5 tablespoons cold butter, cut into cubes
  • 1 cup diced strawberries
  • 1/2 cup milk crumbs
  • 1 cup heavy cream
DIRECTIONS
Preheat oven to 400 degrees Fahrenheit
  1. Dump the flour, baking powder, sugar, and salt into a food processor. Pulse for a few seconds until all the dry ingredients are thoroughly mixed.
  2. Add in the cold butter and pulse for about 30 seconds until combined. 
  3. Dump the mixture into a large mixing bowl. Mix in by hand the strawberries and milk crumbs. Slowly add in the cream until a dough ball forms.
  4. Place dough onto a light floured surface and form into a rectangle so that you can cut out 8 wedges. 
  5. Place onto an ungreased baking sheet, and bake for 12-15 minutes or until golden brown. 

Sunday, March 25, 2012

Cute Critter Cupcakes

Pin It
Spring is officially here! It's been inexplicably warm lately. Scratch that, sweltering. Both Thursday and Friday emulated the heat of summer. Imagine two straight hours of class at high noon sitting under the beating sun... in jeans! Sweat fest much. Where are the drizzles of rain, the light breezes, the crisp air?
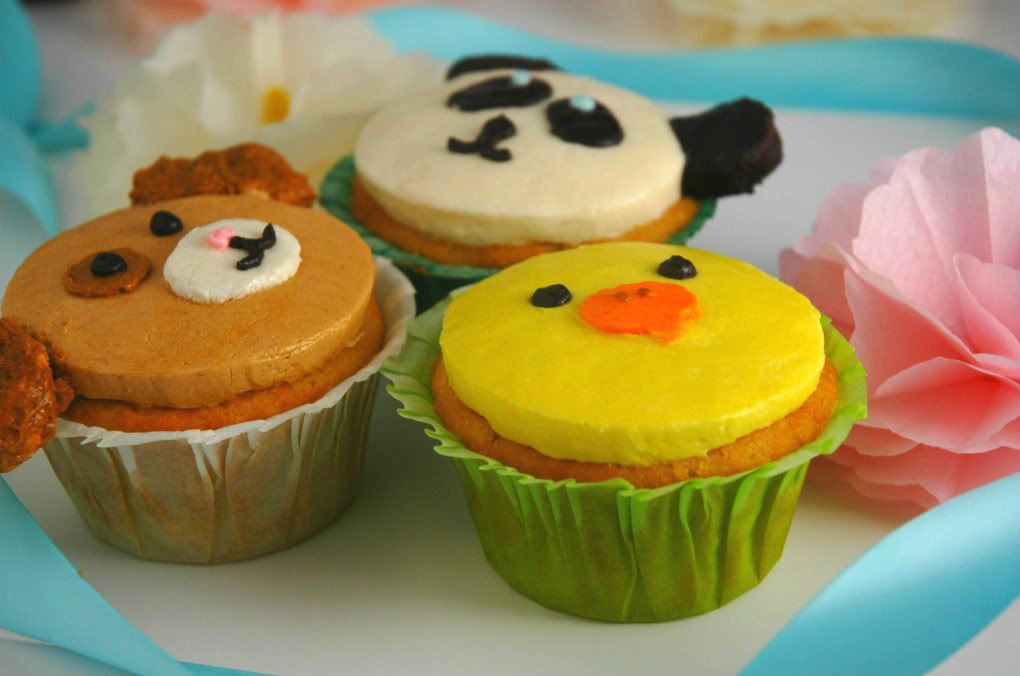
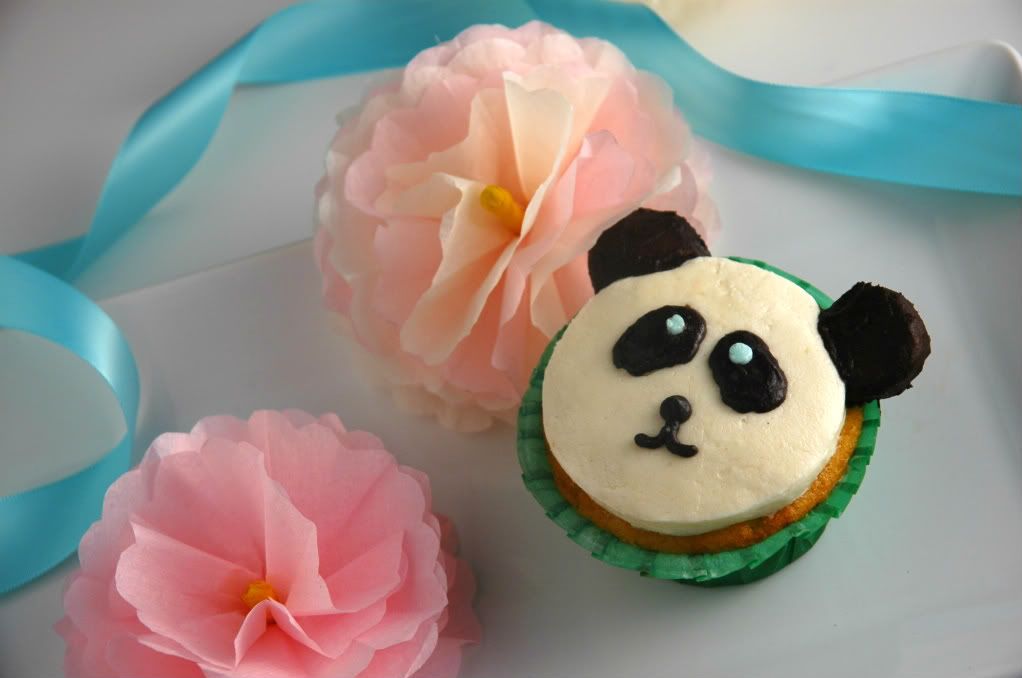
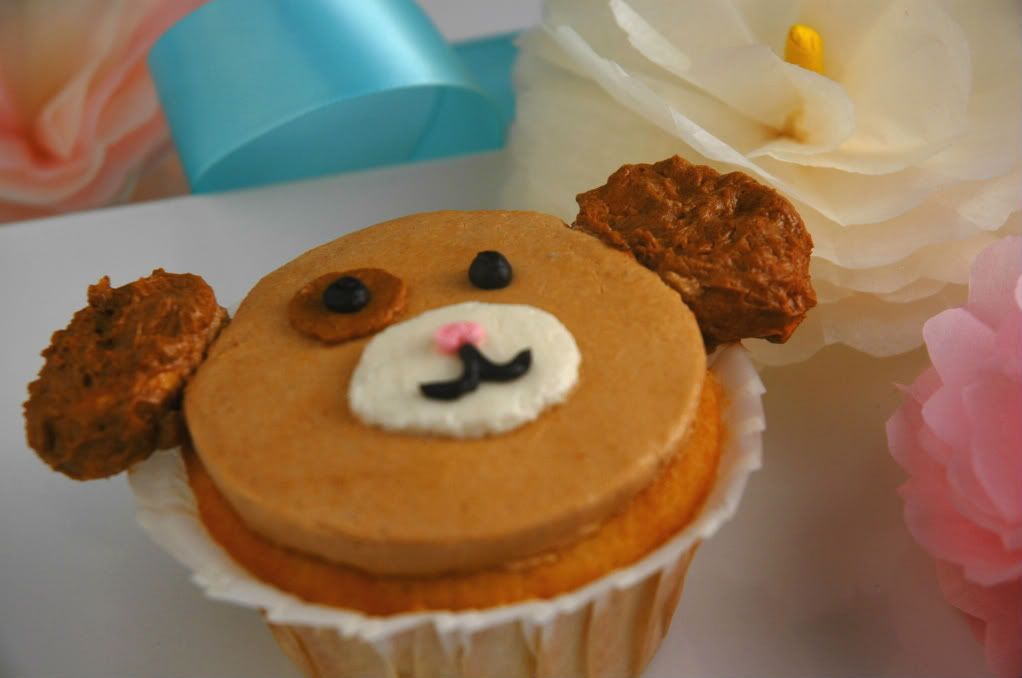
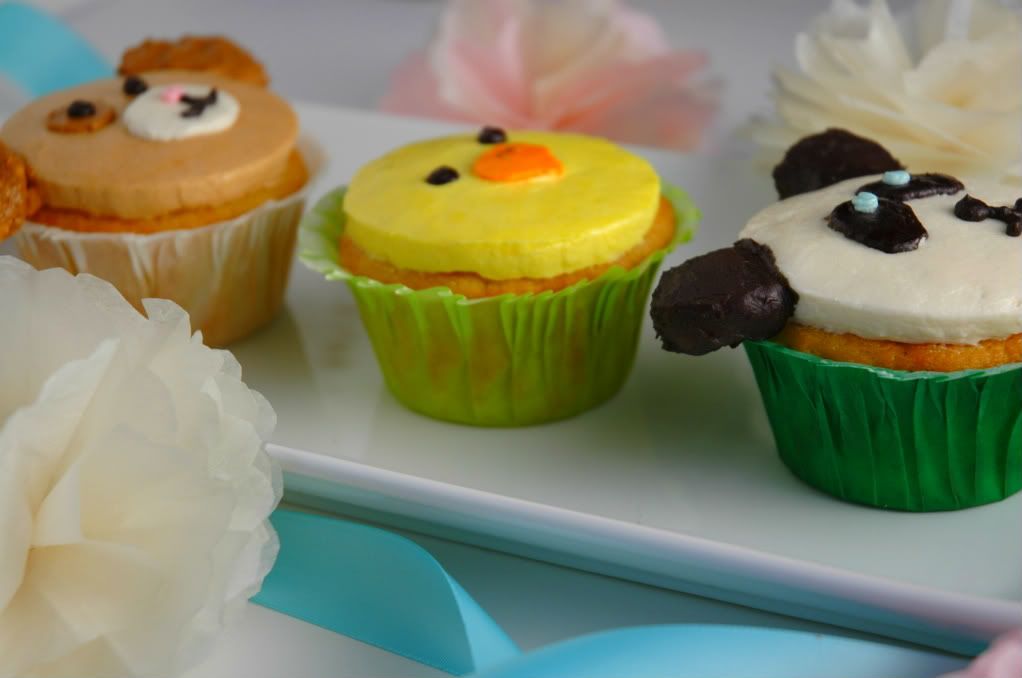
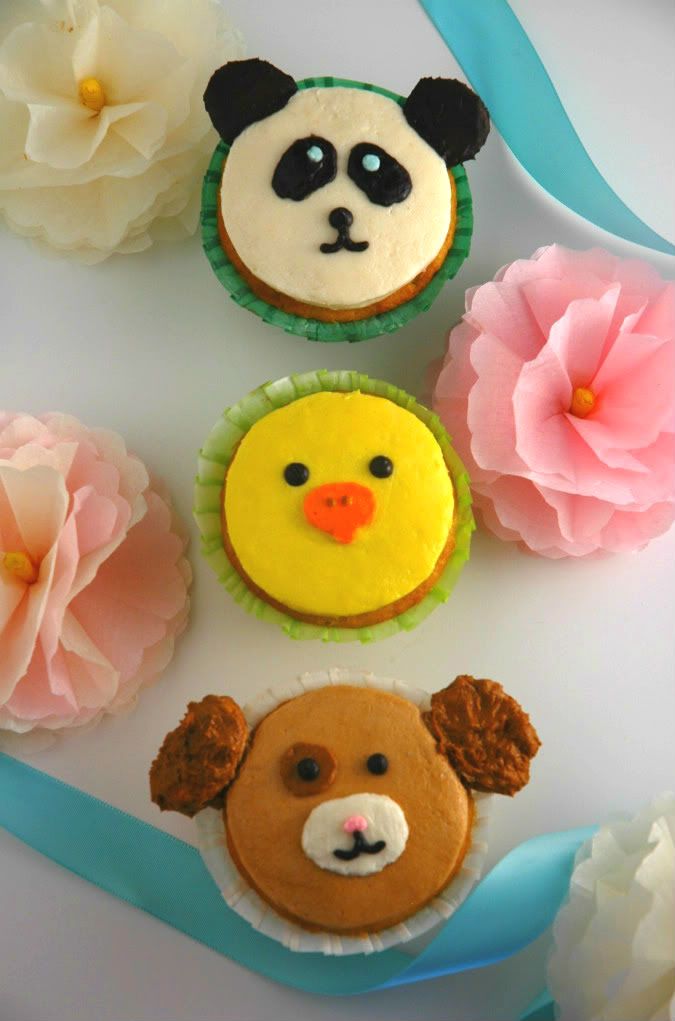
The panda freaks me out a bit... My mom though it was cute though!
On the bright side it is Spring break, which means plenty of time to relax, study a bit, and catch up with old friends. Of course I'm going to bake like a maniac. I'm thinking strawberries and cream scones tomorrow morning. Peaches and cream? We'll just see what flavor I am craving when I wake up.
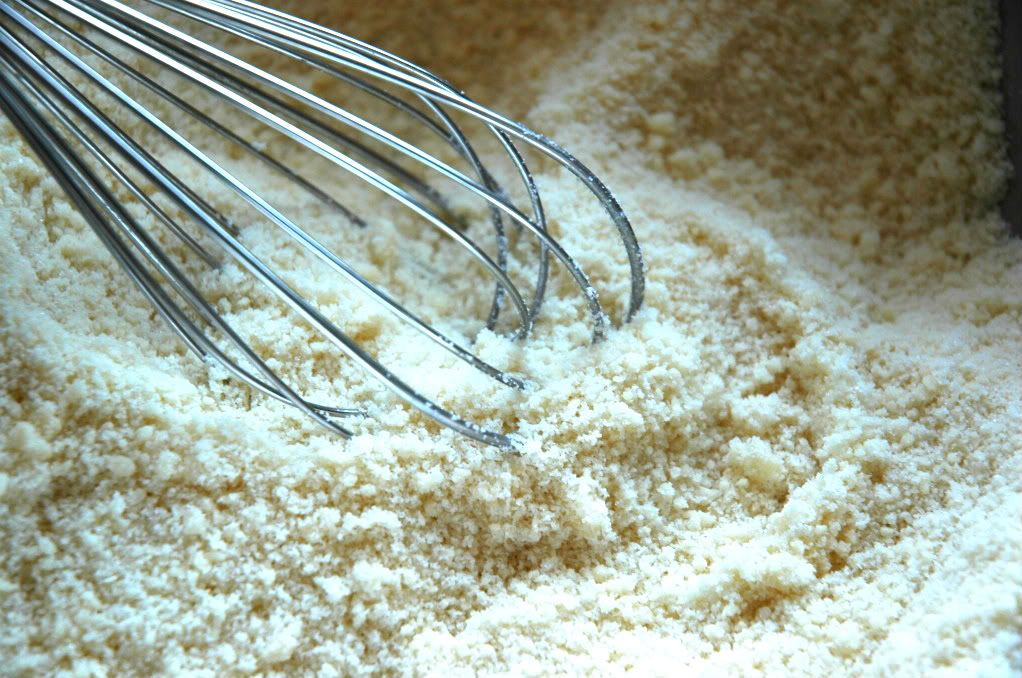
This is NOT the cupcake recipe below, but the first recipe I tried had an interesting method of crumbling butter into the flour to make a sandy mixture. Unfortunately these cupcakes collapsed:(
I am obsessed with the Draw Something app for the iPod touch/iPhone. It is the new Words with Friends and it has swept the nation it seems. I think what makes it so entertaining is the fact that you can watch the process of the person drawing the word. My sister had to draw the word "pregnant". At first it looked like an alien parasite in someone's belly, and then it looked like a spider hugging a person. That sense of satisfaction when the epiphany strikes you makes the game worth while. It's worth it even if you get stuck staring at the screen, rotating the iPod because you think if you look at it from another angle the amoeba looking doodle will start to resemble something. HAHA. 
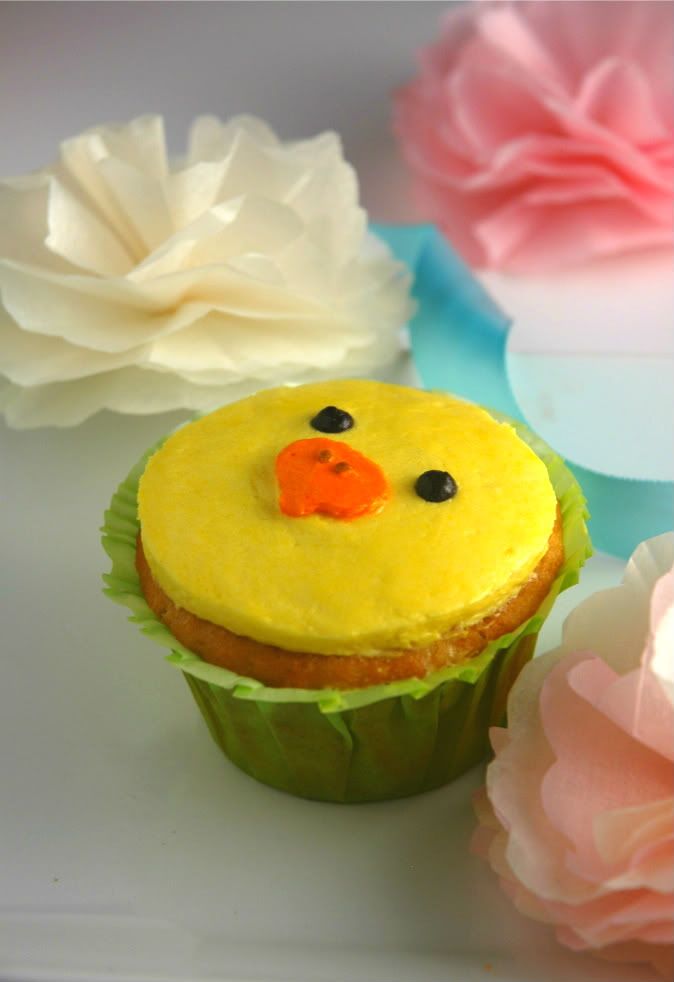
These cupcakes took forever. Surprisingly not as long as the cupcakes from my cupcake wars battle earlier this month. I bought gel food coloring and that made the colors very vivid without altering the texture of the buttercream one bit. Using fondant or modeling chocolate probably would have been the easier route to make the facial features, but unfortunately I had neither on hand. I just stood in the kitchen for two hours smoothing out the buttercream. It was well worth it. The little chuckle my dad gives me as he walks by my baking projects is the seal of approval of mission adorable/cute accomplished.
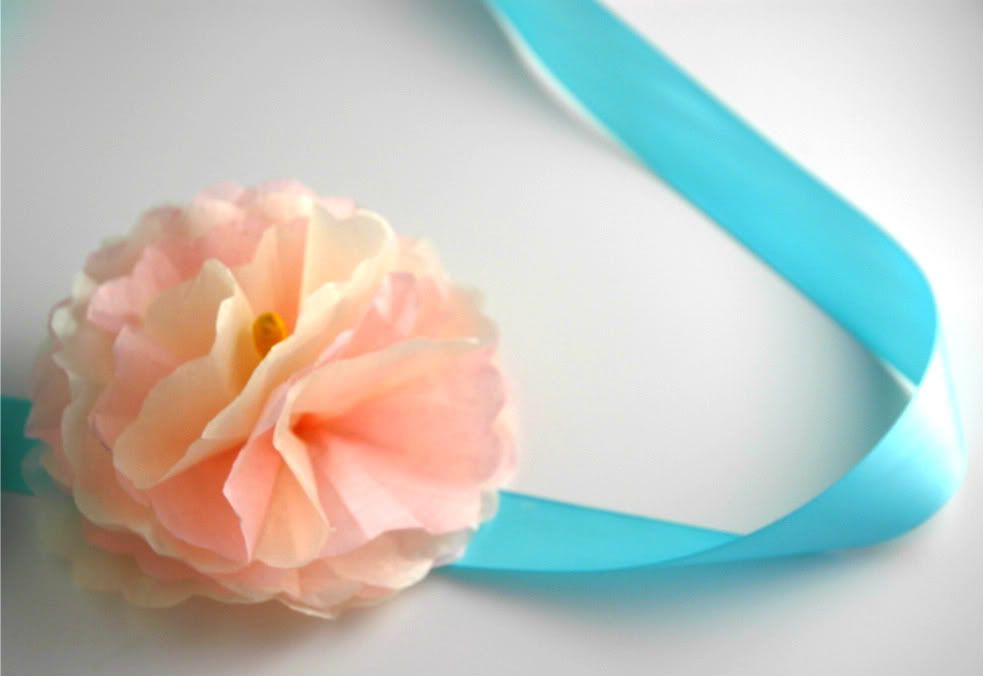
Pretty pink tissue paper flower I made
Try out the recipe below! The little chickadee would be perfect for Easter, the puppy for a birthday party, and well the panda is just random quite honestly. The cupcakes were absolutely delicious. One of the best yellow cake recipes I've made. Use any vanilla buttercream you desire, but I do recommend using one that does NOT crust, unless you are a lightning fast froster/decorator. The ears are simply sliced marshmallow pieces frosted in the buttercream. Enjoy!
Classic Yellow Cake
From The Smitten Kitchen
Yields 12 cupcakes
INGREDIENTS
  • 240 grams cake flour 
  • 1 teaspoon baking powder 
  • 3/4 teaspoon baking soda 
  • 1/2 teaspoon salt 
  • 1/2 cup unsalted butter, room temperature
  • 200 grams sugar 
  • 1 teaspoon vanilla 
  • 2 eggs 
  • 1 cup buttermilk
DIRECTIONS
Preheat oven to 350 degrees Fahrenheit
  1. Sift together the flour, baking powder, baking soda, and salt into a bowl and set aside.
  2. On medium speed of a mixer, cream together the butter and sugar until light and fluffy. Add in the buttermilk and vanilla. It will look very curdled at this point.
  3. Add in the eggs one at a time. 
  4. Mix in the flour on low speed in three parts. Be careful not to over mix. Spoon into cupcake liners until 3/4 of the way full and bake for 15-20 minutes or until golden brown. 
Related Posts Plugin for WordPress, Blogger...
Pin It button on image hover