Showing posts with label french. Show all posts

Monday, November 12, 2012

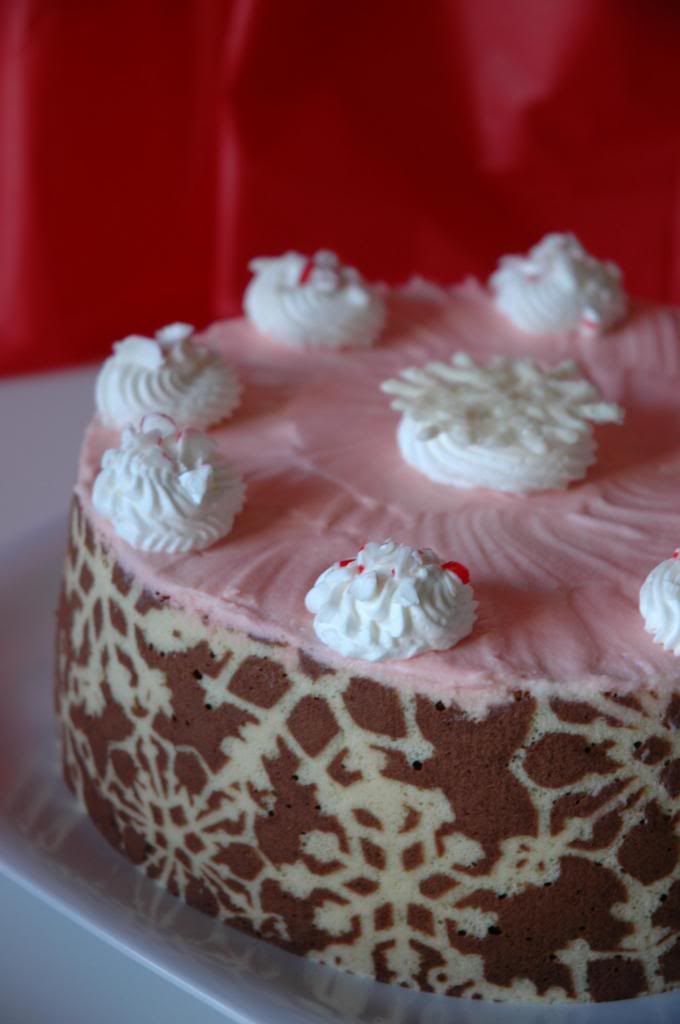
Peppermint Entremet

Pin It
Okay, so the pomegranate entremet didn't work out so well. I couldn't get the right flavor for the pomegranate mousse component, so I ended up tossing out the entire cake a week after it was just sadly sitting in the refrigerator. It's hard to part ways with a project you've worked so hard on! 
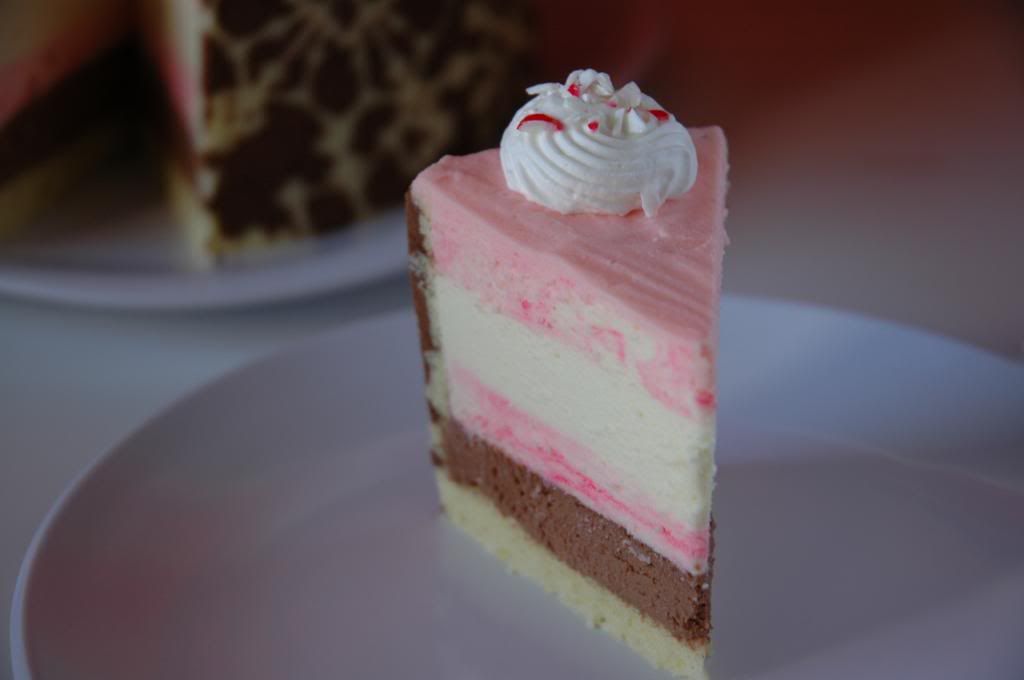
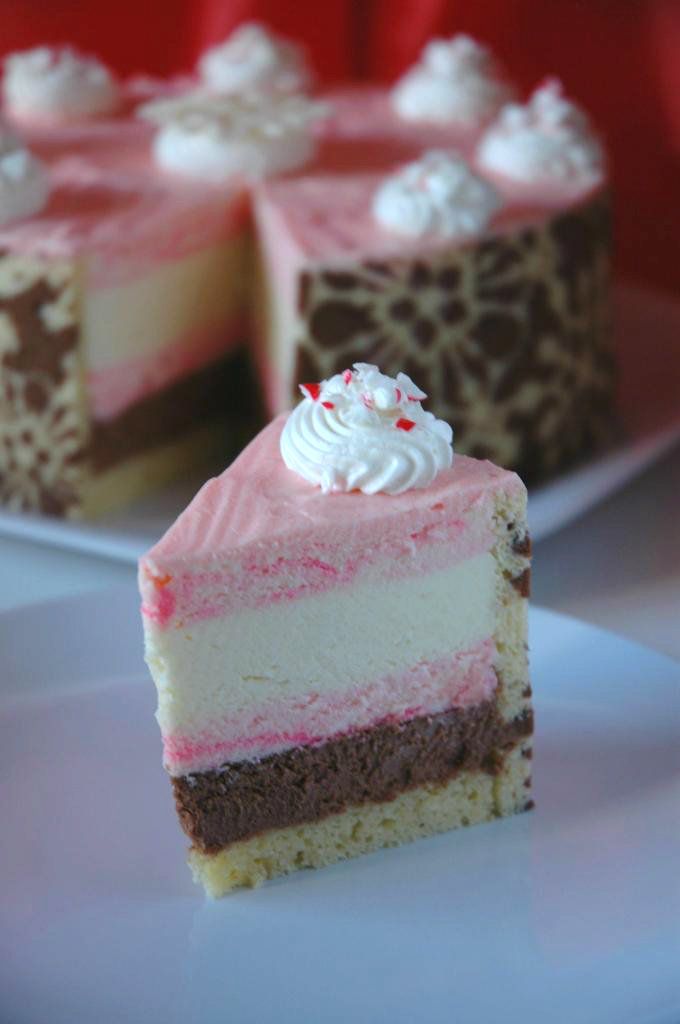
Looks like I've hopped on the Christmas bandwagon before Thanksgiving even rolled around. There's one layer of dark chocolate mousse, one layer of white chocolate mousse, and two layers of white chocolate peppermint mousse. I tried swirling the peppermint layer to look like a candy cane, but the combination of smoothing the layers and over-mixing in the first place simply resulted in a homogeneous pink. 
I made six snowflakes, and only one survived! I need to learn to temper chocolate properly.
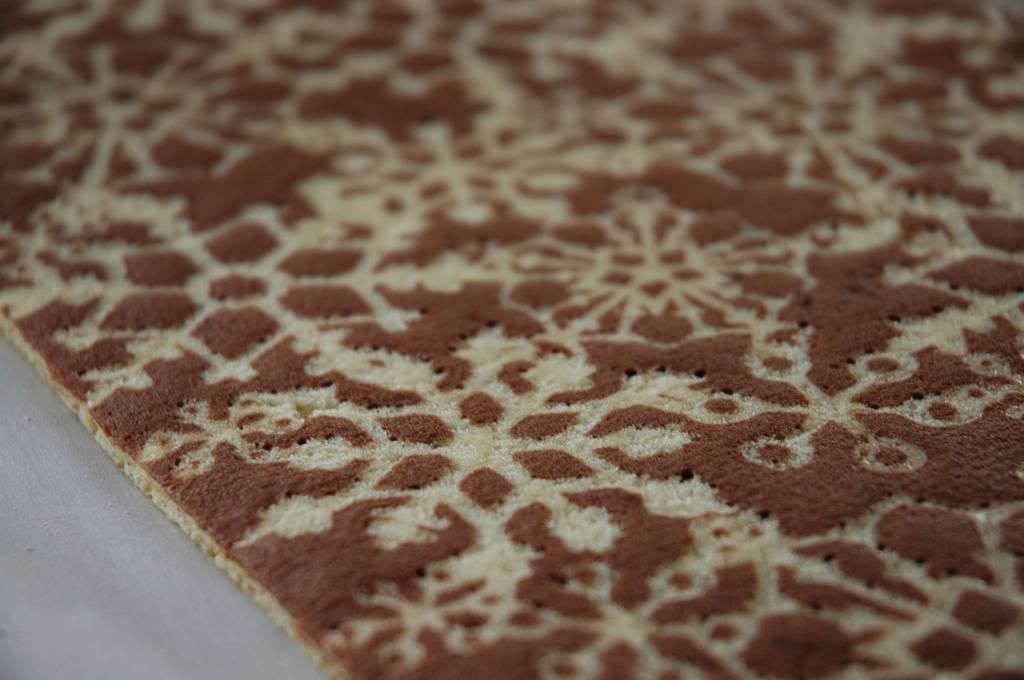
The snowflake pattern joconde sponge that wraps around the mousses.
I had to try the white chocolate mousse twice. I initially thought I could fold in crushed peppermint candies to achieve a nice mint flavor with an added crunch from the candies. The more I folded, the more the candies dissolved and then disaster. The mousse started to curdle, so I'm assuming there was some sort of water soluble chemical in the peppermints that adversely reacted with the cream. I think I made a total of four trips for ingredients for this cake. Resilience is a trait all bakers need to have!

To make his cake a little less tedious, I recommend measuring out all the cream the mousse recipes call for and whip it all together in a very large bowl.. You can eyeball and allocate the whipped cream to the separate mousses.
Joconde Sponge
Refer to this link: Here!
For my entremet, I halved the chocolate paste, and doubled the sponge recipe component. You will end up with a lot of sponge left over, but I couldn't figure out how to resize the recipe for my particular needs.

White Chocolate and Peppermint Mousses
Refer to this link: Here!
Make the entire recipe, and then split it in half. Add a 1/2 teaspoon of peppermint extract to one half. Add a bit of red food coloring if desired. If you don't want the peppermint layer to be as pink as mine, be sure to barely fold to maintain a swirled effect.

Dark Chocolate Cream Cheese Mousse
INGREDIENTS
  • 4 oz dark chocolate
  • 3 tablespoons cream cheese
  • 3 tablespoons heavy whipping cream
  • 1/4 cup sugar
  • 1 1/2 cup heavy whipping cream
  • 1 tablespoon cold water
  • 1/2 teaspoon gelatin
DIRECTIONS
  1. Melt the chocolate, cream cheese, 3 tablespoons of cream, and sugar over a double boiler or in the microwave. Stir well until all is combined and smooth.
  2. Sprinkle the gelatin over the cold water. After letting it sit for a minute, microwave until gelatin is melted. Roughly 20 seconds. Whisk into the chocolate mixture.
  3. Whip the remaining cream. Fold in half of it into the chocolate mixture to lighten it up, then fold in the remaining half until everything is evenly incorporated.
ASSEMBLY OF ENTREMET
  1. Make the joconde and cut out strips to line a round cake pan to create the sides of your cake. Place a round piece of joconde in the center to make the base. Be sure to make the cake pieces fit as tightly as possible so mousse doesn't leak out. 
  2. Make the dark chocolate mousse. Spread it out on top of the base layer of cake. Freeze or refrigerate until set.
  3. Make the white chocolate mousse and divide as directed above. Spread half of the peppermint mousse on top of the dark chocolate mousse. 
  4. After the second layer of mousse is set, add all of the plain white chocolate mousse on top. After that is set, add the remaining peppermint mousse on top and smooth it out. Garnish with whip cream, chocolate decorations, or peppermint candies.

Wednesday, October 31, 2012

Long Lost Fruit Tart

Pin It
I plan on making a pomegranate entremet this weekend, so be on the lookout for that post!

College applications are more stressful than I thought they were going to be. I figured that organization would protect me from any hectic mishaps. In a sense that's true, but I still have had many late nights of editing and revising essays. Dark eye circles have consumed my face, so hopefully once I am able to submit everything I will get a good night's sleep.
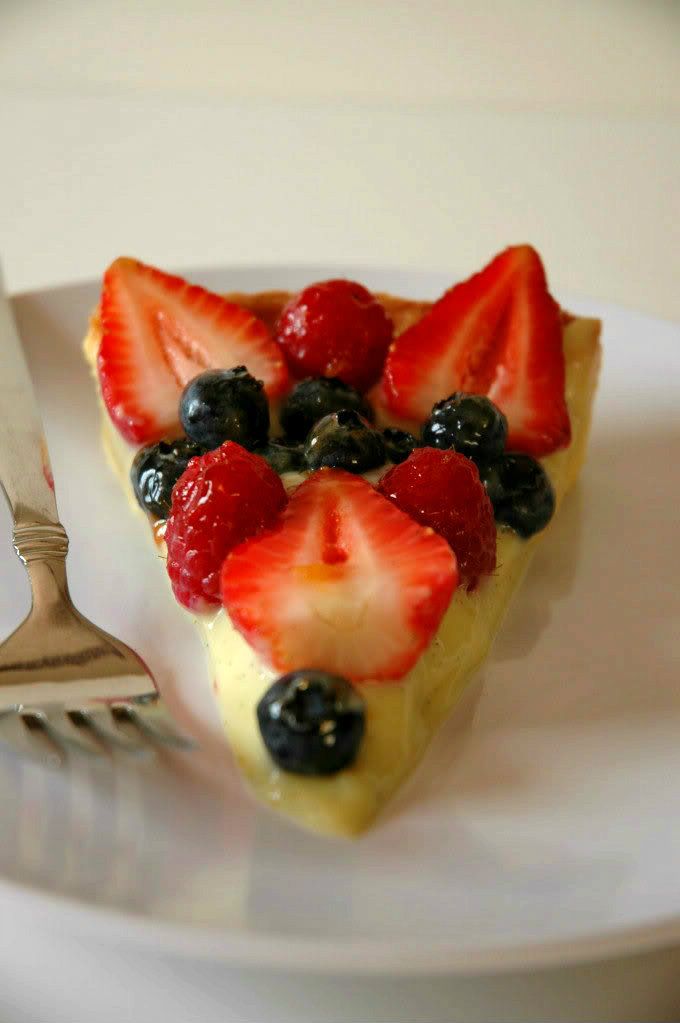
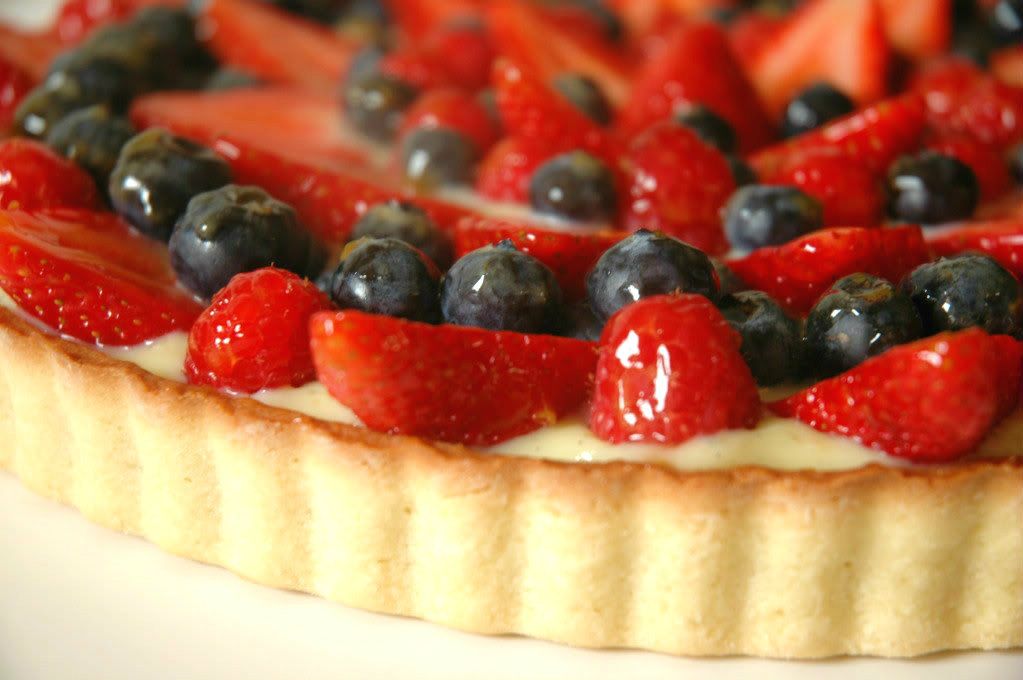
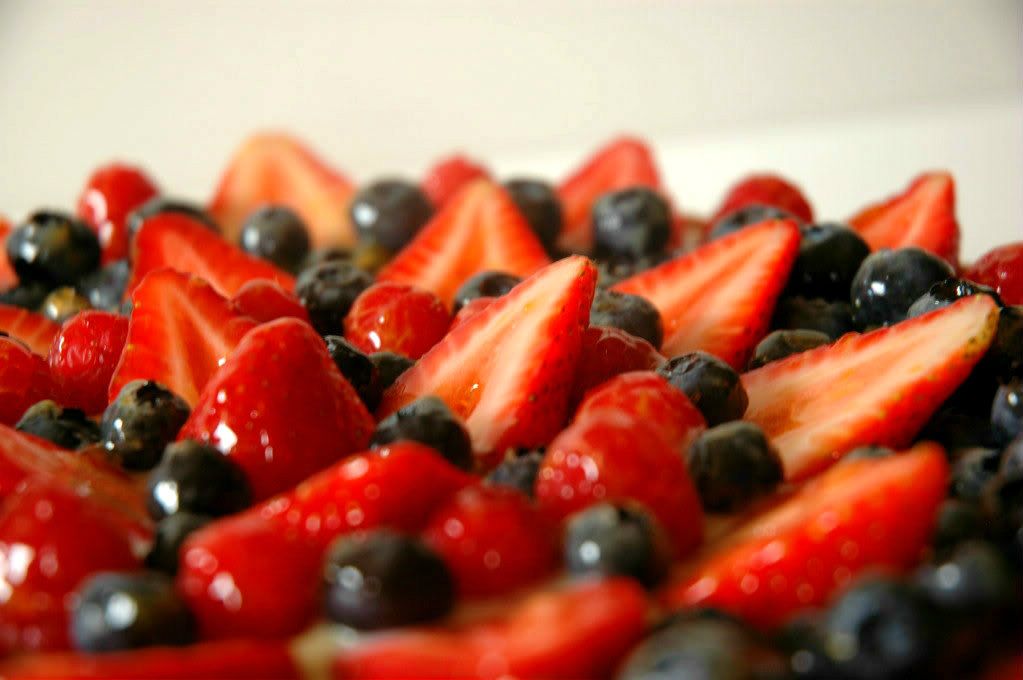
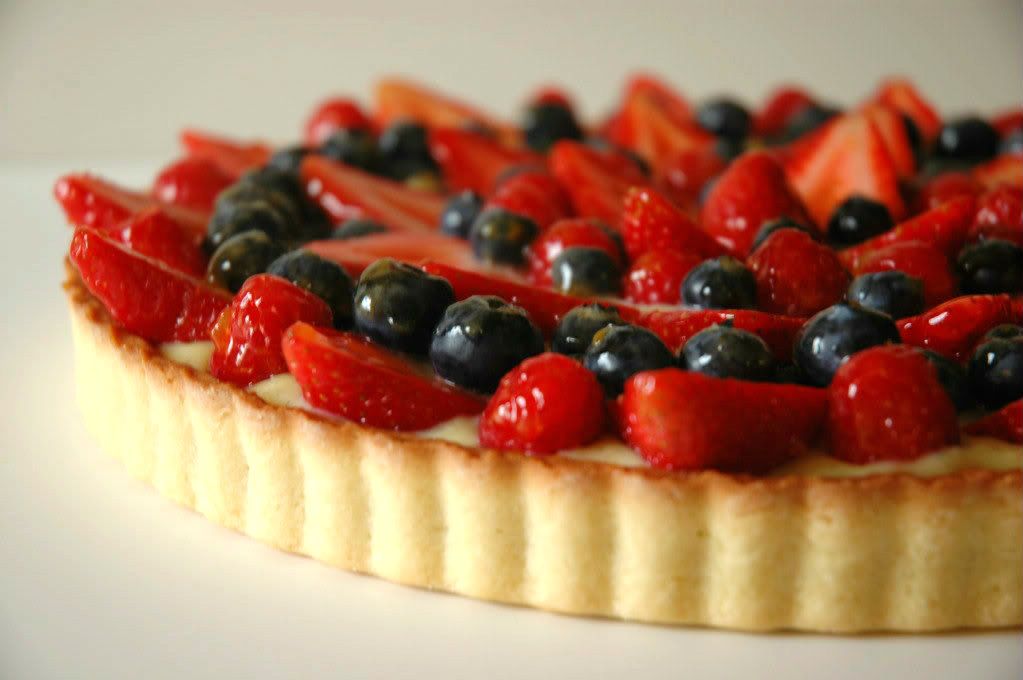
So this tart... was my dad's birthday "cake". A buttery shell with sweet vanilla pastry cream dolloped inside, and topped with a pattern of concentric circles of mixed berries. It is indeed fall where I live, so how did I find these ripe berries? That's where the "long lost" part of this blog post title comes in. My dad's birthday is in July. I found these pictures on my computer as I sweeping out my folders of any useless rubbish. I had uploaded them the day of my dad's birthday, but updating them to this blog must have completely escaped my mind. On a side note, these pictures bring up sad memories. My dad went fishing on his birthday! I starting preparing this tart, and then after completion, my mom told me the birthday boy wasn't going to be back for two days! Next year, we need better communication.

Please visit Gourmet or Gourmand for the recipe that I used. She has very thorough instructions to help you through the process of creating a beautiful tart.

A few tips:
  1. What I've learned from a little research is to brush the baked pastry shell with apricot jam to create a moisture barrier. The cream will not be able to seep through the crust, and you'll be left with a delicate dessert. 
  2. Make sure you eat this tart on the day you prepare it. If necessary, you can create the tart shell and cream ahead of time. However, do not slice or assemble the berries until you are ready to serve. 
  3. Add a little almond extract (or liqueur if you're of that age) to the pastry cream to add a different dimension for flavor. I also recommend using vanilla beans if you have any on hand, because it is both pretty and delicious.
  4. I absolutely despise blackberries, which is why they never came near this tart! The berries I ended up using were raspberries, blueberries, and strawberries. Use whatever fruit combinations that you like. 

Sunday, May 27, 2012

Hazelnut-Almond Dacquiose

Pin It
So it's been a while since I've put up a post... To my defense, AP testing and finals had me pretty busy for the past couple of weeks. Study, eat, study, sleep, study. That was my routine as the year came to its end. Worst, most stressful year of high school is over with though! Time to enjoy summer vacation! 
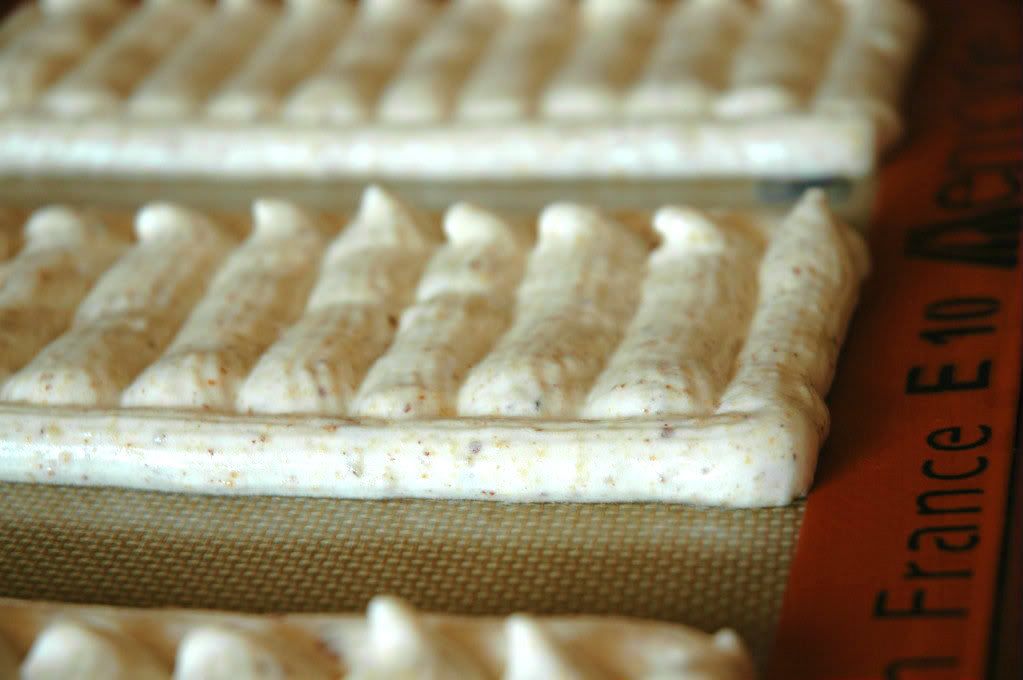
Piped meringue on my fantastic silpat mat!
I went fancy on this baking project this time. Dacquoise? I can attempt to pronounce that in a French accent and completely butcher it. I can also pronounce it with a mixture of my parents' accent and my regional accent to get a laugh out of my sisters. Either way, it's a delicious meringue dotted with nuts (almonds and hazelnuts in this case). 
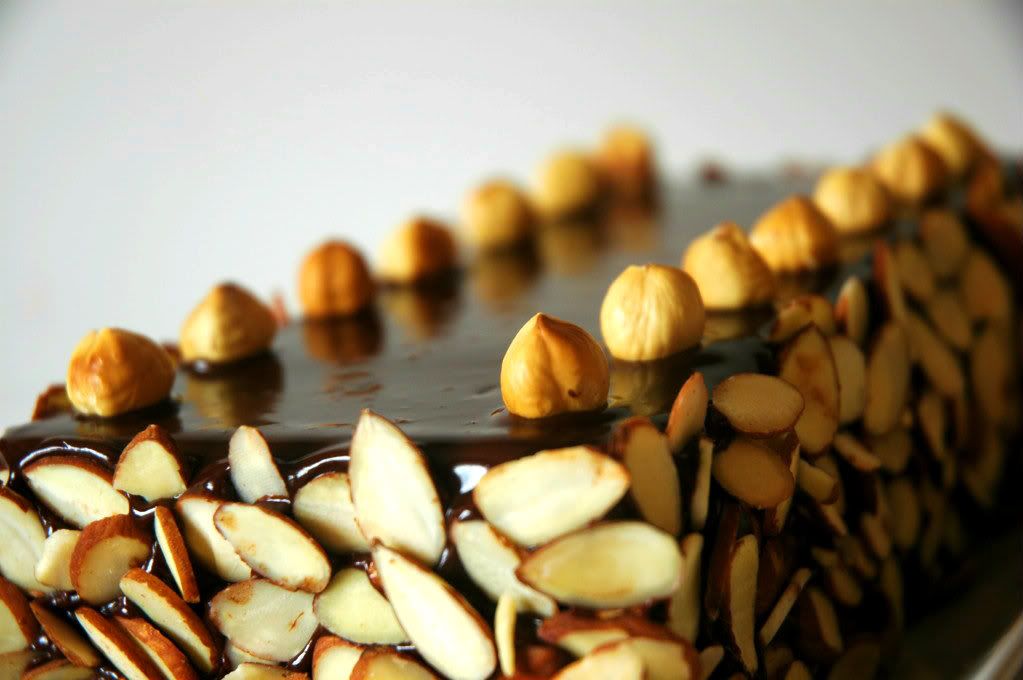
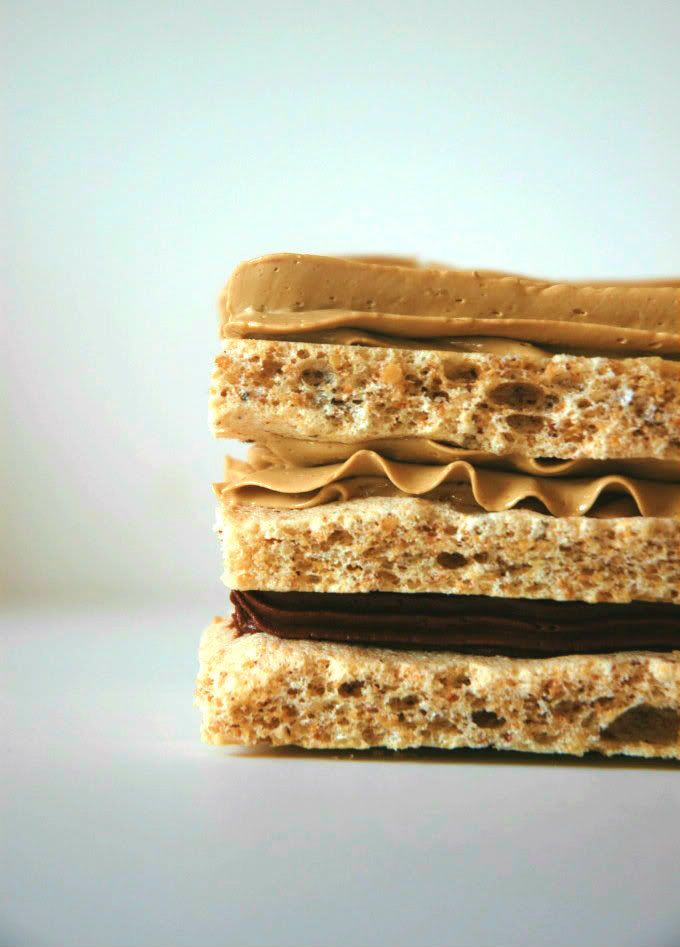
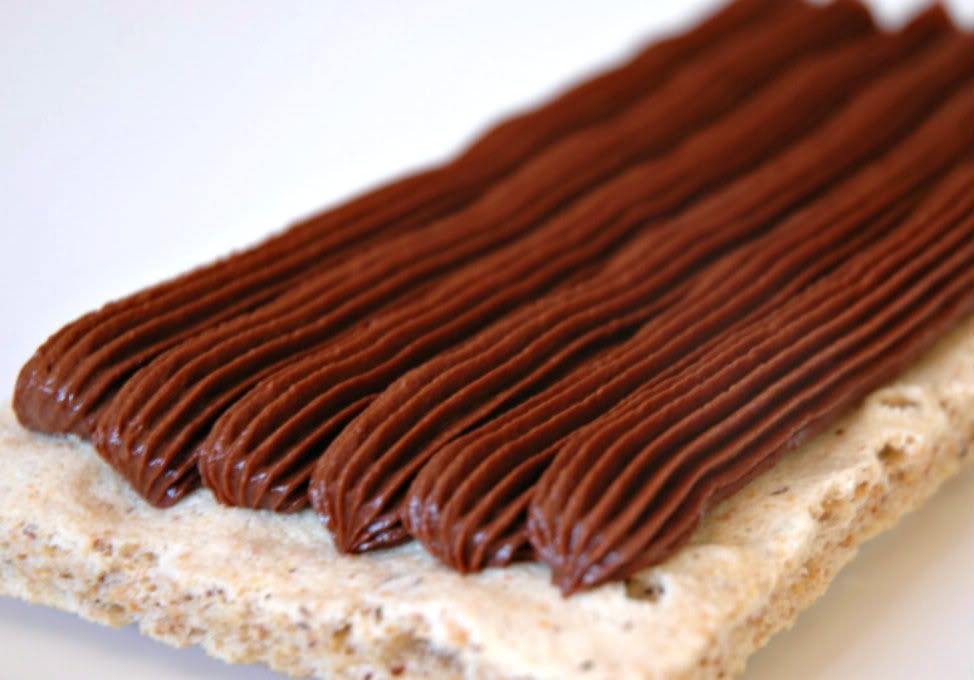
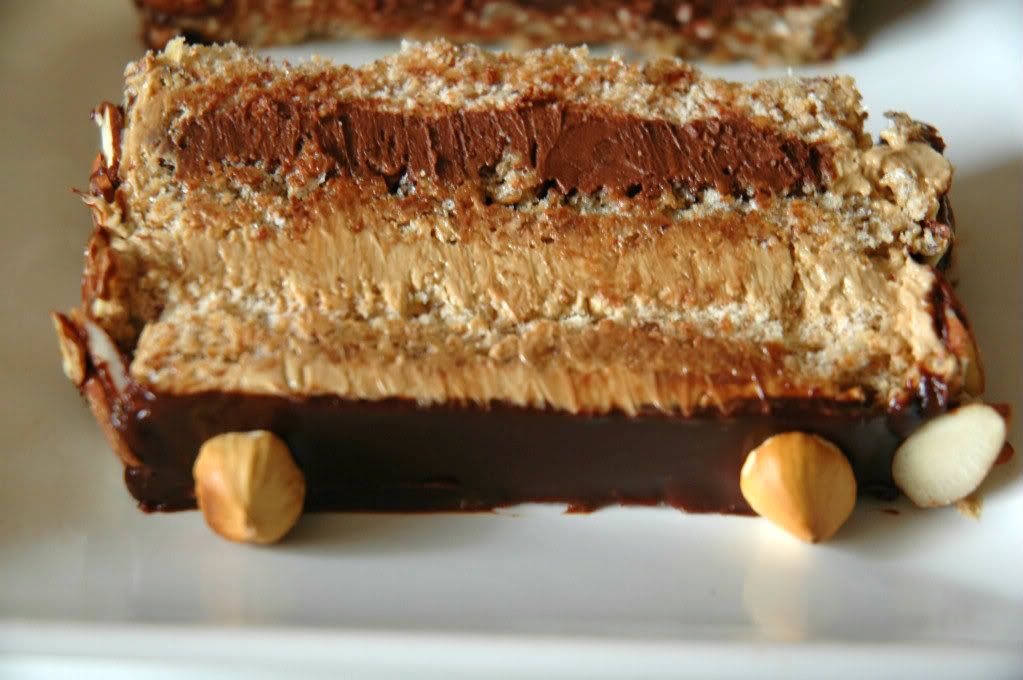
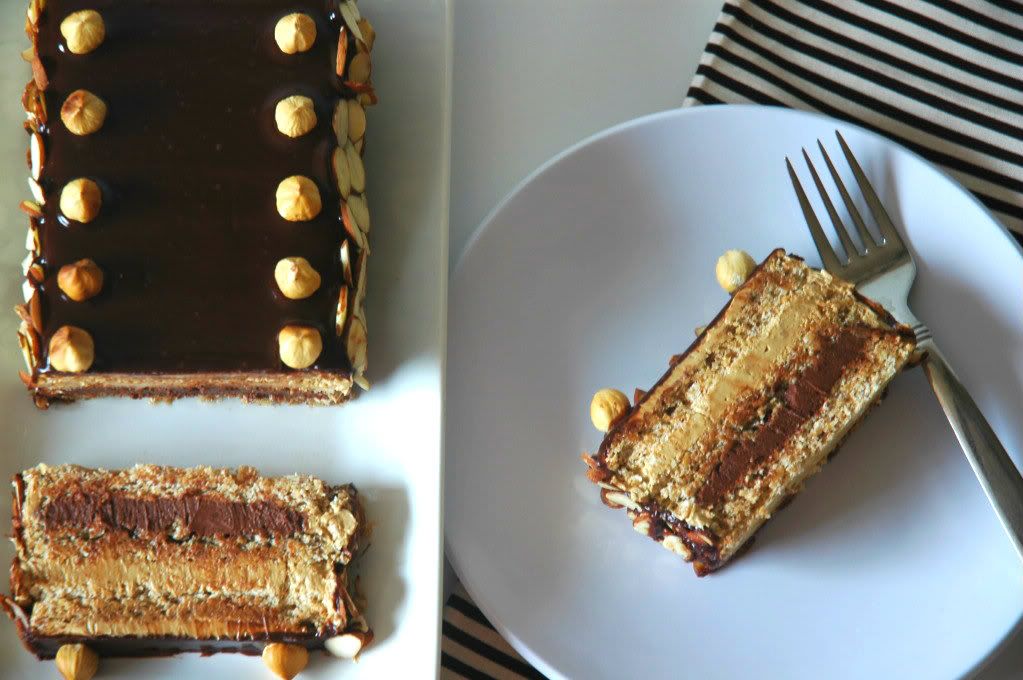
Referring to the picture right above, this dessert is make of three layers of crispy dacquoise, one layer of creamy bittersweet ganache, one layer of espresso buttercream, and then drenched in even more ganache to finish it off. The epitome of decadence. 

On a side note, I'm tempted to make my own vanilla extract. The only problem is getting a hold of some vodka... Buying pure, quality vanilla extract is very expensive. A minimum of $7.00 a bottle is too much to handle. 
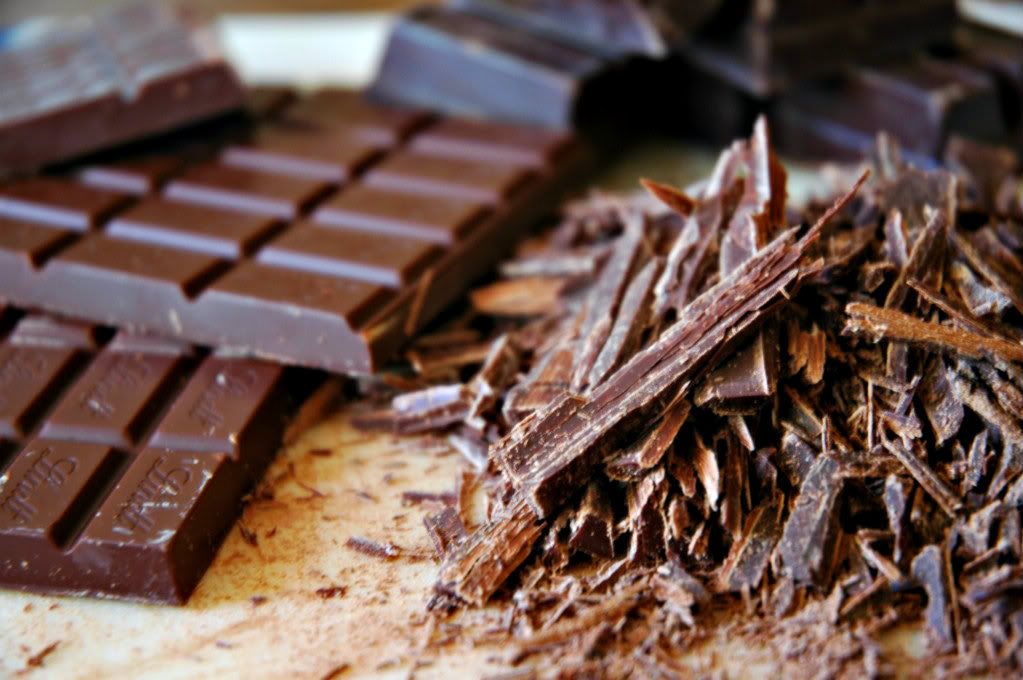
Good chocolate is key to luscious ganache! DO NOT use chocolate chips!
This cake had me tied up in the kitchen for a while. This is not necessarily because the technique utilized is inherently difficult, but because I'm a perfectionist. I did the meringue threes times. The first time I greased the silpat mat as directed in the directions, and the dacquoise just spread out too much. The second time the meringue got just a little too toasty, borderline burnt. Third time is definitely the charm. 
Because I'm quite certain it's illegal to redistribute the recipe I used, please check out the Flour Bakery cookbook by Joanne Chang. You can find it on amazon and probably your bookstore. It has a multitude of recipes with thorough instructions. My only complaint would be... not enough pictures! I am always on the hunt for good cookbooks that have pictures for every recipe. 

My few tips for this recipe:
  1. Try to use a silpat mat for the meringue and do not grease it. They layers peel off easier.
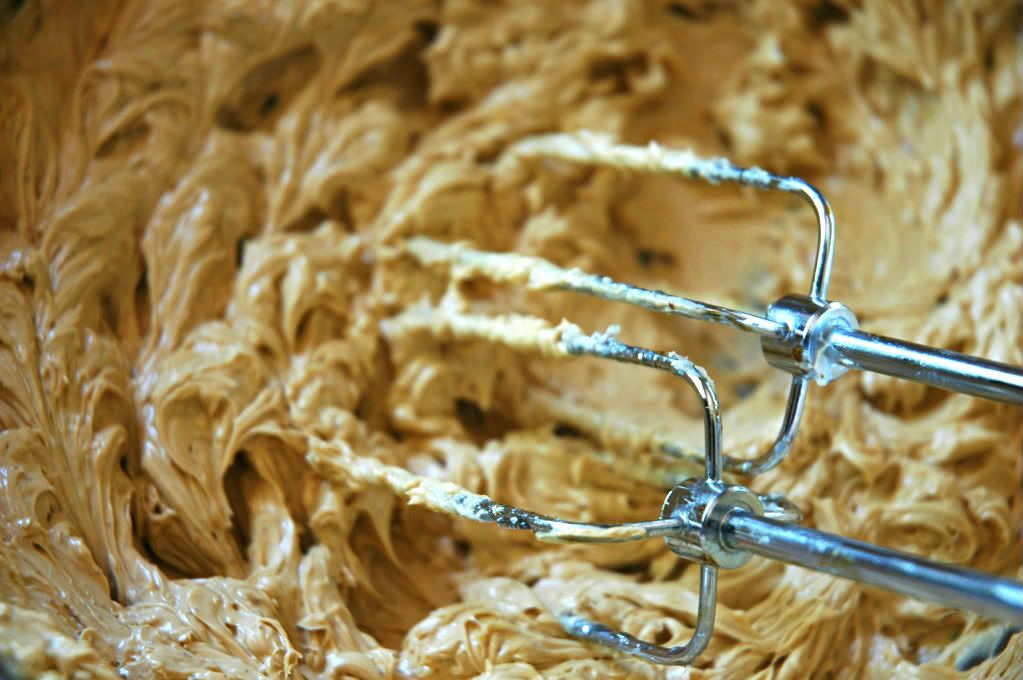
  2. The buttercream requires you to pour hot sugar into whipped eggs. I set my eggs over a pot of simmering water to bring them up to a lukewarm temperature. It your eggs are cold, the sugar will harden immediately and you'll be stuck with candied whisks and soupy eggs:( No good.

Saturday, January 28, 2012

Ispahan Cheesecake

Pin It I have been M.I.A for so long. Honestly speaking, I completely forgot about this blog and its existence. I forgot how soothing it is to blog about the food I bake and the endeavors I take... albeit at the cost of studying for class. My resolution for the year is to earn that 4.0 I miserably watched trickle through my fingers last semester. Oh how I loathe you AP Physics! Redemption. It is the mere motivation that will propel me through the challenges I will have to combat this year. I WILL win the war this time!
After a recent calculus discussion, I have developed a hate for those who cannot properly use the phrase "a lot" and rather omit the space and write "alot". Typing alot on my laptop is difficult because it is auto-corrected to a lot. So why do people continue to struggle with this? Well there is a hilarious website that you guys should check out. My favorite cartoon has to be the one with the baby. Click me!

My mom's cousin and her family from Australia came to visit us this friday, and I must say, I indeed have no identity. I drove up my street and this mysterious car was parked in front of the garage. After parking on the curb, I walked up to the front door and almost did a face plant. I have know remote clue how I did not see the three pairs of shoes in front of me. I could have avoided tripping and falling into the brick wall to save myself. Maybe I'm just prone to accidents. Anyway, I open up the door and this elderly man looks at me and mumbles, "Who is that?" Well sir, I should be asking who in the world you are! Then my dad assures him that I am not a stranger mistakingly walking into another person's house, and then the elderly man sighs with relief, "Oh, là con út!" (Thank you google translator!) Literally that just means, "Oh, the youngest!" I have no name. No one in my extended family calls me by my name. I will forever be deemed, the "út". Sadness.

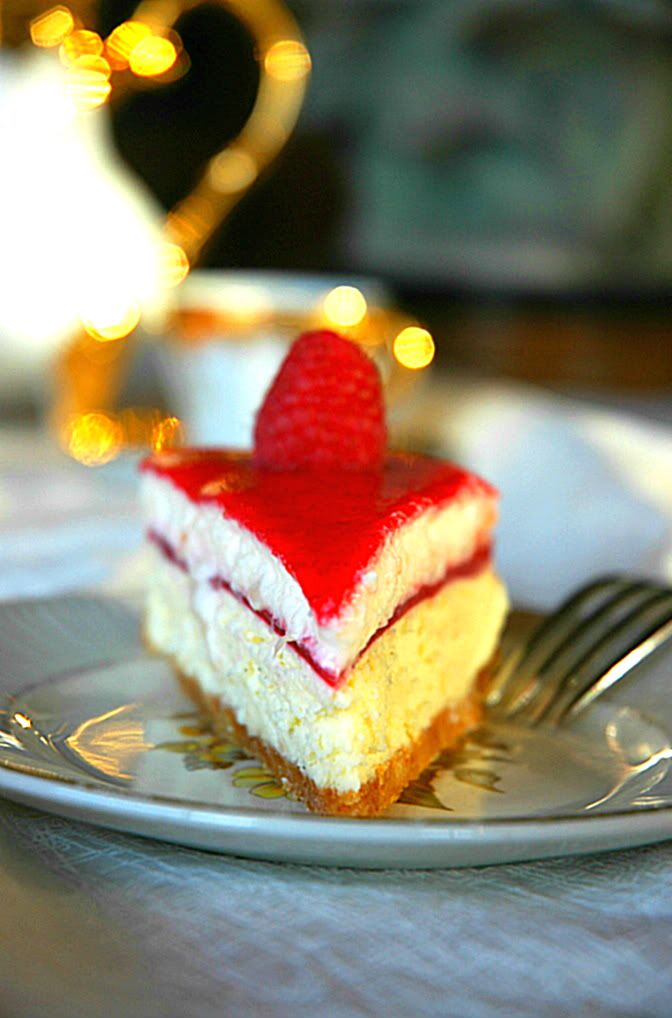
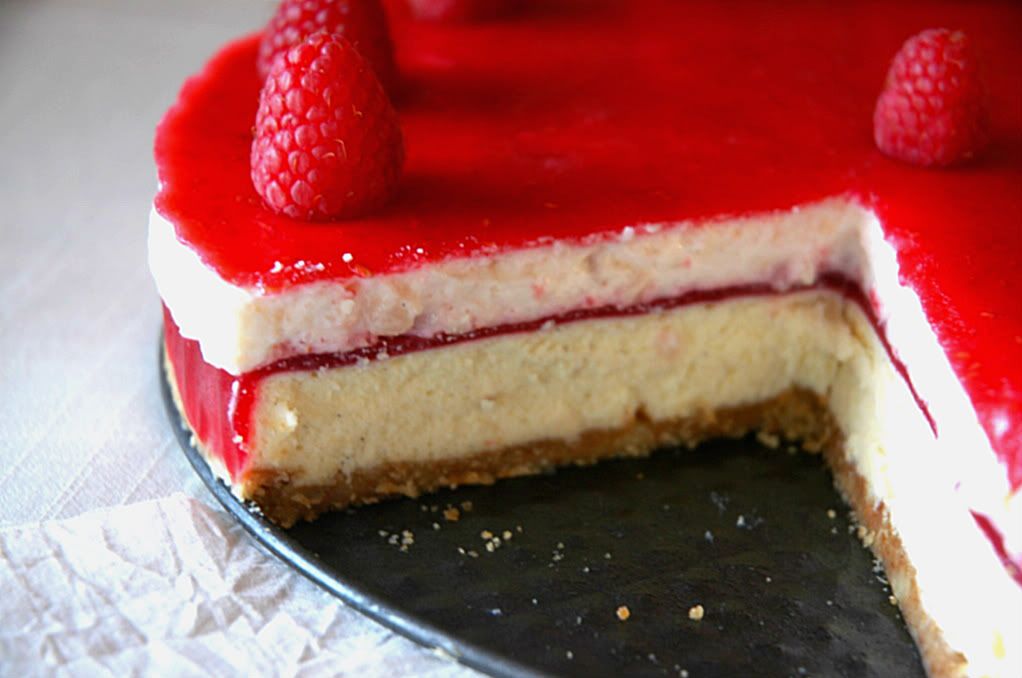
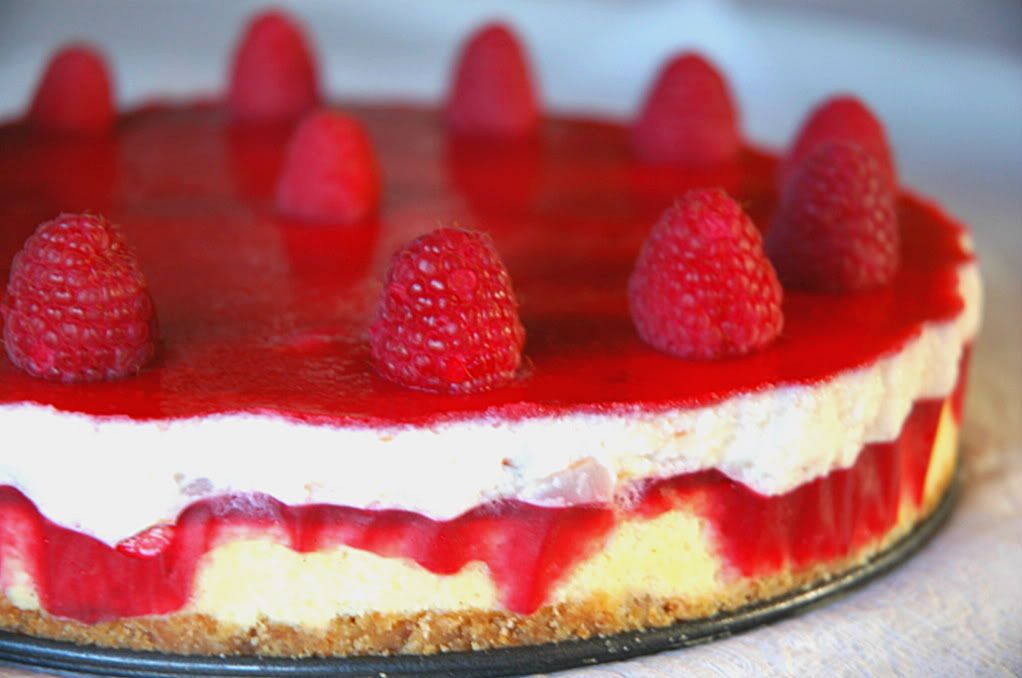
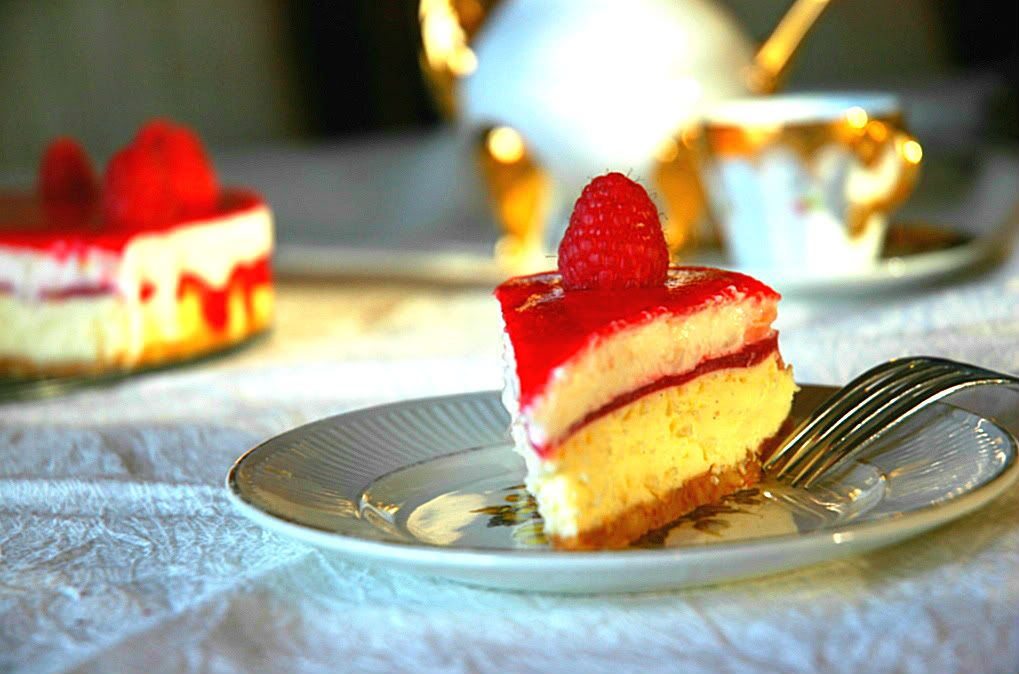
Now finally onto to this jewel. I'll take you step by step through each layer! It was heavily inspired by renowned pastier Pierre Herme's ispahan dessert.

The run down:
A tart raspberry glaze, a lychee mousse, a rose raspberry jelly, a white chocolate vanilla bean cheesecake, and a Nilla wafer almond crust.

It sure took me a while to whip up this cheesecake due to the several components, but it was worth it! Things were made a bit easier by me using some almond flour I already had on hand, but my only advice is to use quality ingredients. Though the lychee may be an exception, because anything from a can is generic in my opinion. I really liked this cake because it turned out so pretty, but I do have to say I dislike the raspberry jelly layer. It is too "jelly-ish". I used Pierre Herme's raspberry jelly recipe that he uses in his ispahan macarons, but I guess it does not meld well with the other textures of the cake. If I ever made this cake again, I would most definitely cut back on the gelatin for that layer.


Related Posts Plugin for WordPress, Blogger...
Pin It button on image hover