Showing posts with label cream. Show all posts

Wednesday, October 31, 2012

Long Lost Fruit Tart

Pin It
I plan on making a pomegranate entremet this weekend, so be on the lookout for that post!

College applications are more stressful than I thought they were going to be. I figured that organization would protect me from any hectic mishaps. In a sense that's true, but I still have had many late nights of editing and revising essays. Dark eye circles have consumed my face, so hopefully once I am able to submit everything I will get a good night's sleep.
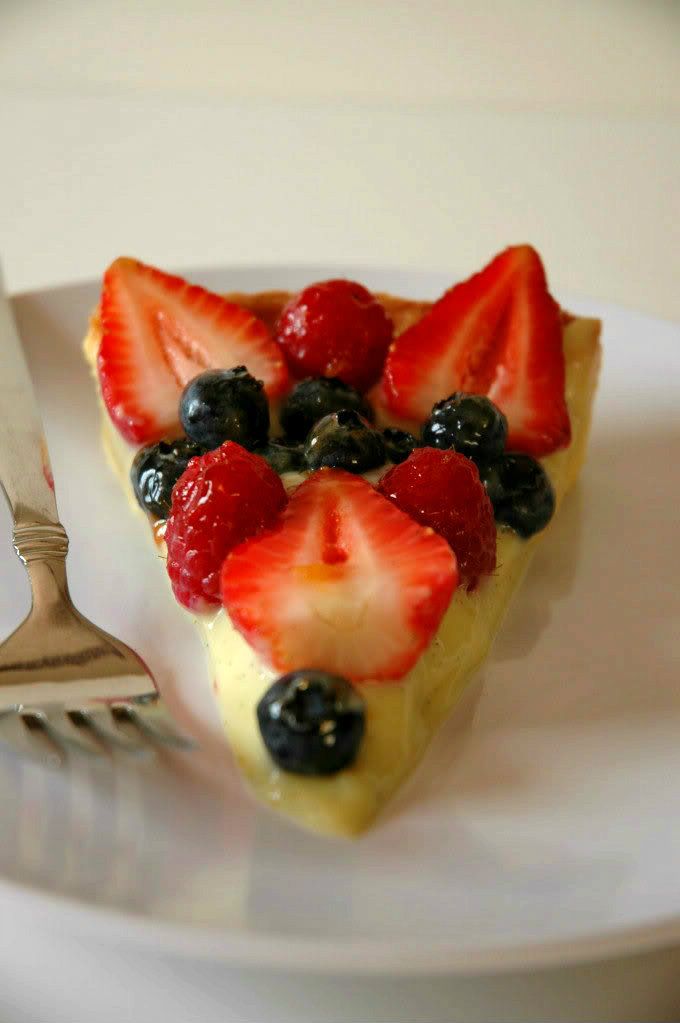
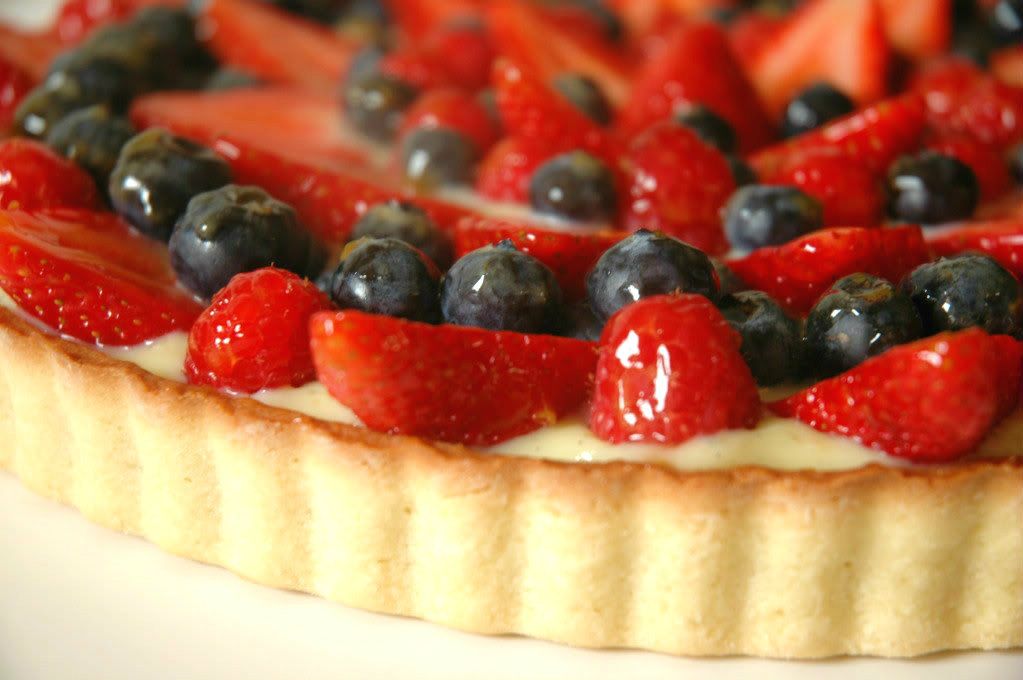
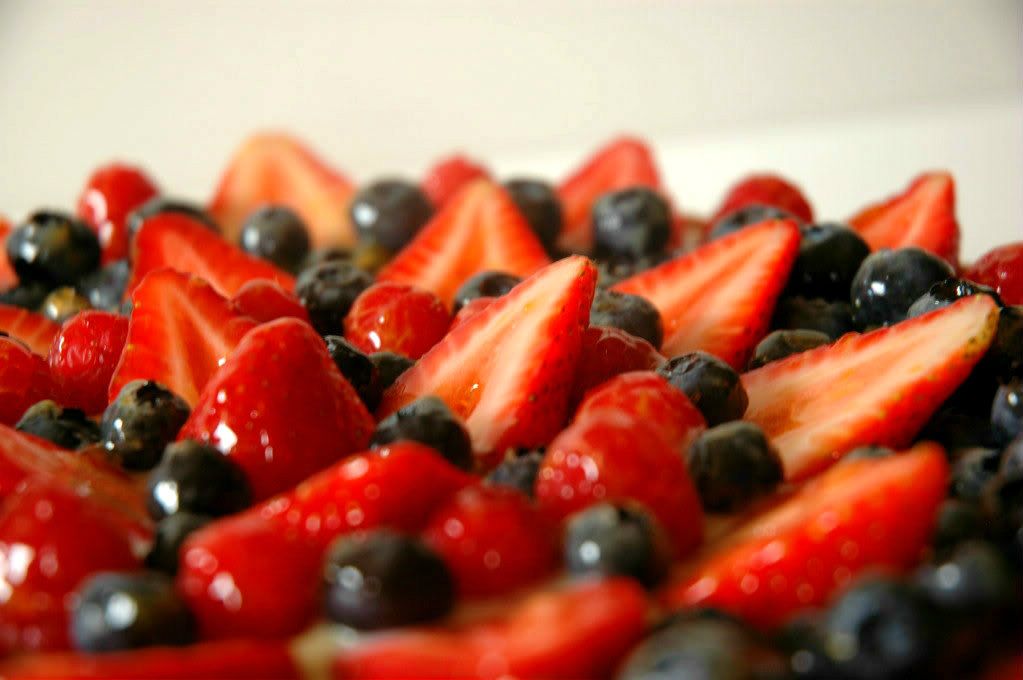
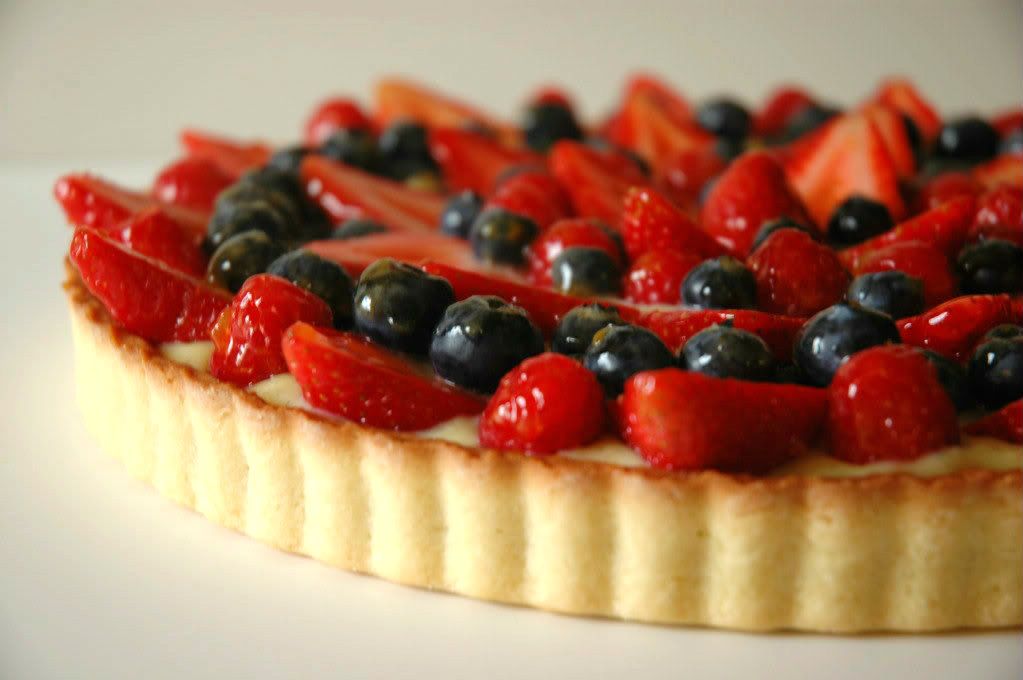
So this tart... was my dad's birthday "cake". A buttery shell with sweet vanilla pastry cream dolloped inside, and topped with a pattern of concentric circles of mixed berries. It is indeed fall where I live, so how did I find these ripe berries? That's where the "long lost" part of this blog post title comes in. My dad's birthday is in July. I found these pictures on my computer as I sweeping out my folders of any useless rubbish. I had uploaded them the day of my dad's birthday, but updating them to this blog must have completely escaped my mind. On a side note, these pictures bring up sad memories. My dad went fishing on his birthday! I starting preparing this tart, and then after completion, my mom told me the birthday boy wasn't going to be back for two days! Next year, we need better communication.

Please visit Gourmet or Gourmand for the recipe that I used. She has very thorough instructions to help you through the process of creating a beautiful tart.

A few tips:
  1. What I've learned from a little research is to brush the baked pastry shell with apricot jam to create a moisture barrier. The cream will not be able to seep through the crust, and you'll be left with a delicate dessert. 
  2. Make sure you eat this tart on the day you prepare it. If necessary, you can create the tart shell and cream ahead of time. However, do not slice or assemble the berries until you are ready to serve. 
  3. Add a little almond extract (or liqueur if you're of that age) to the pastry cream to add a different dimension for flavor. I also recommend using vanilla beans if you have any on hand, because it is both pretty and delicious.
  4. I absolutely despise blackberries, which is why they never came near this tart! The berries I ended up using were raspberries, blueberries, and strawberries. Use whatever fruit combinations that you like. 

Sunday, April 22, 2012

Island Escape

Pin It
♫ Put the lime in the coconut... ♫
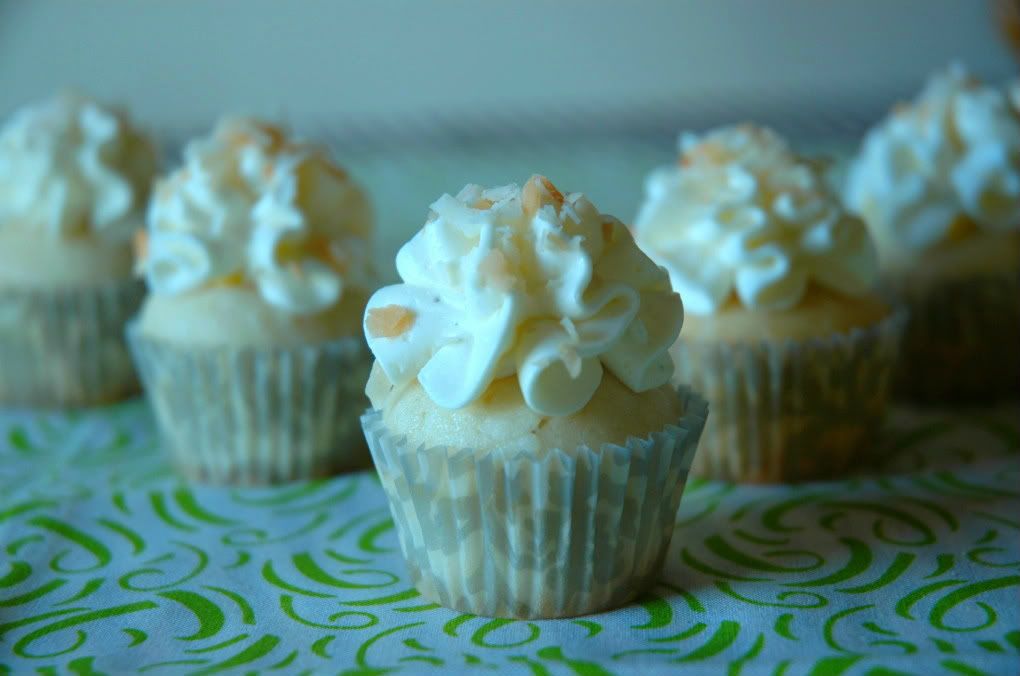
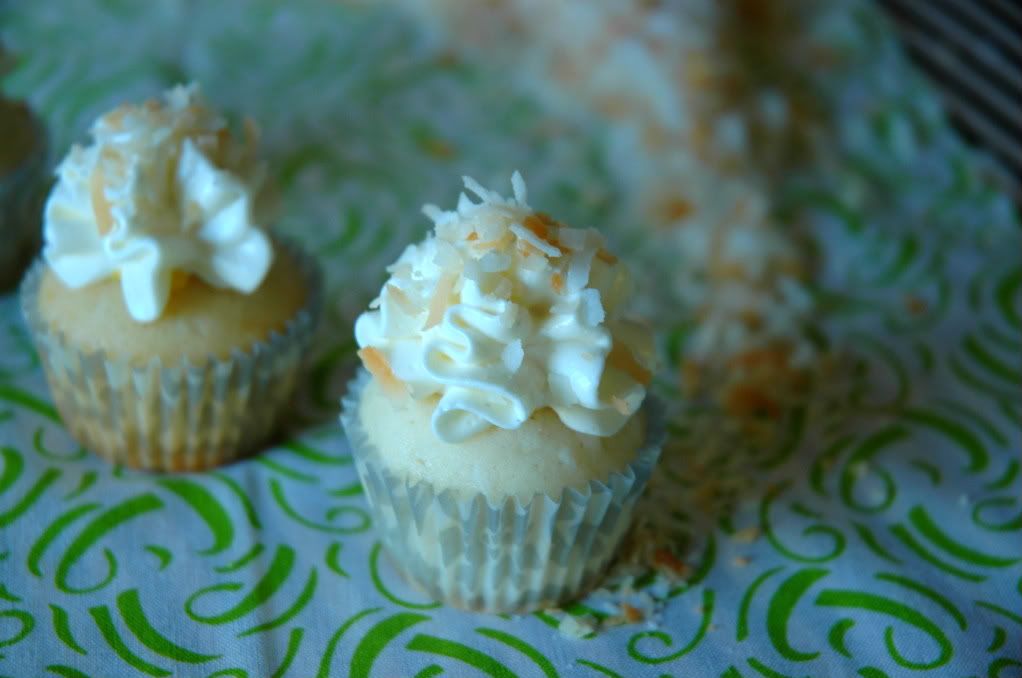
Well actually, in this case, a mango. These mini cupcakes are bursting with coconut flavor in both the cake and fluffy frosting. I tried filling them with a mango mousse, but I didn't squeeze enough into the center for that component to stand out. Nonetheless, these are certainly tasty.
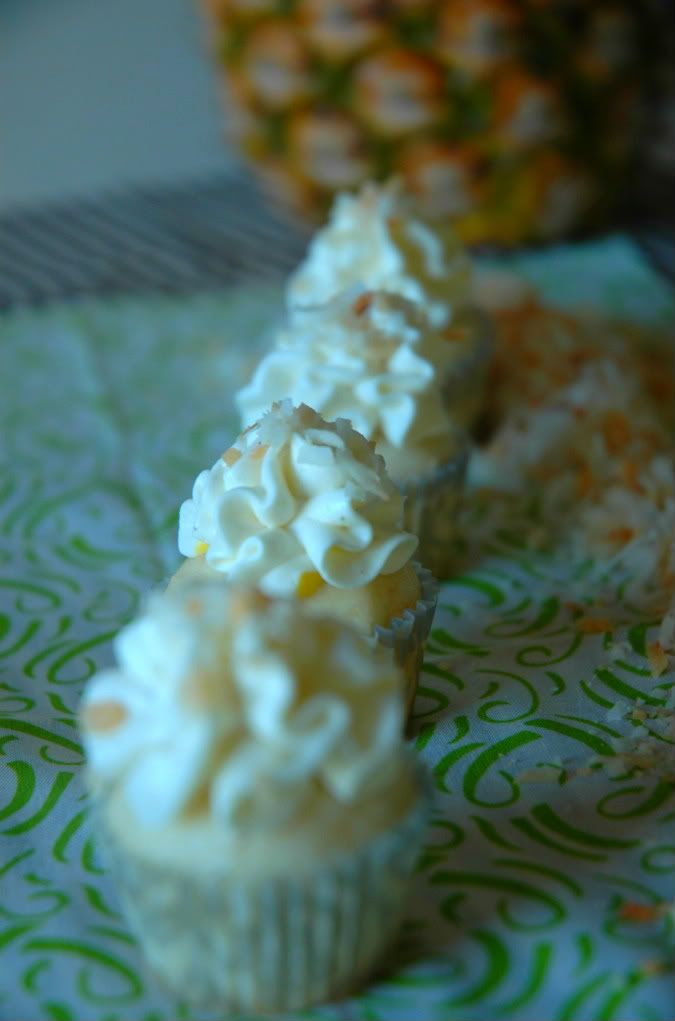
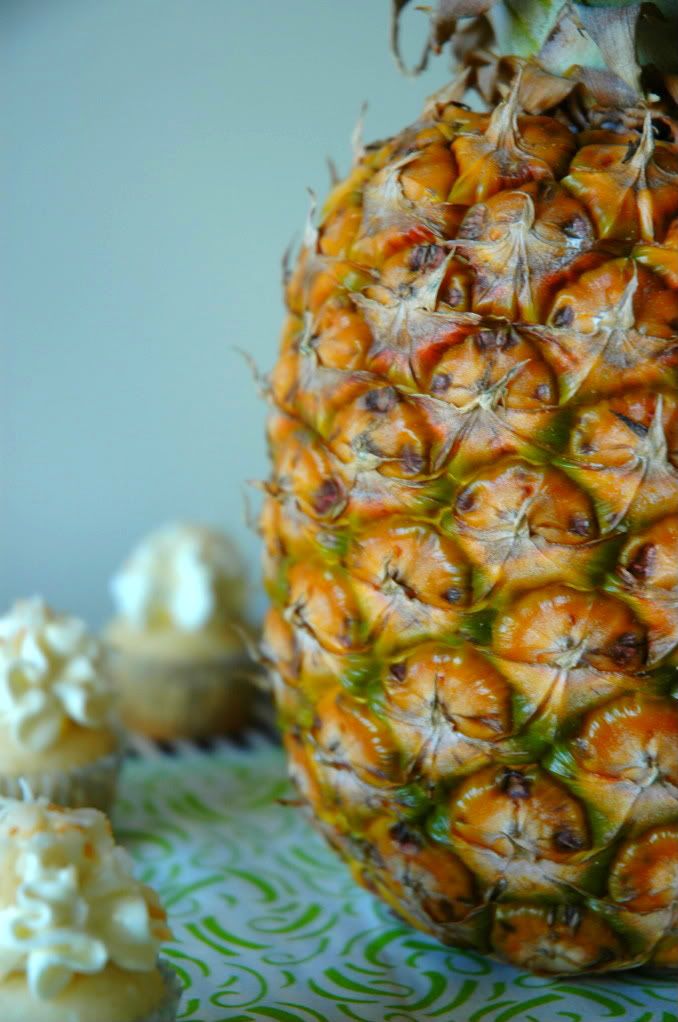
Okay, okay. The pineapple is only slightly random in these pictures. There is absolutely no pineapple in these cupcakes. I picked up this pineapple last week, but I guess I don't know how to select good fruit because my mother joked around that I have a fantastic eye for picking out the most unripe fruit out of the bunch. LOL. I grabbed the biggest one! It is almost ripe! Anyway, coconut just reminds me of the tropics and so does pineapple. I was going for a theme for these pictures. 
These pictures also came out with a very cool hue. I tried altering the white balance on the camera menu, but none of my pictures came out as bright or warm as I had intended. I hate cloudy days! All the cupcakes have already been eaten too, so there is no way to take more pictures!
The cake recipe I tried was delicious. Because it is made out of egg whites though, you risk over baking mini cupcakes. Once they spring back, take them out of the oven! The batch I baked until golden were quite dry unfortunately. I used Flour Bakery's recipe, but it is similar to Martha Stewart's recipe you can find online here.

Tuesday, March 27, 2012

Strawberries n' Cream Scones

Pin It

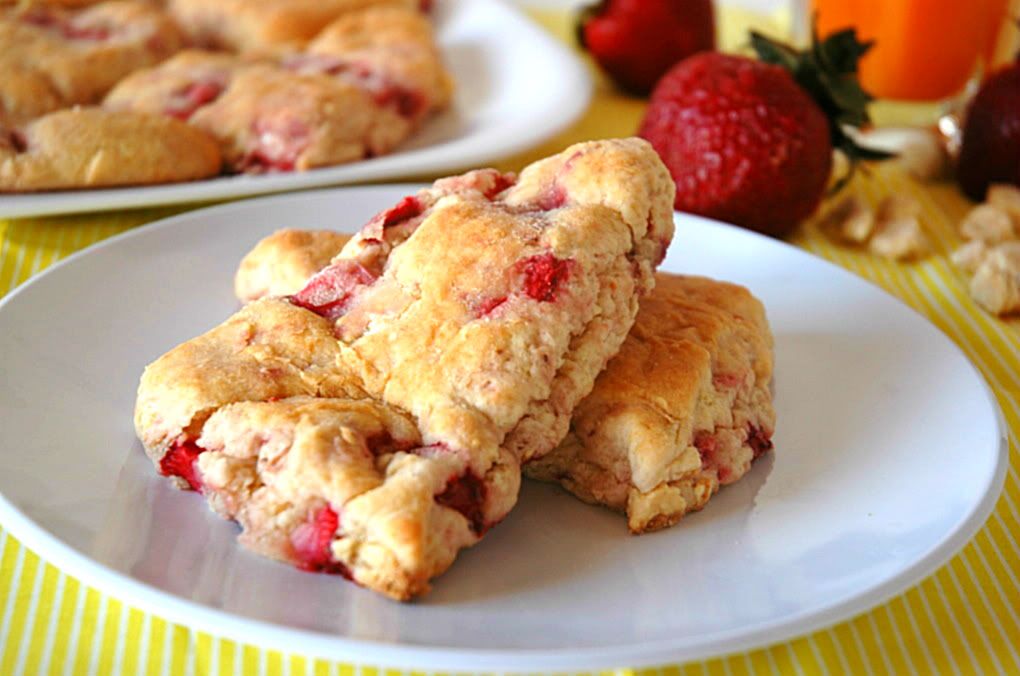
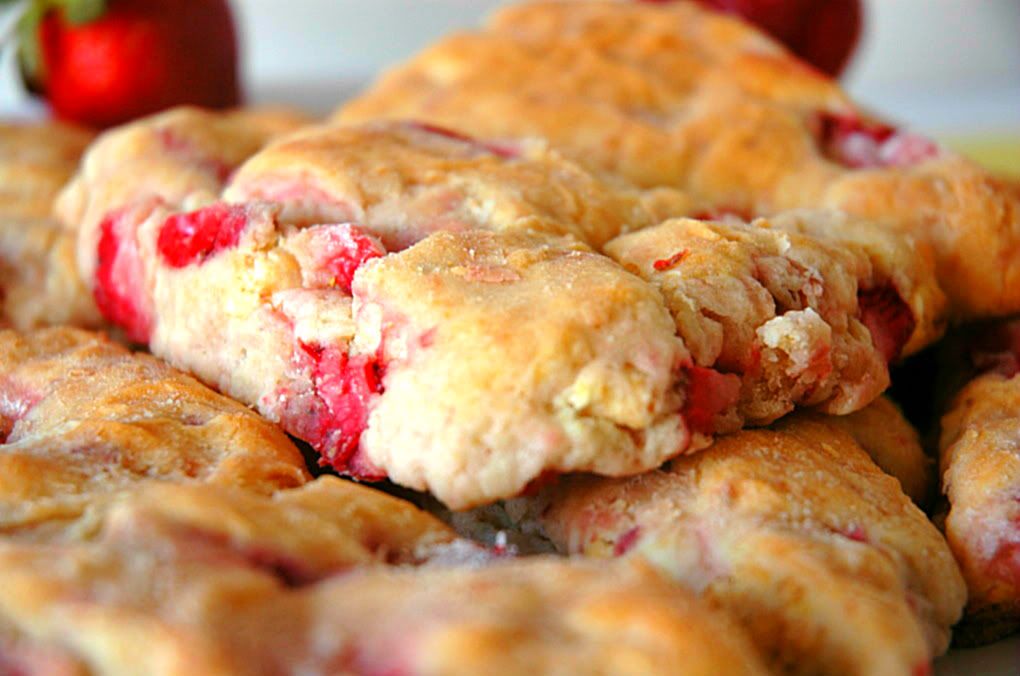
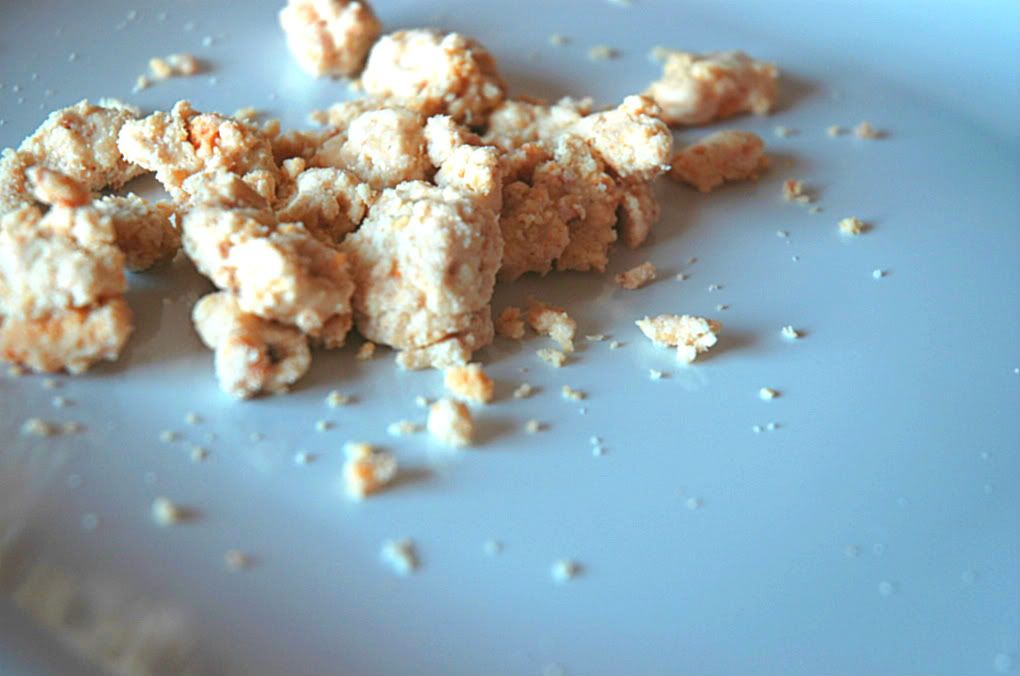
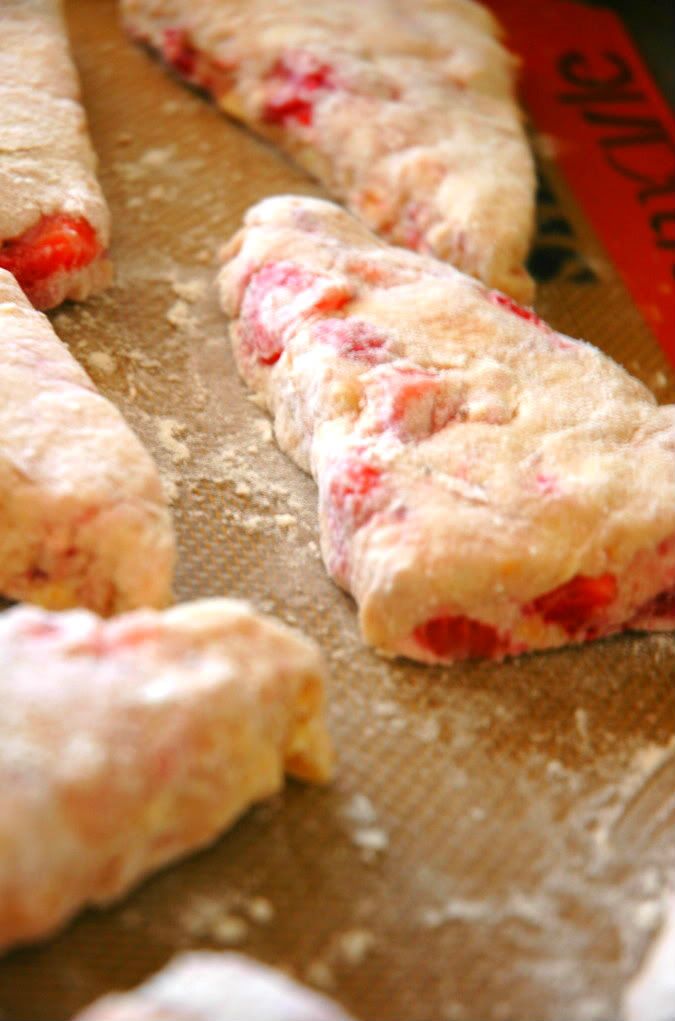
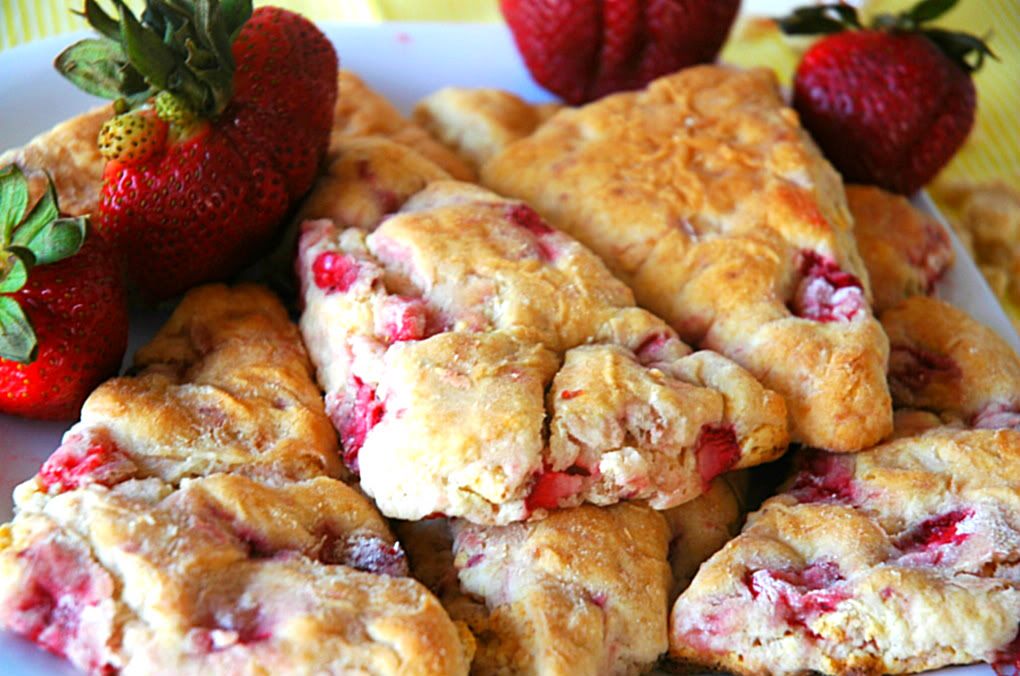
I woke up and decided to make strawberry scones. Usually my sister gives me ideas on what to bake. She saw a picture of animal cupcakes on Facebook which prompted me to make these earlier this week. To make the scones even more special, I added milk crumbs and opted for the all out usage of heavy cream instead of half and half or buttermilk. SO much cream. I do admit the dough was silky smooth because of it though.

These are amazing. They're tender, chock full of strawberries, and that crunchy milky bite from the milk crumbs ties all the flavors together. Sure there were a ton of dishes to clean, a few extra steps for the milk crumbs, but rest assure they are worth every tasty morsel. The scone recipe itself is actually quite simple.
Mmmm... milk crumbs
I promised my older sister I would make her mandu (Korean dumplings) this week, so I will hop right on that later today. That means I can use my nifty dumpling press I got from the Asian supermarket! It's so exciting to whip that contraption out. Perhaps I'll make a post about those dumplings, but they're not necessarily baked goods.
You can find the milk crumb recipe here. You may not need use all of the milk crumbs the recipe yields, but cutting the recipe down may result in some funky measurements.
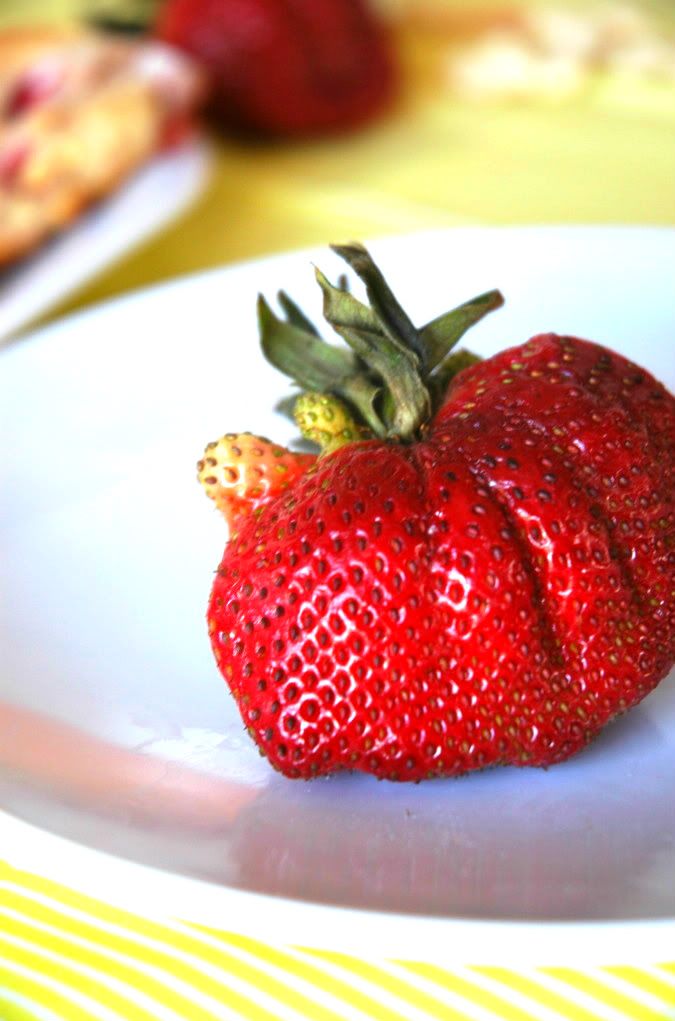
...? Wart? 
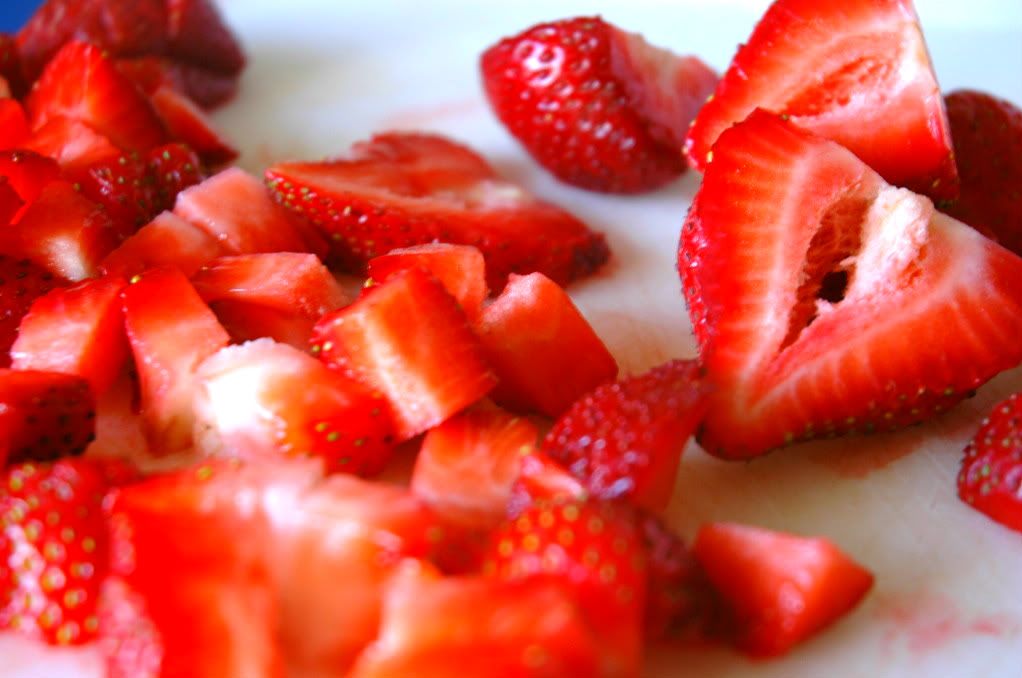
If your strawberries are extra juicy, dice them up and spread them out on paper towel to soak up the moisture. They will be difficult to incorporate into the dough if they're too wet. Enjoy!
Strawberries n' Cream Scones
Yields 8 scones
INGREDIENTS
  • 2 cups all-purpose flour
  • 1 tablespoon baking powder
  • 3 tablespoons sugar
  • 1/2 teaspoon salt
  • 5 tablespoons cold butter, cut into cubes
  • 1 cup diced strawberries
  • 1/2 cup milk crumbs
  • 1 cup heavy cream
DIRECTIONS
Preheat oven to 400 degrees Fahrenheit
  1. Dump the flour, baking powder, sugar, and salt into a food processor. Pulse for a few seconds until all the dry ingredients are thoroughly mixed.
  2. Add in the cold butter and pulse for about 30 seconds until combined. 
  3. Dump the mixture into a large mixing bowl. Mix in by hand the strawberries and milk crumbs. Slowly add in the cream until a dough ball forms.
  4. Place dough onto a light floured surface and form into a rectangle so that you can cut out 8 wedges. 
  5. Place onto an ungreased baking sheet, and bake for 12-15 minutes or until golden brown. 

Thursday, March 24, 2011

Smiley Oreo!

Pin It
I've been craving oreos lately, but it seemed fitting to try to attempt to make my own. This then opened up the door to create cookies that would be absolutely adorable. Initially I wanted to imprint a design on the cookies that would be quite similar to the original nabisco cookie, but while walking through the aisles of the craftstore, nothing came close. There was something better, a smilely face stamp! It seemed like the perfect plan!

While rolling these babies out my dad happened to walk by too, curious as to what I was slaving over that fine weekend afternoon. Peeking over my shoulder he began to chuckle and asked if we could actually eat them. I don't know what he was trying to imply with that remark, but before he went on his way he said they were funny and he wanted to eat right then and there.
The cookies themselves were quite tasty, but to be honest they fail as a clone of that nostalgic cookie from our memories. The cream was on par while the cookies themselves weren't that deep, chocolately, almost bitter taste that I was seeking when I decided to experiement with this recipe that seemed to get rave reviews online. If I could I think that if I had added a bit more cocoa to the dry mixture it would have been better, yet even if they're were perfect, it's hard to resist those blue packages of oreo cookies that plead for you to buy them. I can get along with my life though because these little guys were a blast to whip up and the outcome, although not what I intended for them to be, are so cute that I could care less when I dip those smiling faces into my milk... and then bite their heads off. What a cynical idea now that I think about it.

Honestly, there's also no need to post up this recipe. It basically cake mix. Just type in "oreo cookie clone" into youtube and it'll be within the first couple video results.

Enjoy!

Hmmm, they kind of look like dog biscuits in this lighting...
Related Posts Plugin for WordPress, Blogger...
Pin It button on image hover