Showing posts with label cake. Show all posts

Sunday, May 27, 2012

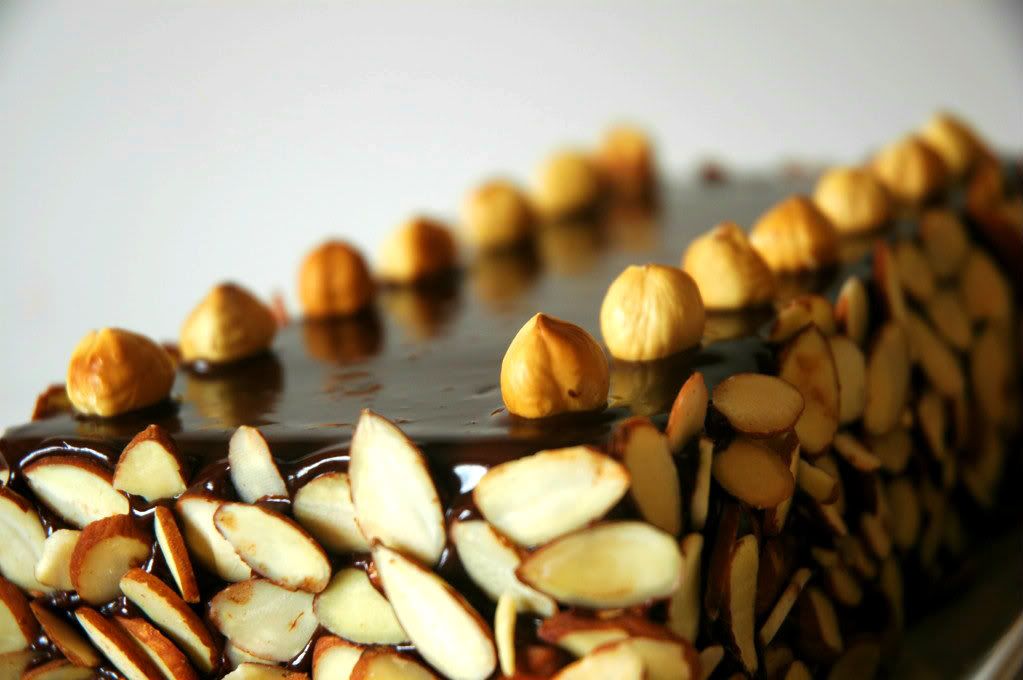
Hazelnut-Almond Dacquiose

Pin It
So it's been a while since I've put up a post... To my defense, AP testing and finals had me pretty busy for the past couple of weeks. Study, eat, study, sleep, study. That was my routine as the year came to its end. Worst, most stressful year of high school is over with though! Time to enjoy summer vacation! 
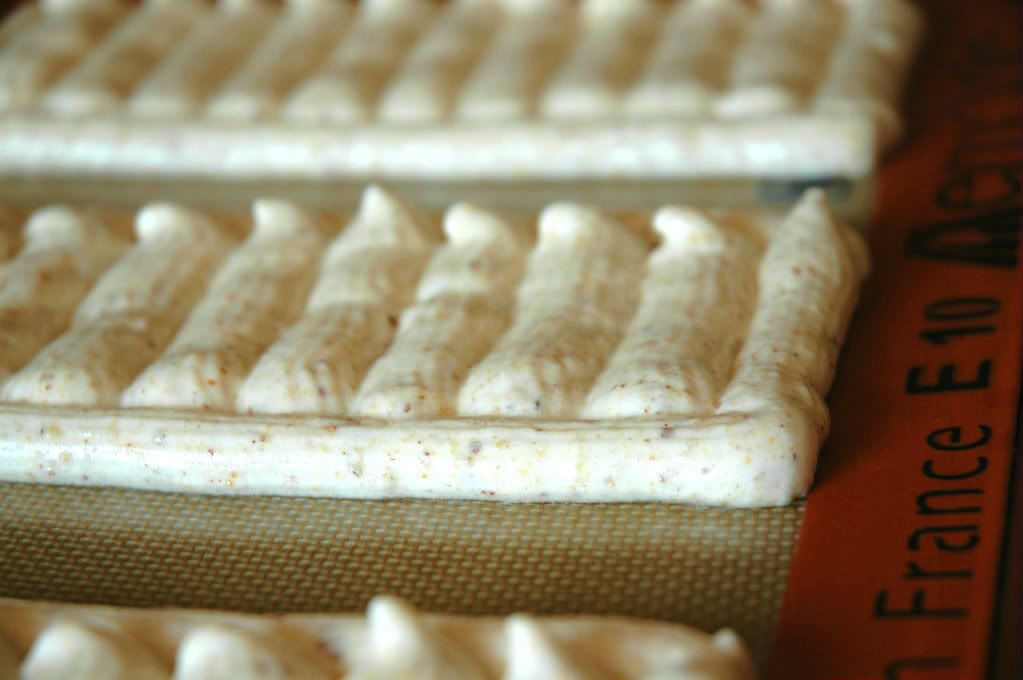
Piped meringue on my fantastic silpat mat!
I went fancy on this baking project this time. Dacquoise? I can attempt to pronounce that in a French accent and completely butcher it. I can also pronounce it with a mixture of my parents' accent and my regional accent to get a laugh out of my sisters. Either way, it's a delicious meringue dotted with nuts (almonds and hazelnuts in this case). 
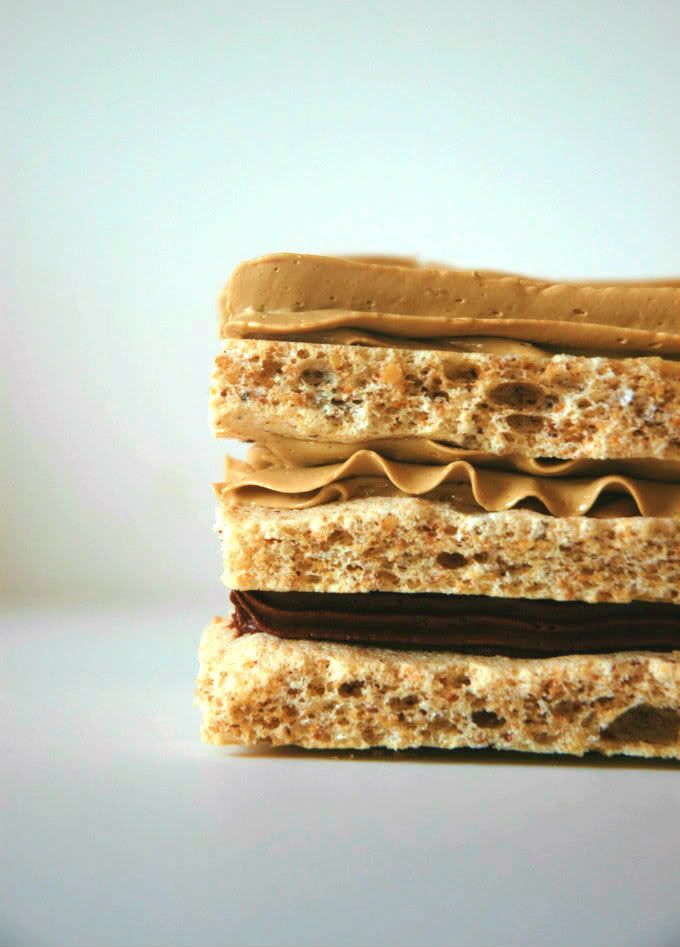
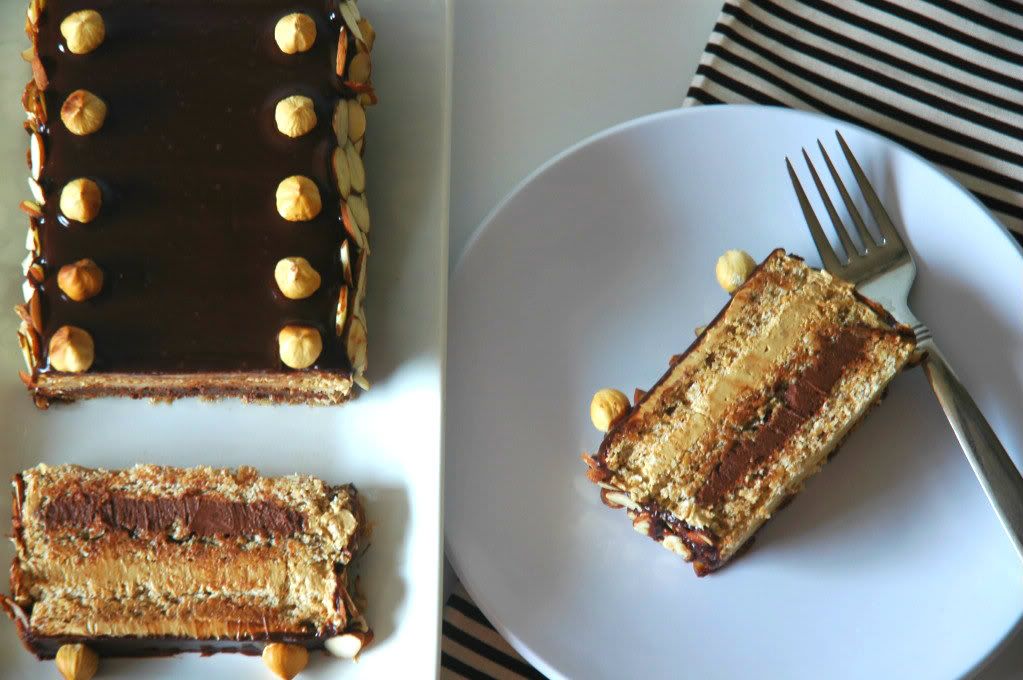
Referring to the picture right above, this dessert is make of three layers of crispy dacquoise, one layer of creamy bittersweet ganache, one layer of espresso buttercream, and then drenched in even more ganache to finish it off. The epitome of decadence. 

On a side note, I'm tempted to make my own vanilla extract. The only problem is getting a hold of some vodka... Buying pure, quality vanilla extract is very expensive. A minimum of $7.00 a bottle is too much to handle. 
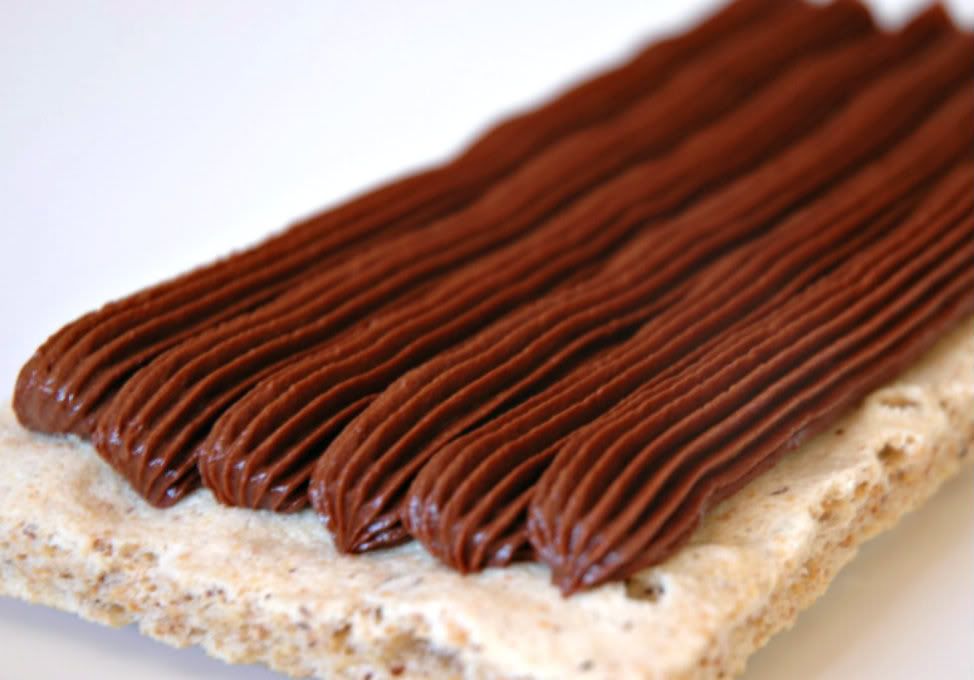
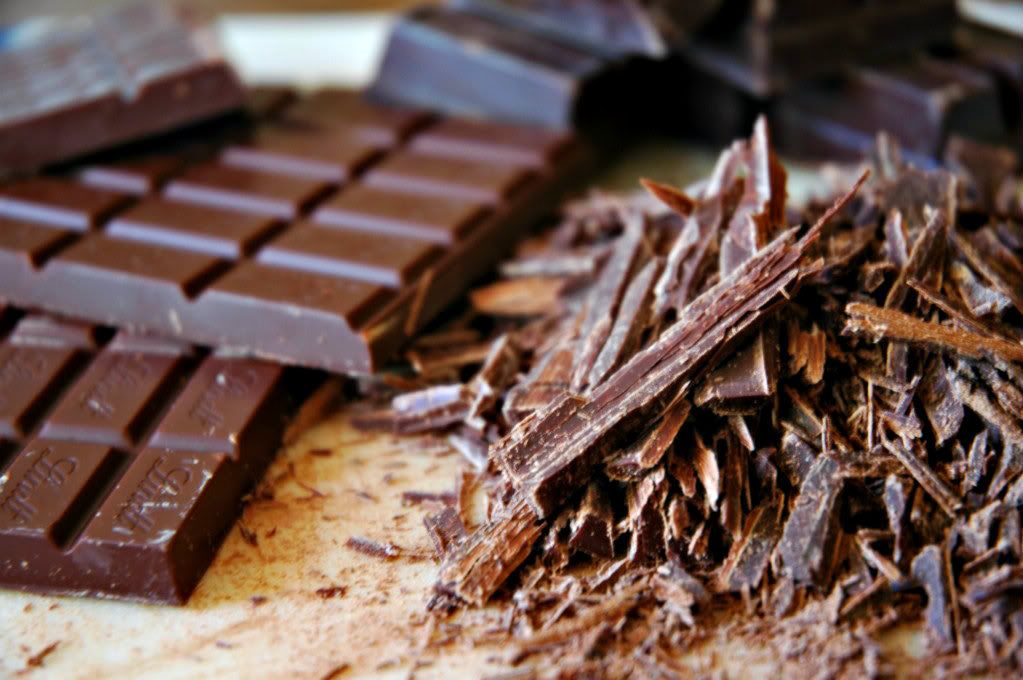
Good chocolate is key to luscious ganache! DO NOT use chocolate chips!
This cake had me tied up in the kitchen for a while. This is not necessarily because the technique utilized is inherently difficult, but because I'm a perfectionist. I did the meringue threes times. The first time I greased the silpat mat as directed in the directions, and the dacquoise just spread out too much. The second time the meringue got just a little too toasty, borderline burnt. Third time is definitely the charm. 
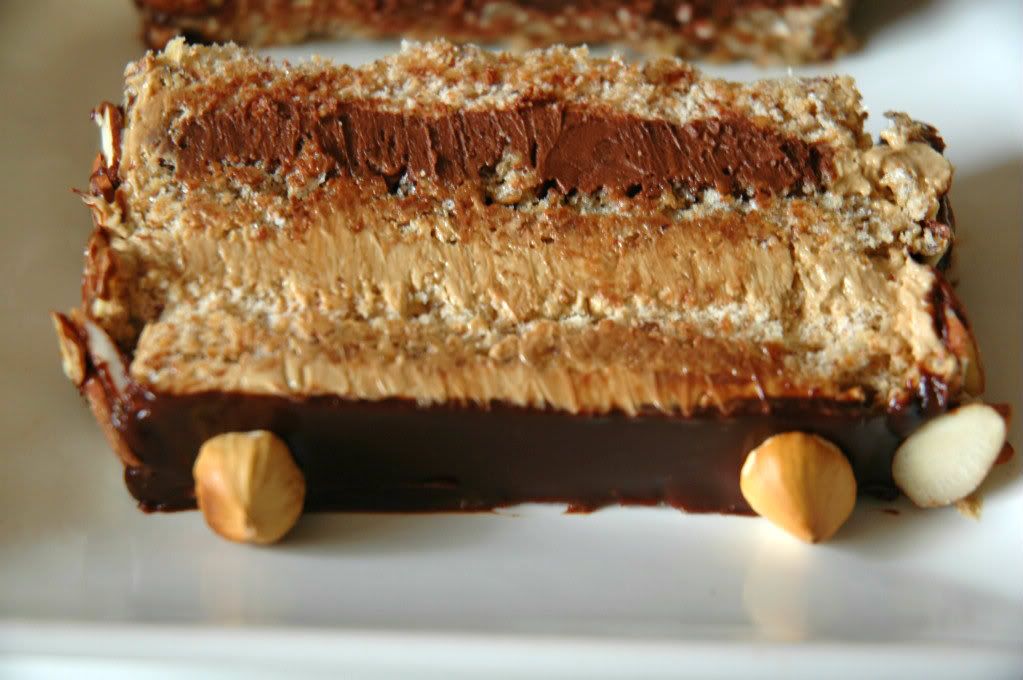
Because I'm quite certain it's illegal to redistribute the recipe I used, please check out the Flour Bakery cookbook by Joanne Chang. You can find it on amazon and probably your bookstore. It has a multitude of recipes with thorough instructions. My only complaint would be... not enough pictures! I am always on the hunt for good cookbooks that have pictures for every recipe. 

My few tips for this recipe:
  1. Try to use a silpat mat for the meringue and do not grease it. They layers peel off easier.
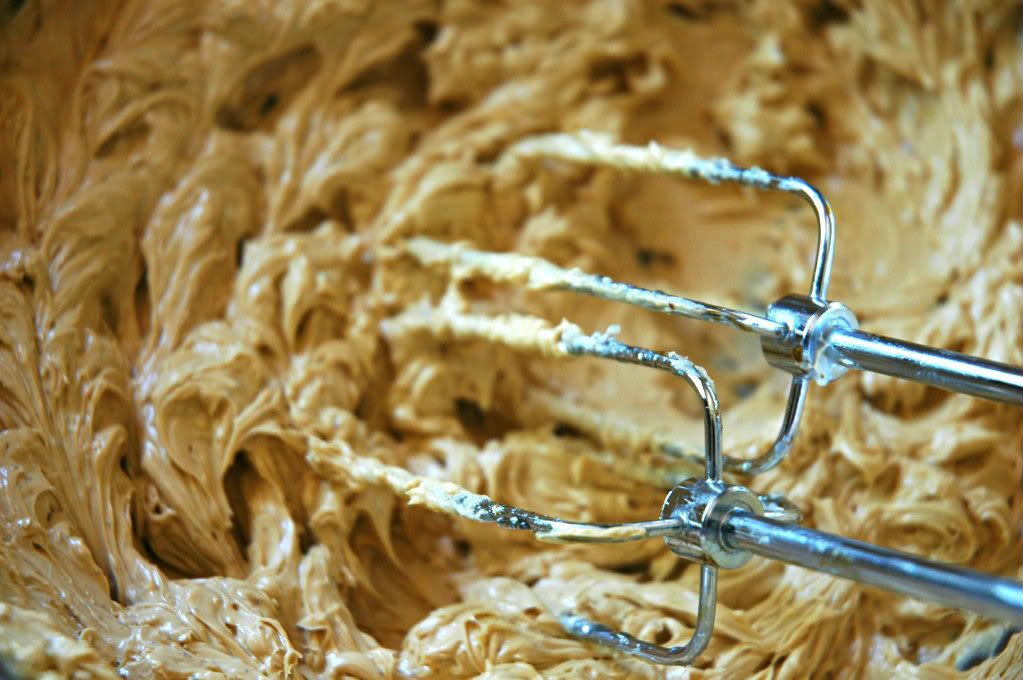
  2. The buttercream requires you to pour hot sugar into whipped eggs. I set my eggs over a pot of simmering water to bring them up to a lukewarm temperature. It your eggs are cold, the sugar will harden immediately and you'll be stuck with candied whisks and soupy eggs:( No good.
Saturday, April 7, 2012

Rose Cherry Pistachio Cake

Pin It
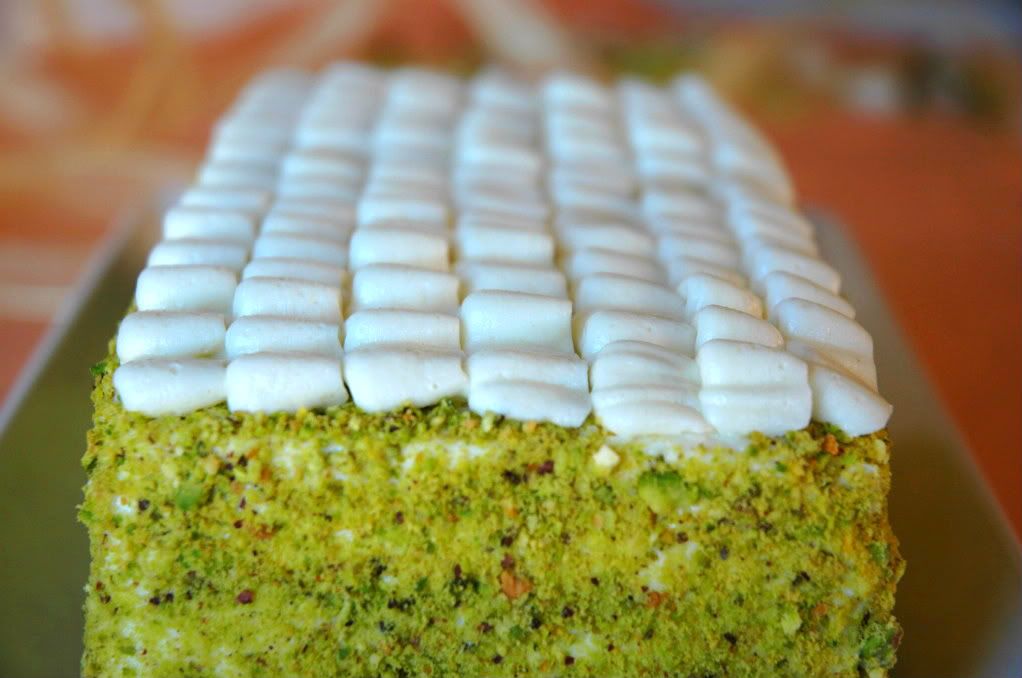
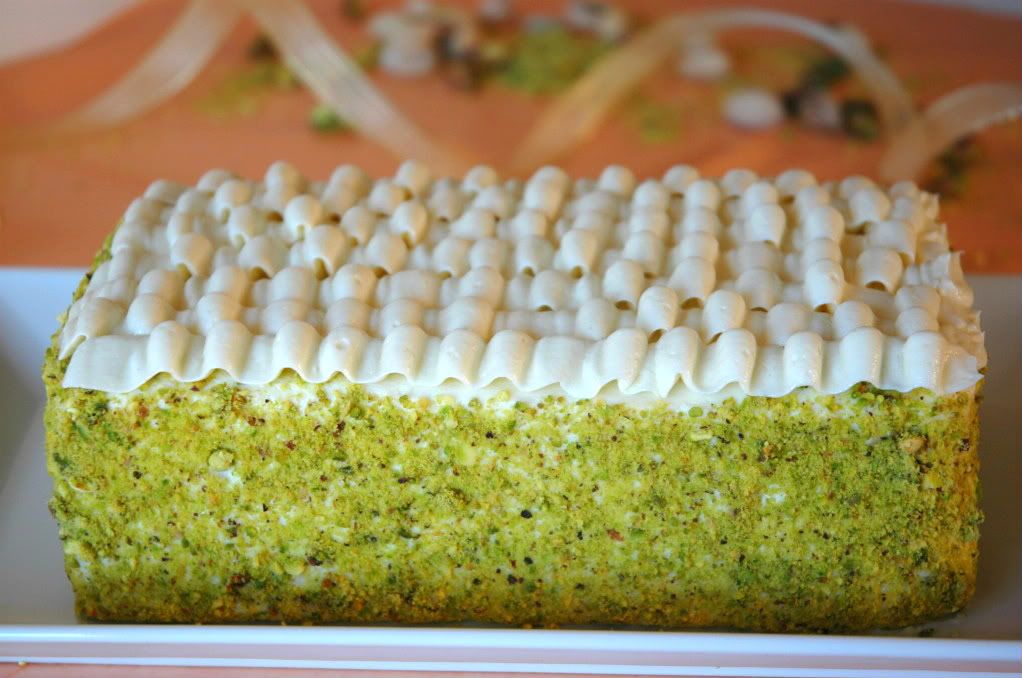
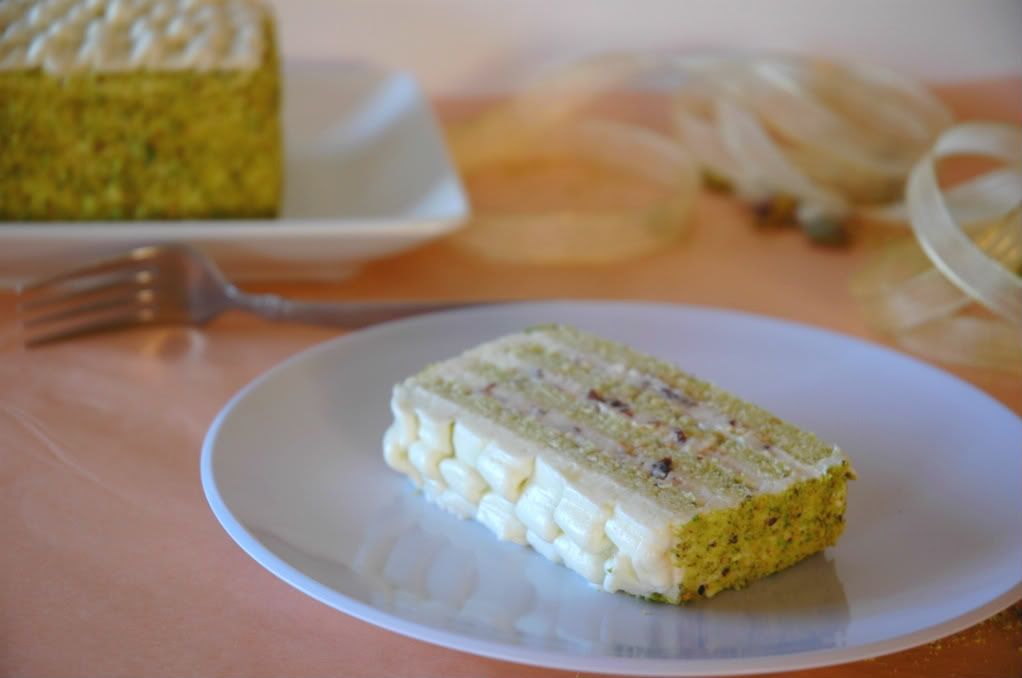
This week's inspiration was one of the new Quaker oatmeal flavors: cherry pistachio. Talk about yum. I also make a box shaped cake. Creative adjectives are not coming to mind. Though, I employ much effort to state that I do believe the structure gives this cake more elegance. Sharp, crisp, clean.
I initially wanted to post this cake last weekend, however catastrophe struck and the cake was a mess. Who knew you could ever have too fluffy of a cake? The layers I baked simply fell apart in my hands. Sad because it did taste good. Sad because I spent so much time whipping up the batter. Sad because the pistachios cost me $14.99 a pound... Back to the farmers market I went so I could post these pictures today. It's been a while since my last post about those strawberries and cream scones. I am determined to keep up with this blog!
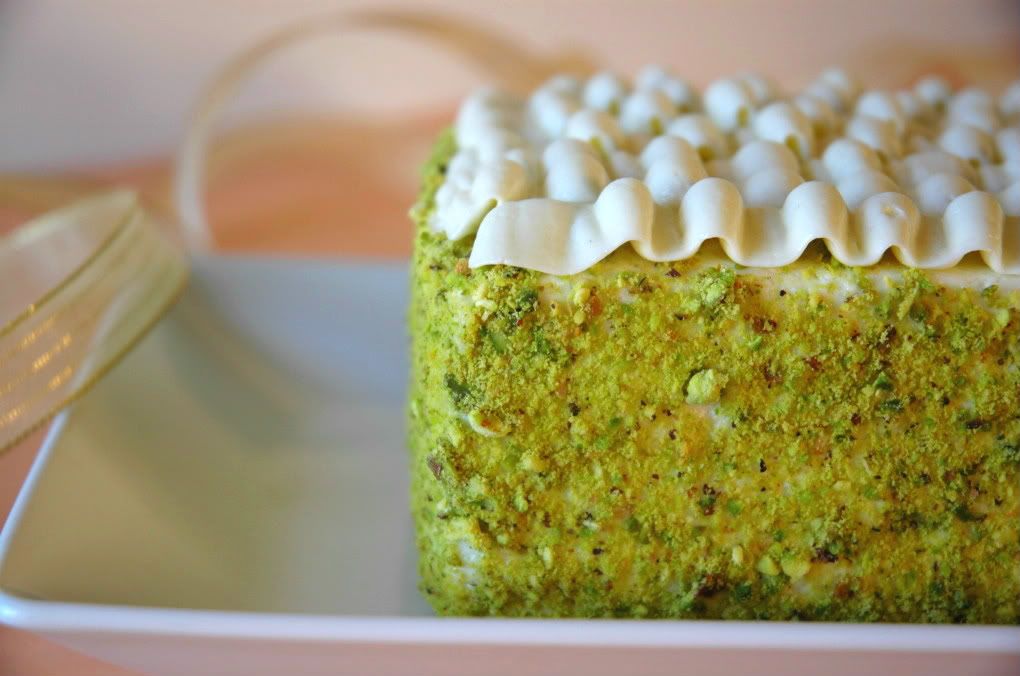
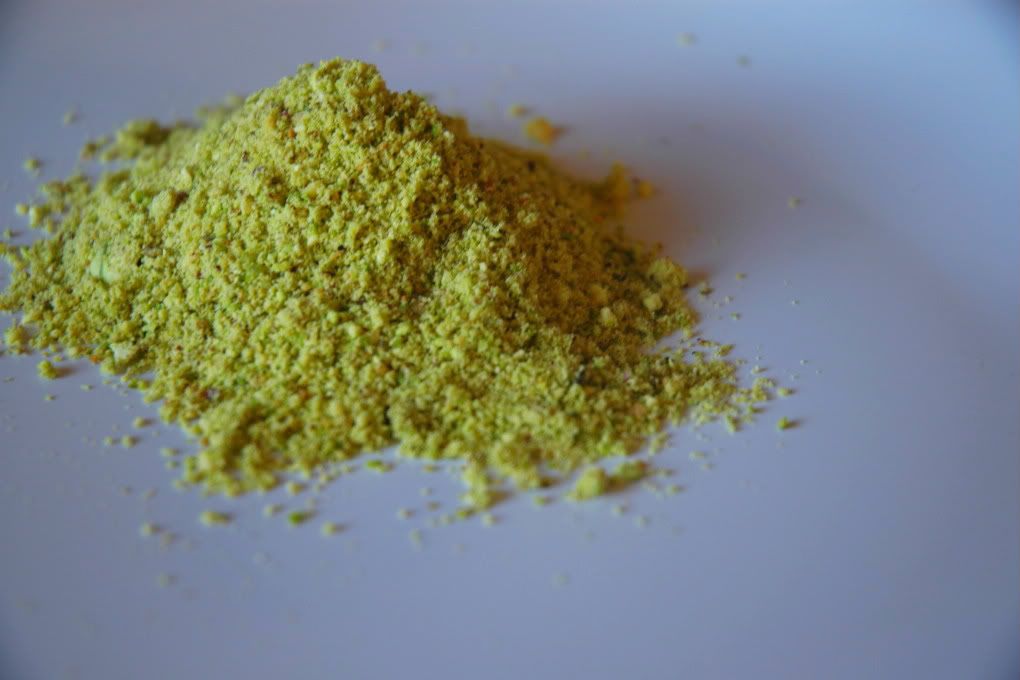
I love the color green, perhaps that's why I love pistachios!
I also had to brainstorm what design I wanted to decorate the cake with. I ended up jet doodling sketches of this cake curing calculus. I kid you not, the guy to my right was just doodling memes while the guy to my left checked out into la la dreamland for the period. Within my vicinity I was the most productive. No worries, I will hop right onto calculus studying this weekend!
The funny thing about this cake was that I thought I would have saved money by buying pistachios and shelling them myself. I bought a jar for $5.00 and to my dismay the shelled pistachios fill up a quarter of the volume of the container. Talk about a moment of utter despair when I just stared at the bowl of shells and then the pathetic jar of pistachios. Words of advice, just buy unsalted shelled pistachios. Save yourself the anguish.
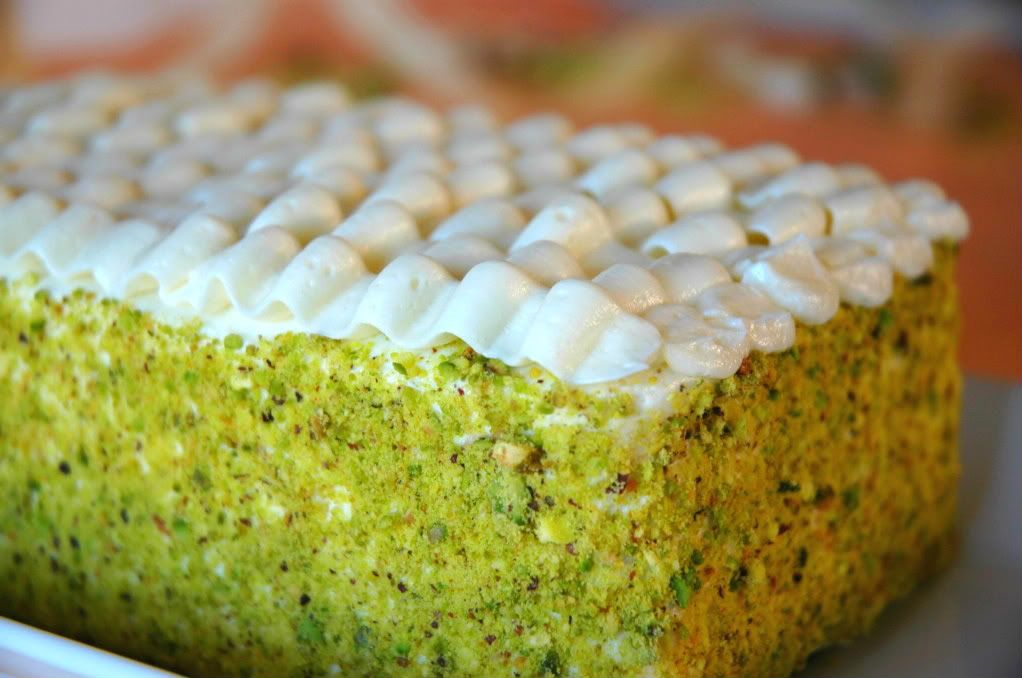
This cake has fine crumb almost like a chiffon, but it is also dense. The pistachio flavor came out well, and the green hue is simply delicate. The cherries added a bit of tartness and the rose added a hint of a floral note to tie it all together. I also used the delicious buttercream frosting from Cherry Choc Cupcake. I posted the scaled down version I used below using marscapone, but definitely check out her post. This was definitely a fun cake for me to make despite the bumps in the road. Enjoy!
Pistachio Chiffon
Yields one 20 x 16 inch jelly roll pan
INGREDIENTS
  • 120 grams cake flour
  • 160 grams sugar
  • 50 grams finely ground pistachios
  • 1/2 teaspoon baking powder
  • 1/4 teaspoon salt
  • 2 1/2 egg yolks
  • 1/3 cup water
  • 1/4 cup melted butter
  • 1 teaspoon vanilla extract
  • 4 egg whites
  • 3/4 teaspoons cream of tartar
DIRECTIONS
Preheat oven to 325 degrees fahrenheit
  1. Combine the flour, sugar, pistachios, baking powder, and salt in a large mixing bowl.
  2. Whisk together the egg yolks, vanilla, water, and melted butter. Pour this liquid into the dry ingredients and whisk to combine.
  3. Put the cream of tartar into the egg whites. Beginning on low speed of a mixer, beat the egg whites. Increase the speed gradually to obtain soft peaks.
  4. Fold the egg whites into the batter in 3 additions. Pour into a parchment paper lined pan and bake until golden. Roughly 15 minutes for a 20x16 inch jelly roll pan.
Marscapone Buttercream
INGREDIENTS
  • 1 cup sugar
  • 2 1/2 tablespoons flour
  • 2 tablespoons cornstarch
  • pinch of salt
  • 1 cup milk
  • 1 teaspoon vanilla extract
  • 4 oz marscapone
  • 2 sticks unsalted butter, room temperature 
DIRECTION
  1. Whisk together the sugar, flour, cornstarch, salt, and milk. Pour through a sieve to get any chunks out, and cook the mixture over medium heat, stirring constantly until it becomes thick. Allow to cool to room temperature.
  2. On medium speed of a mixer, beat the cooked milk mixture for a few seconds, and then begin adding in the butter a few tablespoons at a time. Once all the butter is incorporated, add in the marscapone.
  3. Beat the buttercream until fluffy, and then add in the vanilla. Use immediately.
  4. To get the cherry rose filling, add in some finely chopped dried cherries and a drop or two of rose essence depending on how you divvy up the frosting.  

Sunday, March 11, 2012

Spring Fever Birthday

Pin It
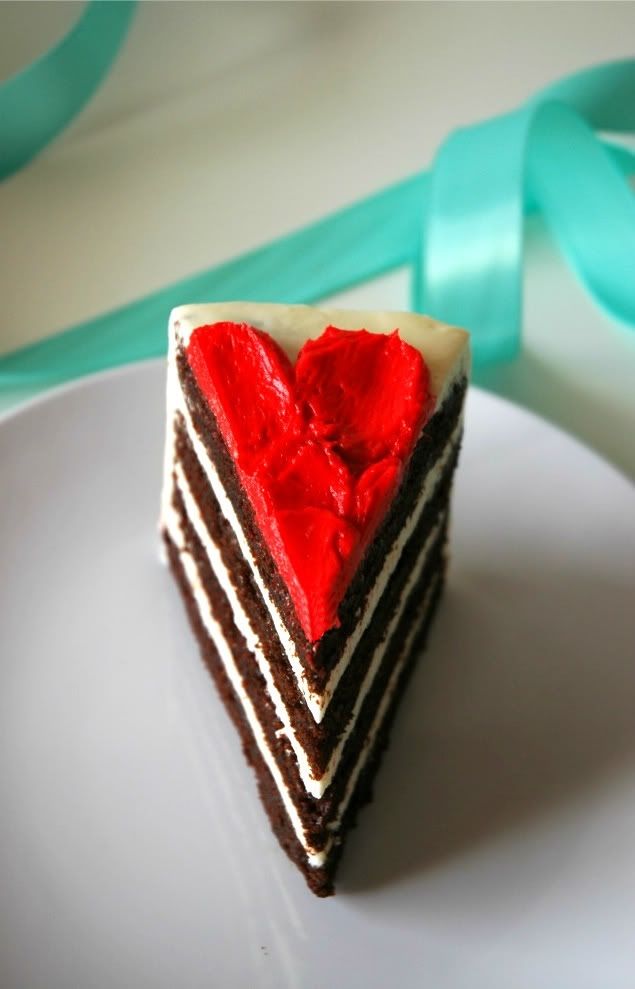
The layers in this cake are the best looking ones I have ever made. So crisp!
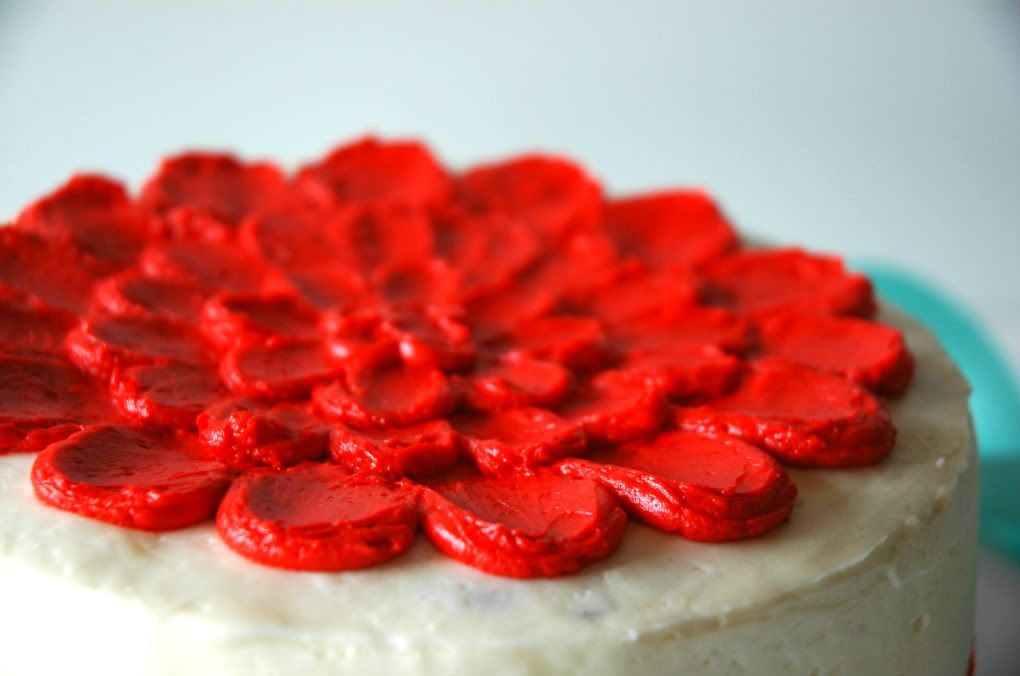
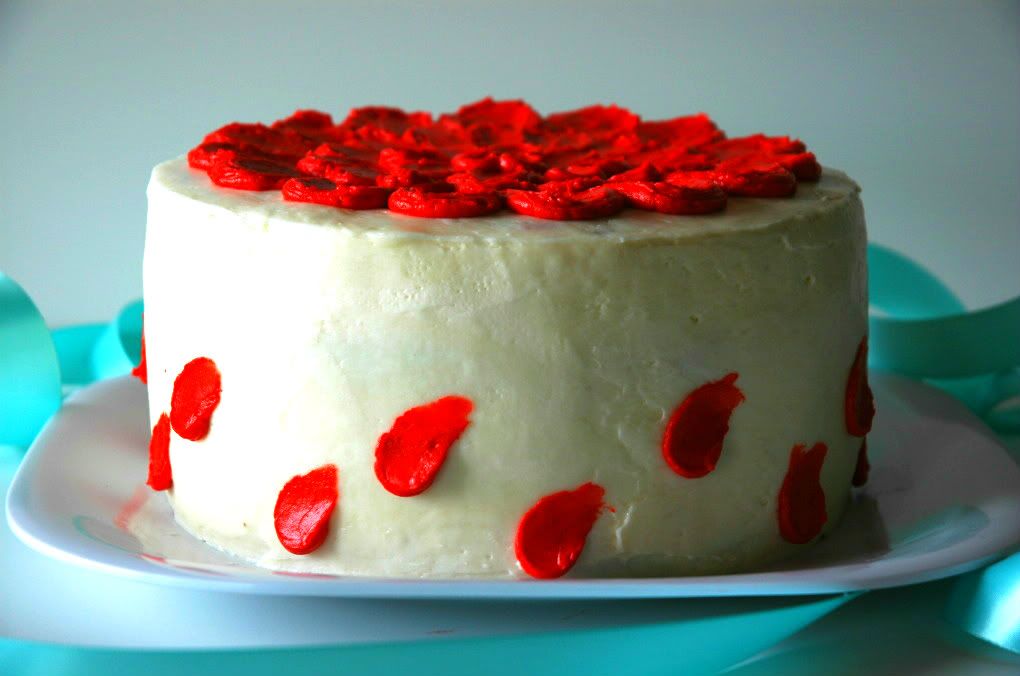
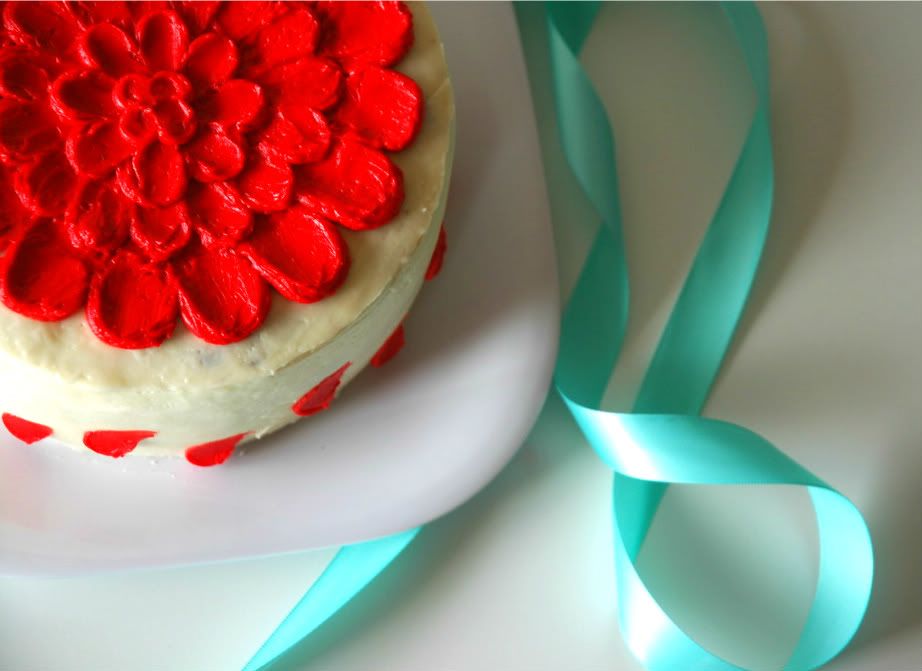
I have yet to bake anything truly decadent. Something so sweet that it makes you feel guilty just looking at it. Chocolate and vanilla seemed like a fitting combination that would satisfy my craving for pastries. This can also serve as my one year anniversary celebration cake for Rummy Tum-Tum, though I am about one month late on that. How could I have possibly skimmed over such an important landmark!? Next year I'll be prepared to throw some confetti and blow up some balloons on the right day. The epiphany struck me as I was making the batter, so I took the initiative to decorate it. I also have terrible spring fever, so I went bold with the colors! Vibrant red was just calling me. I want to see the flowers bloom and warm weather to bathe in! Winter wasn't at all harsh this year, but I am antsy for the change of the seasons.
I initially wanted to have 8 layers in this cake, but there were so many crumbs after leveling the cakes off that I had enough of it. I despise crumbs. They're so pesky to wipe off the counter, and the world simply ends when they mix into the buttercream!
Surprisingly, this cake had me tied up in the kitchen for less time than the cupcakes last week. Check those out here! Basic cake and buttercream, with a little love and attention, can be transformed and molded into a slightly extravagant dessert. You literally dump all the cake components into a bowl, mix, and bake. Simple as that. 
The school club I'm in is very big on helping the community, so we handed out sandwiches to hobos near the school during this week's meeting. It's amazing how appreciative they were to receive organic, all-natural, whole grain peanut butter and jelly sandwiches. It seems as if everyone at school and the city are health nuts. There is a health food store on every block it seems. We not only gave the homeless people food, we gave them a nutritious and heart healthy supplement to their day. I also still can't believe I only have 3 months of school left. This year went by so fast! High school memories will soon be replaced with the experiences of college. Hurray!
I wish I could have blown out the candles on a cake like this when I was younger. So much nicer than those scary barbie cakes from Wal-mart. They're terrifying. Why kind of baker contrived this idea? Why kind of kid begs their mommy for a piece of cake with a plastic doll shoved into it? It's almost as creepy as those people who order custom cakes sculpted in the shape of their dogs. When you eat it, you have to cut into it, so essentially you're carving your dog up and consuming it with a sheepish grin because the cake tastes good. Or cakes that have family pictures printed on them. That's disturbing too. Imagine a little kid saying, "Look mommy, I'm eating Aunt Suzy's eye!" I shall not judge though. Eat whatever shape, size, or type of cake that floats your boat, but please just eat cake that tastes good! Enjoy!

Decorating Tutorial
  • You'll want to fill and dirty ice your cake. Then go back with another layer of buttercream to create a smooth surface.
  • Dye the remaining buttercream any color that your please, and then transfer to a piping bag with a round tip.

  • Starting from the edge, pipe dollops equal in size. Then take an off set spatula or a spoon, and with a sweeping motion, smooth the mounds of frosting. 
  • Continue piping concentric circles of frosting and repeating the process above until you reach the center. 
Rich Chocolate Cake
From Sweetapolita
INGREDIENTS
  • 1 3/4 cups all-purpose flour
  • 2 cups granulated sugar
  • 3/4 cup cocoa powder
  • 2 teaspoons baking soda
  • 1 teaspoon baking powder
  • 1 teaspoon salt
  • 2 eggs
  • 1 cup strong black coffee (can be hot)
  • 1 cup buttermilk, room temperature
  • 1/2 cup vegetable oil
  • 1 tablespoon pure vanilla extract
DIRECTIONS
Preheat oven to 350 degrees Fahrenheit
  1. In bowl of electric mixer, sift all dry ingredients.
  2. Add all remaning ingredients to bowl with the dry ingredients and with paddle attachment on mixer, mix for 2 minutes on medium speed. It will be liquidy.
  3. Pour batter in pans lined with parchment paper and bake until toothpick inserted in the center comes out clean.
Easy Vanilla Buttercream

From Magnolia Bakery
INGREDIENTS
  • 4.5 tablespoons all-purpose flour
  • 1 1/2 cups milk
  • 1 1/2 cups unsalted butter, room temperature
  • 1 1/2 cups sugar
  • 1 1/2 teaspoons vanilla extract
DIRECTIONS
  1. In a medium saucepan, whisk together the flour and milk until smooth. Over medium heat, and whacking constantly, cook until the mixture becomes thick and begins to bubble. Cover surface with wax paper and allow to cool to room temperature. 
  2. In a large mixing bowl, beat butter until smooth and creamy on medium high speed. Gradually add the sugar, and beat until fluffy. Add in the vanilla and beat well.
  3. Add in the milk mixture and continue to beat on medium high speed until smooth and whiter in color. Cover and refrigerate for 15 minutes. Use immediately. 

Sunday, February 19, 2012

Matcha Lychee Mousse Cake

Pin It
The lychees kind of look like they're glowing here:P
So far I have been able to waste two days of my four day weekend. I never realized that President's Day was such a big deal that I would practically be given an entire week off. I honor and commemorate the leaders of our nation, and I do so with cake of course! How else do you show your respect?

You of course could be like a student from my school and show your pride in other ways. One of our clubs went to the White House for a tour and was greeted by the first lady, Michelle Obama. He went insane! He probably would have shook her hand off and premanently freeze his face into that giddy smile he had for about 5 minutes. He was one excited little boy. I would have probably just peed my pants if I saw Michelle Obama in front of me. That woman is BEAUTIFUL! Plus she dresses so well.
This weekend will be utilized to catch up on some sleep as that is the prime topic of my agenda. Once I plopped onto my bed Friday night, I was knocked out cold for ten hours. Waking up under my toasty fleece blanket with the sunlight peeking through my window curtains was divine. Then to start my day I had some tasty rice porridge (aka congee) that my dad made. Which reminds me that I must start collecting family recipes so that I can cook them when I get older. I'm sure I could look some up online, however, some of my favorite foods are my dad's odd concoctions. It's experimentation at its best. I can assert with confidence that pickles were not easily available to my dad when he was growing up in Asia, and yet he loves to make pickle soup to eat with rice. So dorky.
Haha, I ended up using an ice cream scoop to make one of my chocolate decorations. Using my resources!!!
I must have been completely detached from the world for the past couple of weeks. I had no idea the Fray released a new album. It's nice to hear some hearty music instead of that auto tune puke on the radio. I must download this album from iTunes this weekend so I can jam out to it on my way to school. I'm sorry Drake, Flo Rida, and Lil Wayne, but there is a certain point where repeating the same word over and over to a droning beat gets a little annoying, and a little funny. Maybe they do that so it's easier to remember all the lyrics when they go on tour? I do not know. I still listen to their songs though because they're catchy and it makes me feel like a teenager! This week I was rapping with Flo Rida on the radio at a red light, and then that awkward moment when you see the person in their car in the next lane just staring at you or cracking up happened to me. Longest moment to wait for the light to turn green so I could speed away!
This week I made this little guy, yeah it's only a 6-inch cake! To do a crumb coat before the green tea ganache, I wanted to used a whipped ganache that I had set aside. I put the stacked and filled layers of cake into the freezer, thinking that if it was extra firm, the whipped ganache would be easier to spread on top. WRONG! I started to coat the sides of the cake with the ganache and it froze immediately. The more I tried to salvage the cake and smooth out the ganache, the more the cake ripped and crumbled. In the end I ripped off the ganache, because it had firmed up so much that it peeled off in one strip. Gross. The remaining cake looked so mangled and destroyed to say the least. I ended up making a cooked flour frosting for the crumb coat. I'm actually quite surprised I had the will power to even make more frosting. Yet, once again, that failed. The butter separated from the sugar. It was curdled, lumpy, and simply putrid looking. Like I said in another post, frosting just hates me. At this point I was sincerely contemplating going to the store to buy some good ole betty crocker frosting, but couldn't succumb to that! Trudging through, I made more white chocolate ganache and spread it on top of my room temperature cake. I must take note of this catastrophe for future reference. Goodness.
I should really invest in a nice platter for my cakes eventually. The toaster oven tray just isn't cutting it anymore!
So now I present to you the fruits of my labor. The rundown:
a matcha chiffon, a lychee mousse, doused in a matcha white chocolate ganache, and decorated with chocolate and lychee. Below I have posted the chiffon and mousse recipes, and you can play around with a white chocolate ganache recipe from around the web, because I kept pouring cream and adding chocolate to my ganache until I saw what I desired. I added about 1 teaspoon of matcha to one cup of ganache for the outer layer with a squirt of corn syrup for a nice shine and sheen.
Enjoy!
MATCHA CHIFFON
Adapted from the Gildedfork
Yields 1 18X14 inch jelly roll pan
INGREDIENTS
  • 1 1/3 cup cake flour
  • 1 tablespoon matcha powder
  • 1 1/2 teaspoons baking powder
  • 1 pinch of salt
  • 1/3 cup sugar
  • 2 egg yolks
  • 1/4 cup + 2 tablespoons cold water
  • 1/4 cup vegetable oil
  • 1/4 teaspoon vanilla
  • 3 egg whites
  • 1/4 cup sugar
DIRECTIONS
Preheat oven to 350 degrees Fahrenheit
  1. Sift together the flour, match, baking powder, and salt. Stir in the 1/3 cup of sugar.
  2. Whisk together the egg yolks, water, oil, and vanilla. Pour and whisk into the dry ingredients until well combined.
  3. Beat the egg whites on medium speed of a mixer until frothy and foamy. From this point on, gradually add in the 1/4 cup of sugar. Turn the speed up to medium high to high speed until stiff peaks have formed. 
  4. Take a little less than 1/3 of the egg whites and stir into the wet mixture to loosen it up. Fold in the rest of the egg whites in two additions until the batter is just combined. Pour into a parchment paper line jelly roll pan and bake for 15 minutes or until barely golden. 
LYCHEE MOUSSE
INGREDIENTS
  • 2 cans of lychees in syrup*
  • 1/4 oz gelatin
  • 1 cup heavy cream
DIRECTIONS
  1. Put the lychees from the two cans, and the syrup from one can into a blender. Be sure to reserve 4-5 for garnish. Pulse a few times until the lychees form a puree.
  2. Sprinkle the gelatin onto 2 oz of some of the remaining lychee can syrup. Using a microwave or a stove top, cook until the gelatin is dissolved. Mix into the lychee puree and refrigerate until set.
  3. Whip the heavy cream until soft peaks form. Whisk in the lychee mixture to complete the mousse.
ASSEMBLY:
  1. Using a circular cardboard cutout, carve out three circles from the chiffon in the jelly pan. Piece and fit together the scraps to form the fourth cake layer.
  2. Using a circular cake mold, place the first layer of chiffon down. Pour on some mousse, and then pop into the freezer for 5 minutes. Repeat this process until you reach the fourth cake layer, which you will not put mousse on top. Put the cake into the refrigerator for roughly 3 hours to set the mousse.
  3. Take the cake out of the mold and frost a crumb coat with some white chocolate ganache. Place into the freezer for 5 minutes. Once you take it out, pour on the green tea ganache, allowing it drip and completely coat the cake. Garnish with the lychees and any chocolate decorations. 
NOTES:
* Lychee is a really delicate flavor, and quite difficult to concentrate. If you can find some sort of lychee extract or liquor, you may consider adding that to the mousse to amp up the lychee taste. Even with all the lychee syrup I used, I was still hoping for a more distinct flavor. 

Saturday, February 11, 2012

♥Valentine's Day♥

Pin It
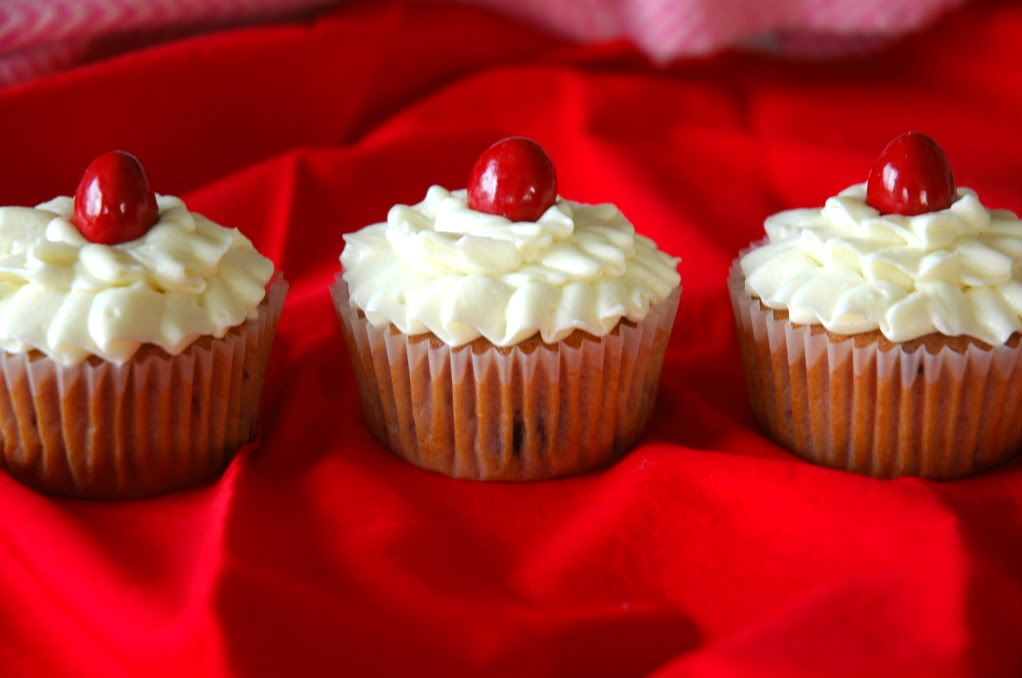
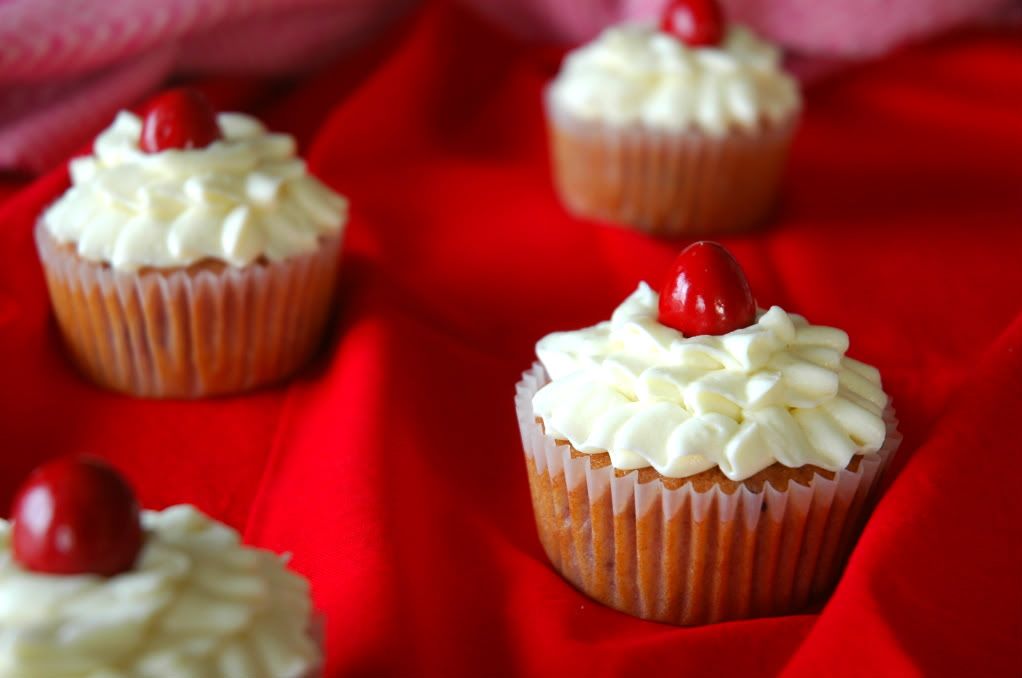
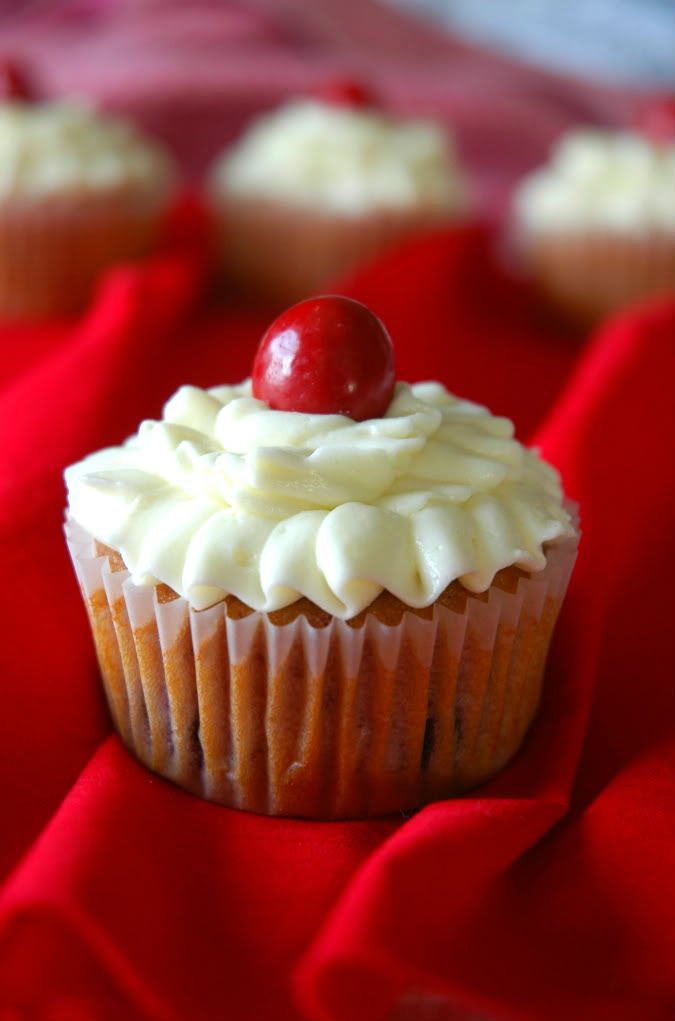
Remember handing out your valentines to your classmates in elementary school? If I could go back, I would pass out these cupcakes instead of those candy hearts with the printed messages like "I luv u" or "Be mine". Admit it, they are kind of gross unless they are the sweet tart flavored ones. Otherwise they're chalky and crumble in your mouth, but not in the good way.
I'm not too big on the Valentine's Day craze. However, I enjoy reading the hallmark cards at the grocery story while I smirk and cringe at the same time. Who comes up with the stuff that is written on these cards!? Romantic? No. Cute? Ehhh, depends. Hilarious? Yup. I won't be the love killer, so here's one of my new favorite songs and it fits the Valentine's Day feeling... sort of. It depends on what context you put the lyrics in. Haha, you'll understand once you watch the video. My sister introduced me to Ed Sheeran, and I'm glad she did. I love acoustics, and if you're a fan of Ron Weasley (Rupert Grint) from Harry Potter, watch this cute video! It will give you a little chuckle:)
I wanted to post these cupcakes before the holiday rolled around, so I ended up making my Momofuku Blueberry cookies this weekend as well. Check those out here! Too many dishes, copious amounts of butter, and excessive quality control tasting. I am a baker who tastes the batter throughout the entire process to ensure I didn't do anything wrong. I also have the tendency to taste each separate ingredient along the way. I'm just so curious as to what they taste like alone. From my experience, melted butter and bittersweet chocolate has made my tongue shrivel in disgust, a drop of vanilla extract made me tear up because it was so bitter, peppermint extract does not equate to the wintery fresh feeling of toothpaste, and lemon zest, well that was just a bad, bad idea. I guess sugar makes everything better! I've also noticed that I never produce the volume of goods a certain recipe yields.  I just need to stop spoon licking now don't I?
Enjoy!
Dark Cherry Cupcakes
Yields ~15 cupcakes

INGREDIENTS
  • 1 1/3 cups all-purpose flour
  • 1 1/2 teaspoons baking powder 
  • small pinch of salt
  • 1/2 cup butter (1 stick), room temperature
  • 3/4 cup + 2 tablespoons sugar
  • 2 eggs
  • 1/2 cup buttermilk
  • 1/2 teaspoon vanilla
  • 10 oz frozen, pitted, dark cherries*
DIRECTIONS

Preheat oven to 350 degrees Fahrenheit
  1. Places the frozen cherries into a bowl and microwave on high for 3 minutes. They should be defrosted, leaving you with a mixture of the cherries and their juices.* Once the cherries have reached this state, mashed them up a bit with a fork, and then let them cool while you proceed with the rest of the recipe. 
  2. Sift together the flour, baking powder, and salt. Set aside.
  3. Microwave buttermilk until slightly warm. Roughly 20 seconds. Stir in vanilla.
  4. In a large mixing bowl, beat the butter for 1 minute on medium high speed. Add in the sugar and continue to beat at the same speed until the mixture is fluffy. 
  5. Add in the eggs one at a time, waiting to add each consecutive one until the mixture is homogenous. Whip until fluffy.
  6. Now add the flour in three parts, alternating with the buttermilk and vanilla. Once all the dry ingredients have been moistened, add in the cherry mixture and beat until well combined. Fill the cupcake liners up 3/4 of the way. Bake for 15 minutes or until done.
Almond Frosting

INGREDIENTS
  • 2 tablespoons flour
  • 3/4 cup milk
  • 3/4 cup sugar
  • 3/4 cup butter (1 1/2 sticks)
  • 1/2 teaspoon almond extract
  • 1/4 teaspoon vanilla
  • 1 1/2 cups powdered sugar**
DIRECTIONS
  1. Cook the milk and the flour over medium heat until thick. Pour into another bowl and place parchment paper on top to prevent a skin from forming. Let it cool to room temperature.
  2. Beat the butter and sugar until fluffy. Beat in the flour mixture and beat on medium high speed until the frosting is fluffy and significantly lighter in color.
  3. Add in extracts, and beat in the powdered sugar. Use immediately.
NOTES:

* It should measure out to be roughly 1 1/2 cups of cherries, however I do advise weighing this ingredient! If you use maraschino cherries, you probably can use less than 10 oz to get enough flavor.
** The stiffer your frosting is, the sharper the ruffles will look. Add more or less powdered sugar to get your desired look.

DECORATING:

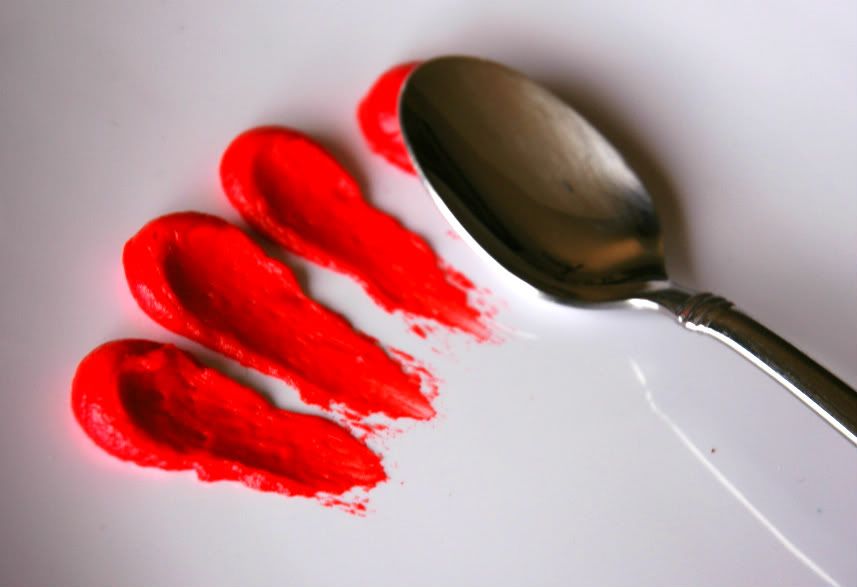
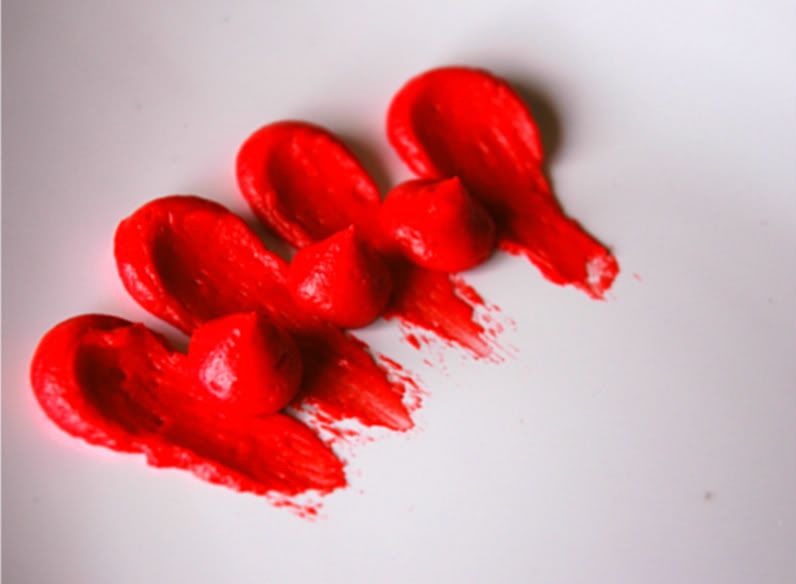
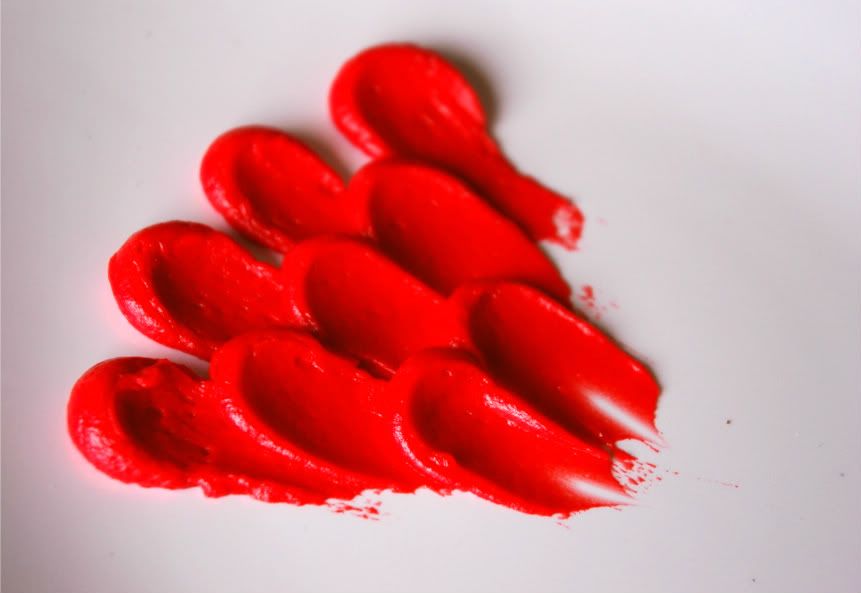
To get the ruffled effect, use a petal/teardrop shape tip (I used No. 104 from Wilton) and starting from the outside, pipe while wiggling the piping bag to get the ruffles. You will keep moving toward the center as if you're making concentric circles. Once you approach the center, piping the ruffles gets difficult, so no worries if it doesn't look as pretty as the other layers. You can top it off with a chocolate covered cherry or any other type of candy to cover up the shabby looking buttercream. It doubles as a decoration and built in photoshop.

Friday, February 3, 2012

Snow Day:)

Pin It
When life gives you a snow day, you make CAKE!
The first thing I saw this morning. My face = ^o^
The wishing and hoping, the praying and dreaming for the first snow day of the year paid off! Quite honestly though, I probably wouldn't have had stepped outside into the snow even if there was class today. Heck, the whole state should have shut down. Who in their right minds would want to go into the wind and snow?
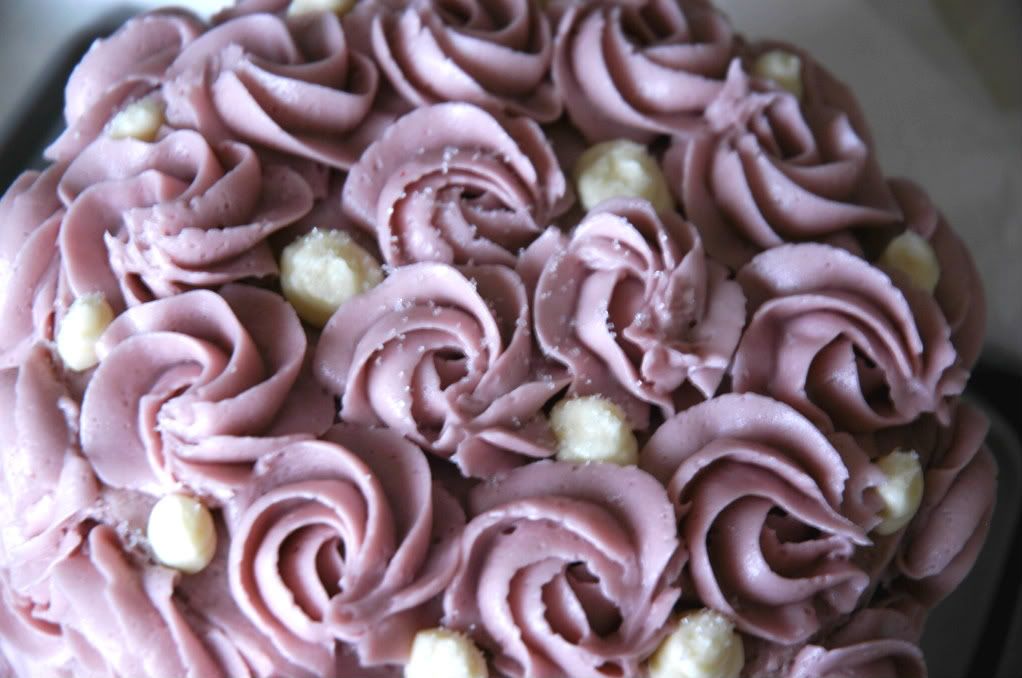
I sprinkled the top with a bit of sanding sugar for a little sparkle!
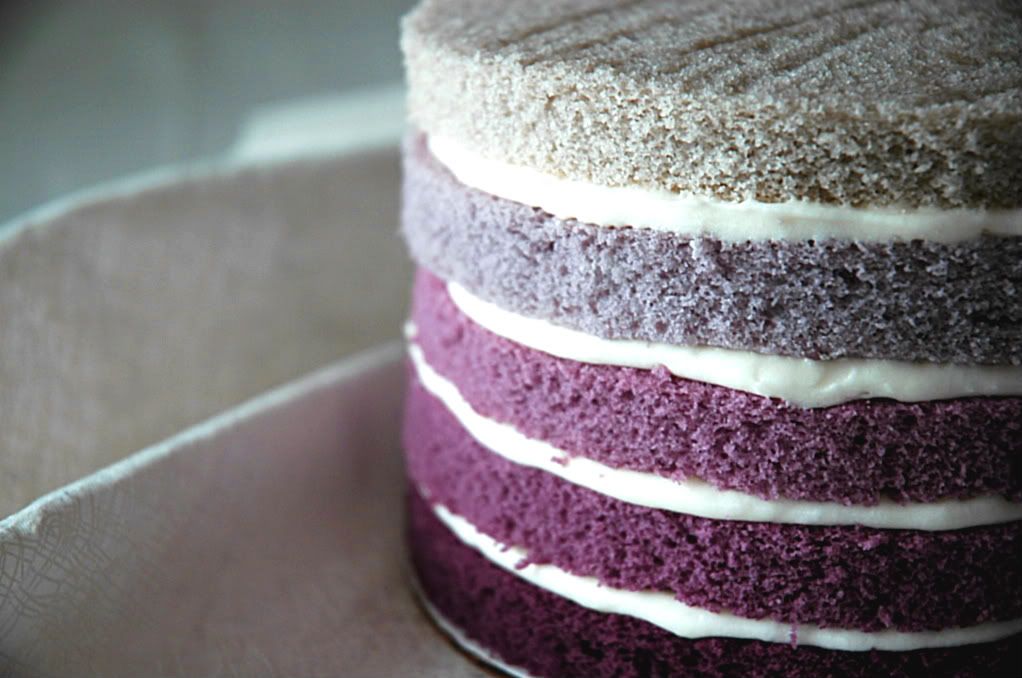
I must admit that indeed it is was pretty outside this morning and throughout the afternoon. Beautiful snowflakes clinging onto the window as the wind swirled the rest of the snow throughout the air. Still, I wouldn't go outside into the winter wonderland. Instead, I slaved over the oven to make an ombre cake! I contemplated the color for a while. One sister wanted pink, the other purple, and I wanted blue... The difficulties of opinions!
I went ahead and took another go at the Magnolia vanilla cupcake recipe. Past experience has led to dense, dry, flavorless cake. This time I used the last of my cake flour and I do believe that resulted in success. The cake is moist and fluffy! I'm embarrassed to even say I disregarded this recipe!
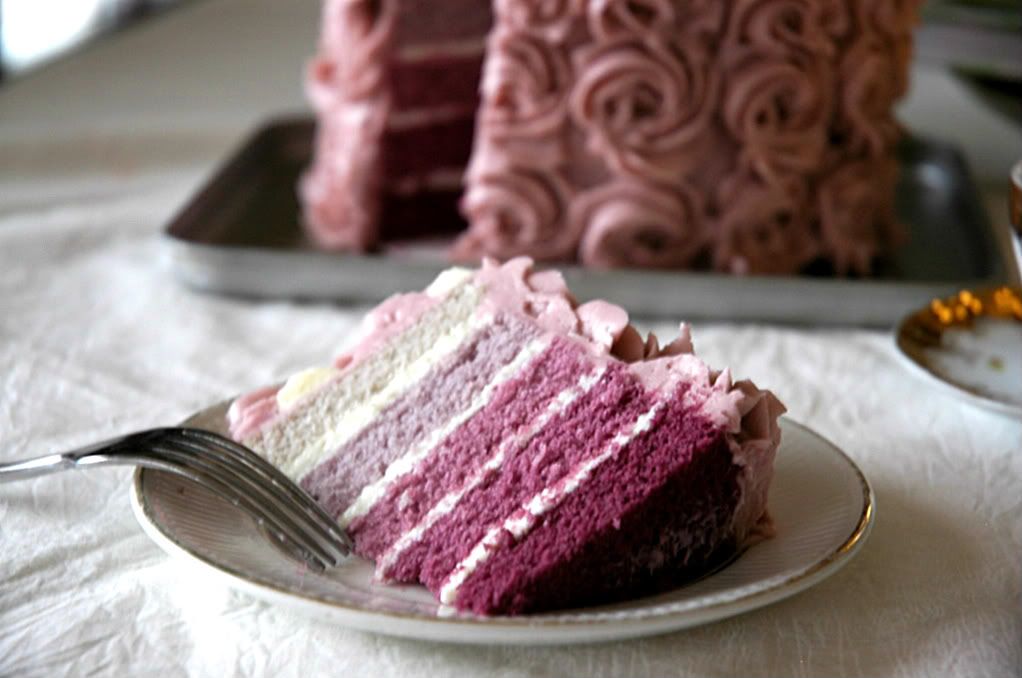
Ooooo! I LOVE the hues of purple<3
Excessive use of food coloring disturbs me, and yet I think there's a level of whimsical appeal that you can only achieve with well, red-90 or yellow-06 dye. The cake is a lovely gradient of purple, but my finger tips are stained blue and red. My thumb looks like I have frost bite because it's so blue. However, that would never be the case because let's stress again that I'm not going into the blizzard. Next time I play with coloring, I will wear gloves!

Nothing too experimental here today. Check out the Magnolia Vanilla Cake recipe here (you may want to substitute all the flour with cake flour instead), and the tasty vanilla buttercream here. Enjoy! And for those who were fortunate enough to bum around like me today because of the blanket of snow, let's raise our glasses of hot cocoa and relax for the rest of the weekend. 

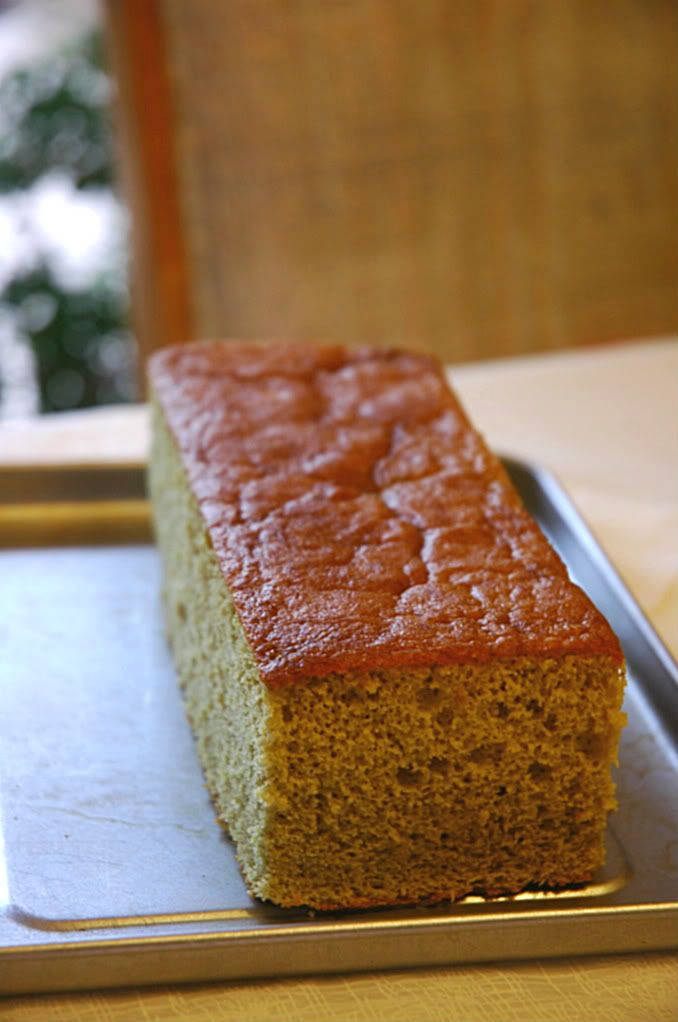
Matcha Castella

Pin It

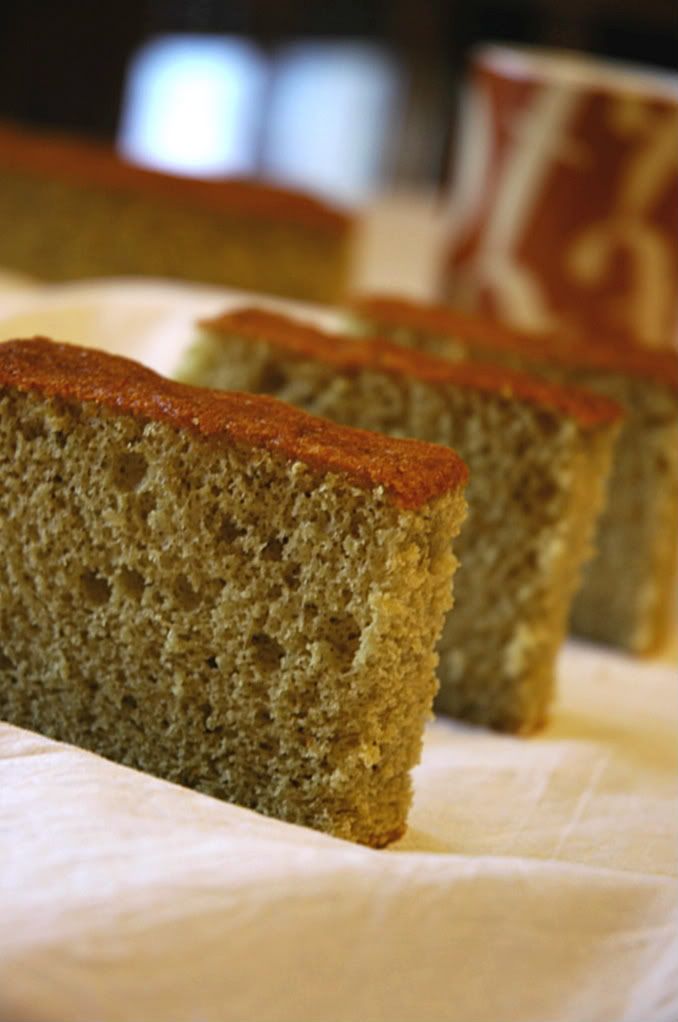
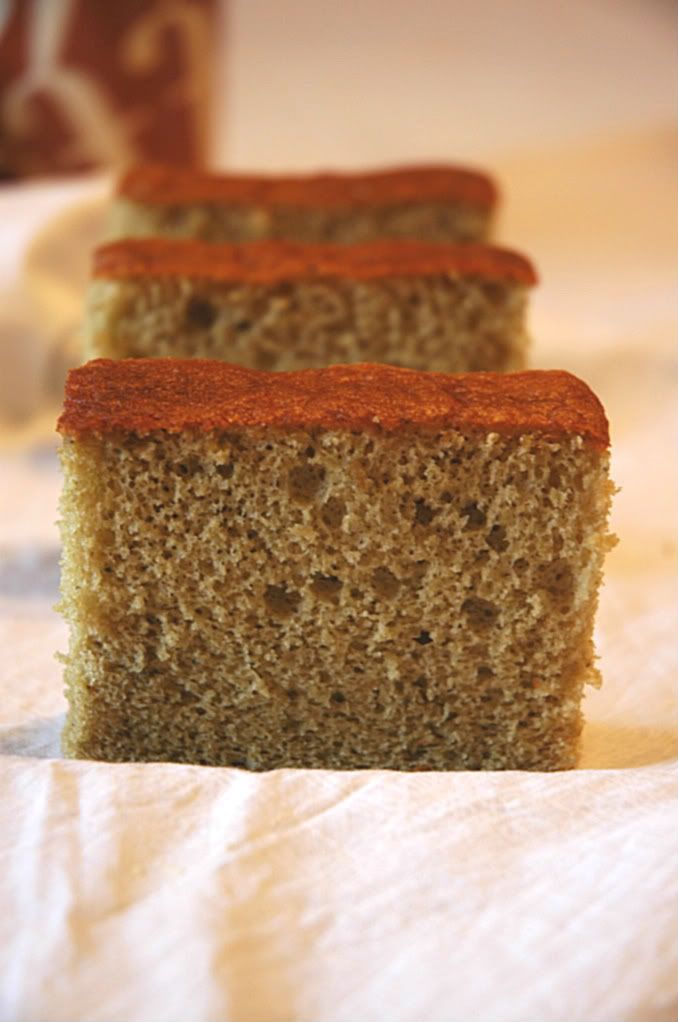
Such a simple sponge cake, and yet so tasty. I made this on wednesday morning out on a whim because who doesn't have cravings for matcha castella cake? 

Just me? 

Well then...
The weather was gloomy, so I had to turn on the putrid yellow light in the dining room. Unfortunately the cake is gone, and thus I cannot take advantage of the beautiful natural lighting today.

If you've ever made sponge cake before, this recipe should be easy to crank out, however if the method daunts you then a few tips would be to whip up the egg and sugar mixture longer than you think you really need to. I also advise keeping the bowl over the simmering pot of water while you whip. This base has to be thick and sturdy enough to withstand the flour that you are going to beat, not fold, in. Be sure to whip on the lowest setting of your mixture as well to ensure a fine crumb in the final product. I was impatient, and went straight to medium high speed, so look at those giant air bubbles! I cannot take credit for this recipe, so check it out here, and for the half of the recipe I used, I added 10 grams of matcha to the flour mixture (roughly 1 tablespoon) and cut down the honey to 1 tablespoon as well.  

Enjoy!

Saturday, January 28, 2012

Ispahan Cheesecake

Pin It I have been M.I.A for so long. Honestly speaking, I completely forgot about this blog and its existence. I forgot how soothing it is to blog about the food I bake and the endeavors I take... albeit at the cost of studying for class. My resolution for the year is to earn that 4.0 I miserably watched trickle through my fingers last semester. Oh how I loathe you AP Physics! Redemption. It is the mere motivation that will propel me through the challenges I will have to combat this year. I WILL win the war this time!
After a recent calculus discussion, I have developed a hate for those who cannot properly use the phrase "a lot" and rather omit the space and write "alot". Typing alot on my laptop is difficult because it is auto-corrected to a lot. So why do people continue to struggle with this? Well there is a hilarious website that you guys should check out. My favorite cartoon has to be the one with the baby. Click me!

My mom's cousin and her family from Australia came to visit us this friday, and I must say, I indeed have no identity. I drove up my street and this mysterious car was parked in front of the garage. After parking on the curb, I walked up to the front door and almost did a face plant. I have know remote clue how I did not see the three pairs of shoes in front of me. I could have avoided tripping and falling into the brick wall to save myself. Maybe I'm just prone to accidents. Anyway, I open up the door and this elderly man looks at me and mumbles, "Who is that?" Well sir, I should be asking who in the world you are! Then my dad assures him that I am not a stranger mistakingly walking into another person's house, and then the elderly man sighs with relief, "Oh, là con út!" (Thank you google translator!) Literally that just means, "Oh, the youngest!" I have no name. No one in my extended family calls me by my name. I will forever be deemed, the "út". Sadness.

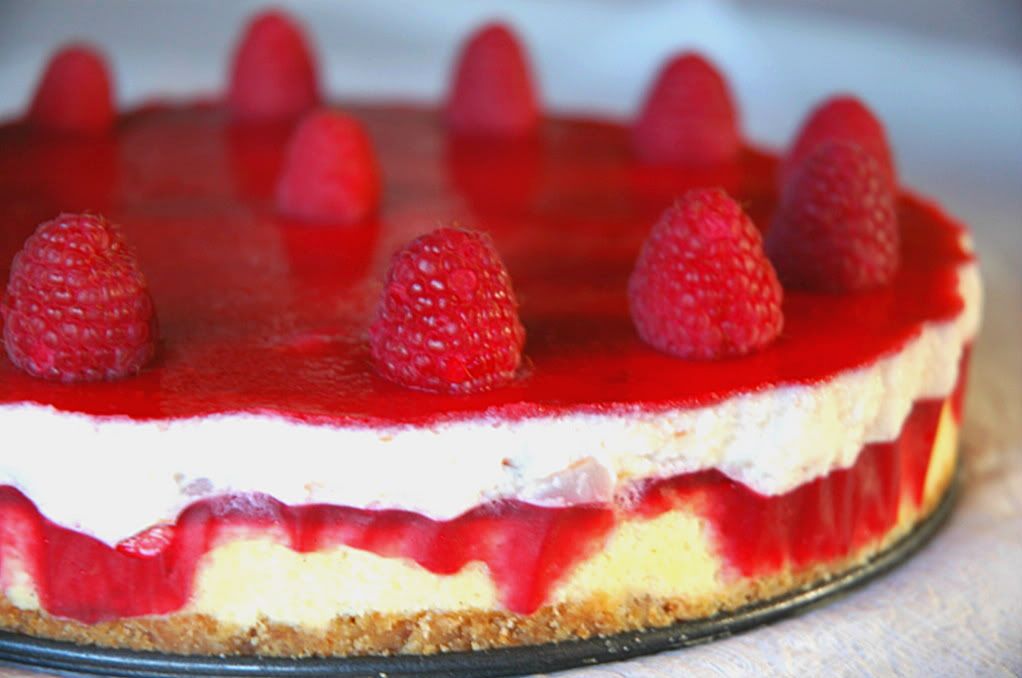
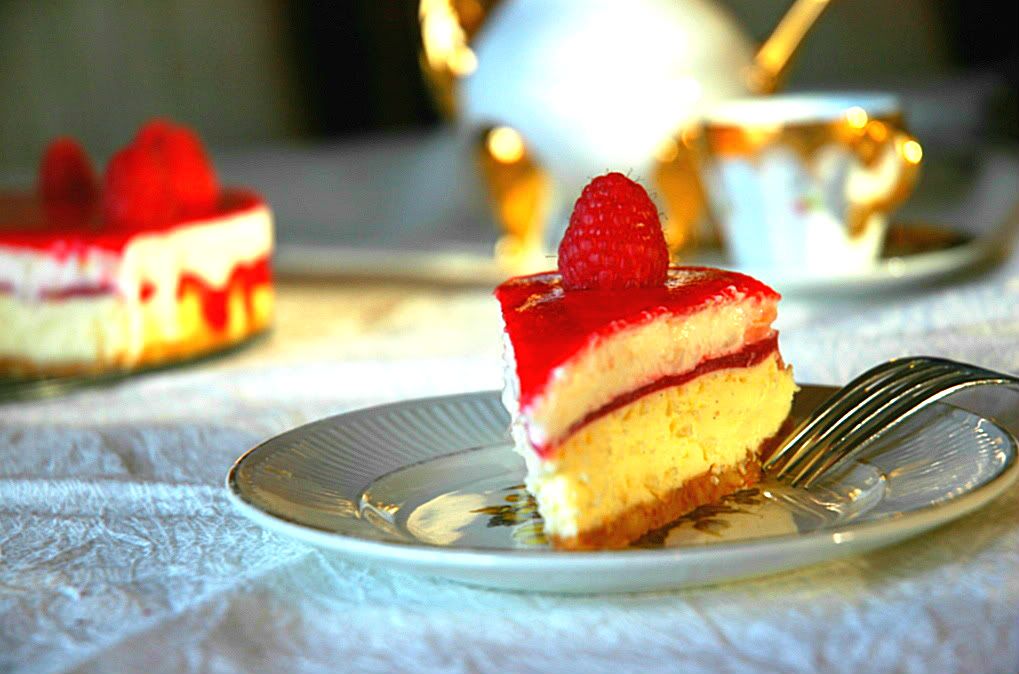
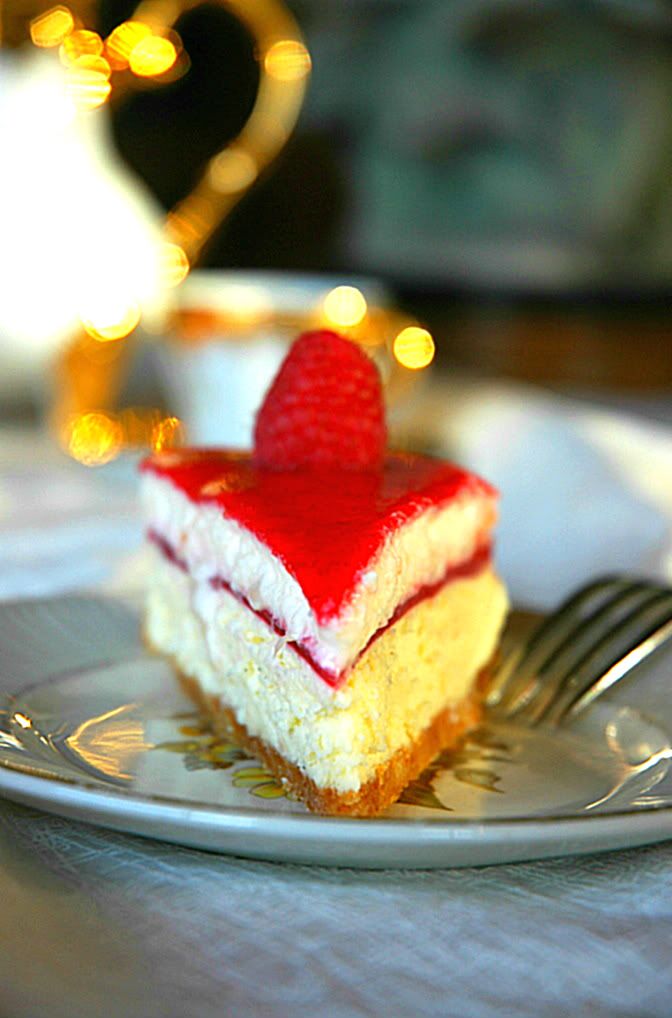
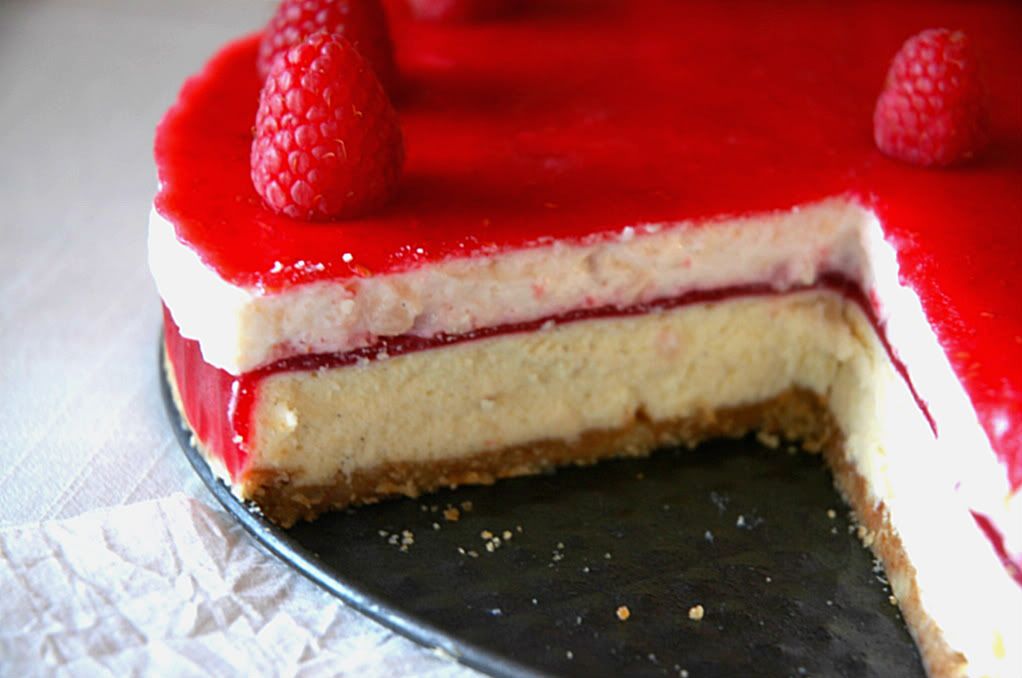
Now finally onto to this jewel. I'll take you step by step through each layer! It was heavily inspired by renowned pastier Pierre Herme's ispahan dessert.

The run down:
A tart raspberry glaze, a lychee mousse, a rose raspberry jelly, a white chocolate vanilla bean cheesecake, and a Nilla wafer almond crust.

It sure took me a while to whip up this cheesecake due to the several components, but it was worth it! Things were made a bit easier by me using some almond flour I already had on hand, but my only advice is to use quality ingredients. Though the lychee may be an exception, because anything from a can is generic in my opinion. I really liked this cake because it turned out so pretty, but I do have to say I dislike the raspberry jelly layer. It is too "jelly-ish". I used Pierre Herme's raspberry jelly recipe that he uses in his ispahan macarons, but I guess it does not meld well with the other textures of the cake. If I ever made this cake again, I would most definitely cut back on the gelatin for that layer.


Thursday, July 7, 2011

BEST Chocolate Cupcakes!

Pin It
BEST CHOCOLATE CUPCAKE EVER!!!!
Of course these cupcakes were made using my only trusted chocolate cake recipe. This recipe is just perfection in my eyes. The crumb is tender, the cake is moist and fluffy, and the overall flavor is chocolatey but not enough to overwhelm the buttery buttercream on top.
If you really want to know how good these cupcakes were just go ahead and make them, but if that's not enough advice to coax you into trying it out I can tell you my sister devoured half of the entire batch.

Yes, half.

May I remind you that we're all trying to lose weight in time for my cousin's wedding later this month. Apparently the goal to fit into our dresses without sucking in our stomachs and extreme tugging at the zipper was pushed aside in favor of stuffing our faces with cake. Or maybe I should say stuffing her face with cake. The combination of the white chocolate buttercream and chocolate cake was a big winner. Simple flavors are truly profound.
Not much more I can say about these pint sized pillows of heaven. Good cupcake. Good frosting. Nothing can really beat that pairing.

Enjoy!


Best Chocolate Cupcakes
Adapted from Allrecipes
Yields 2 dozen cupcakes

INGREDIENTS
  • 2 1/4 cups packed brown sugar
  • 3/4 cup butter,  softened
  • 3 eggs
  • 1 1/2 teaspoons vanilla extract
  • 2 cups all-purpose flour
  • 1/2 cup and 1 tablespoon baking cocoa
  • 2 1/4 teaspoons baking soda
  • 1/4 teaspoon salt
  • 1 cup sour cream
  • 1 cup boiling water
INSTRUCTIONS
  1. In a mixing bowl, cream brown sugar and butter. Add eggs, one at a time, beating well after each addition. Beat on high speed until light and fluffy. Blend in vanilla.
  2. In another large mixing bowl sift to combine flour, cocoa, baking soda and salt.
  3. Alternately add the flour and sour cream to creamed mixture. Mix on low just until combined. Stir in water until blended.
  4. Pour batter into the cupcake liners and bake in a preheated oven at 350°F for 15-20 minutes.

White Chocolate Buttercream
Yields  4 cups

INGREDIENTS
  • 3/4 cup sugar
  • 4 egg whites
  • 14 tablespoons (256 g) unsalted butter, softened slightly and sliced
  • 1/3 cup white chocolate, melted and cooled
INSTRUCTIONS
1)      Cook the egg whites and sugar in a small saucepan over medium heat, whisking constantly, until the sugar is completely dissolved. A candy thermometer should read roughly 160°F.
2)      Pour egg whites into another bowl (a stand mixer is preferable) and whip on high speed until room temp and glossy peaks have formed.
3)      On a medium-slow speed, add the butter, waiting until each piece is completely incorporated before adding the next.
4)      Once the buttercream has reached the ideal consistency, add the melted and cooled white chocolate carefully. Once the buttercream has been whipped, store in an air tight container until ready to be piped onto the cupcakes. 

Related Posts Plugin for WordPress, Blogger...
Pin It button on image hover