Showing posts with label pretty. Show all posts

Sunday, April 15, 2012

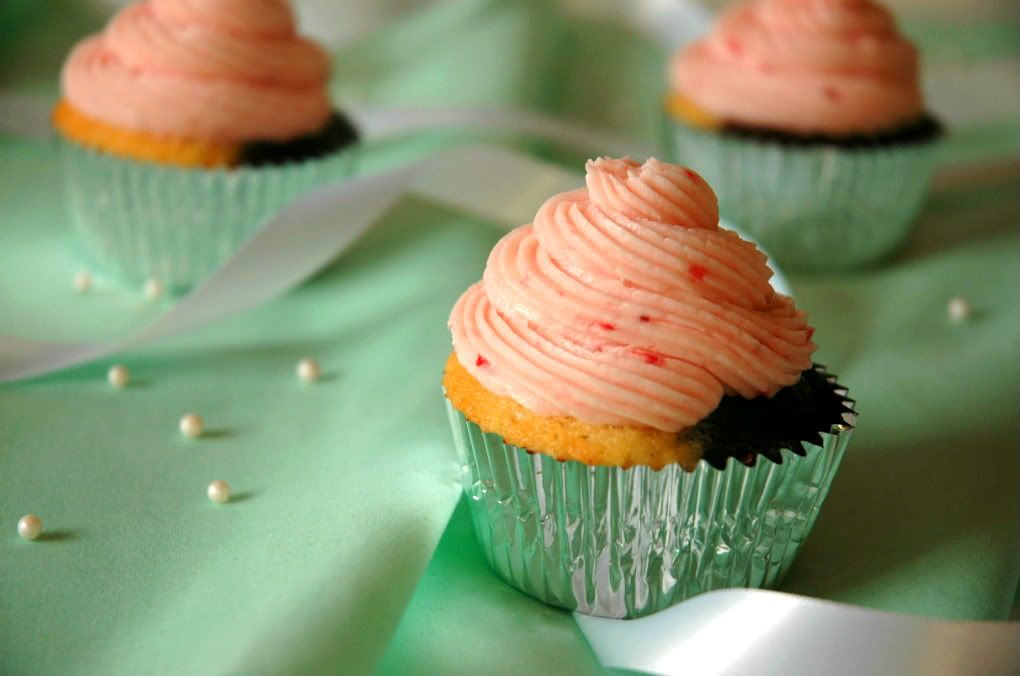
Baking With The Sis: Neapolitan Cupcakes

Pin It
My sister is on her Spring break, so she is back in town! Mid April is an odd time to schedule break though, but I guess that's the way dental school rolls. None of my sisters' spring breaks coincided with mine. Sad.
When my sisters were younger, my dad used to buy neapolitan ice cream for them to eat. I however only remember him buying french vanilla ice cream. What made it special was sprinkling Rice Krispies on top to get that crunchy texture along with the silky smooth ice cream. Is that a weird combination? I just know it's one of my more vivid memories of my childhood. Of course what I remember the best deals with food. 
I have attempted to bake with my sister several times in the past. Yet, each project has gone terribly wrong. We made chocolate cookies that came out of the oven deformed, mangled, crunchy, and just bad. They looked like amoebas. We tried making buttercream together. Who knows what went wrong there. The frosting was curdled and lumpy. Today we made cupcakes and aside from this batch, they puffed up, sunk, and spread into amoebas in the cupcake tins. Come to think of it, whenever we need to refer to one of these baking endeavors, we just need to say one word: amoeba.
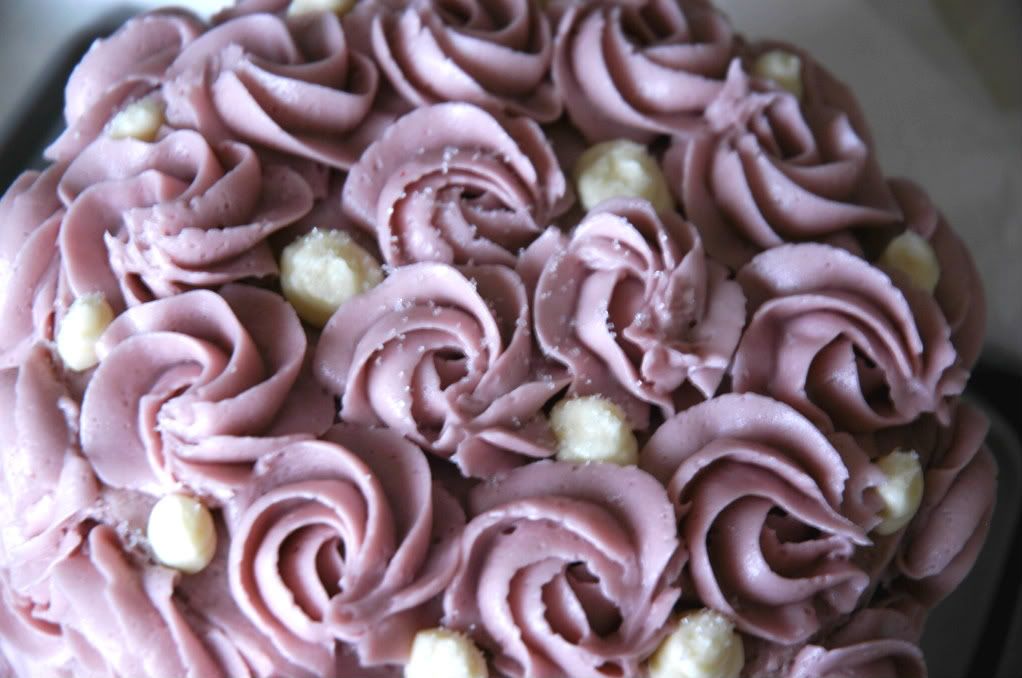
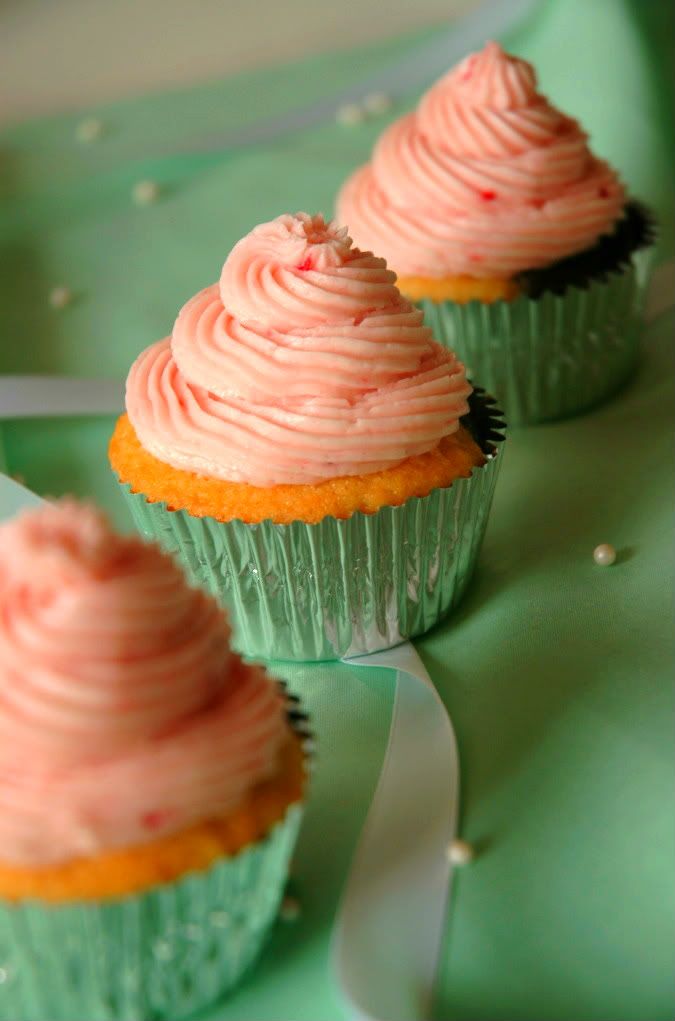
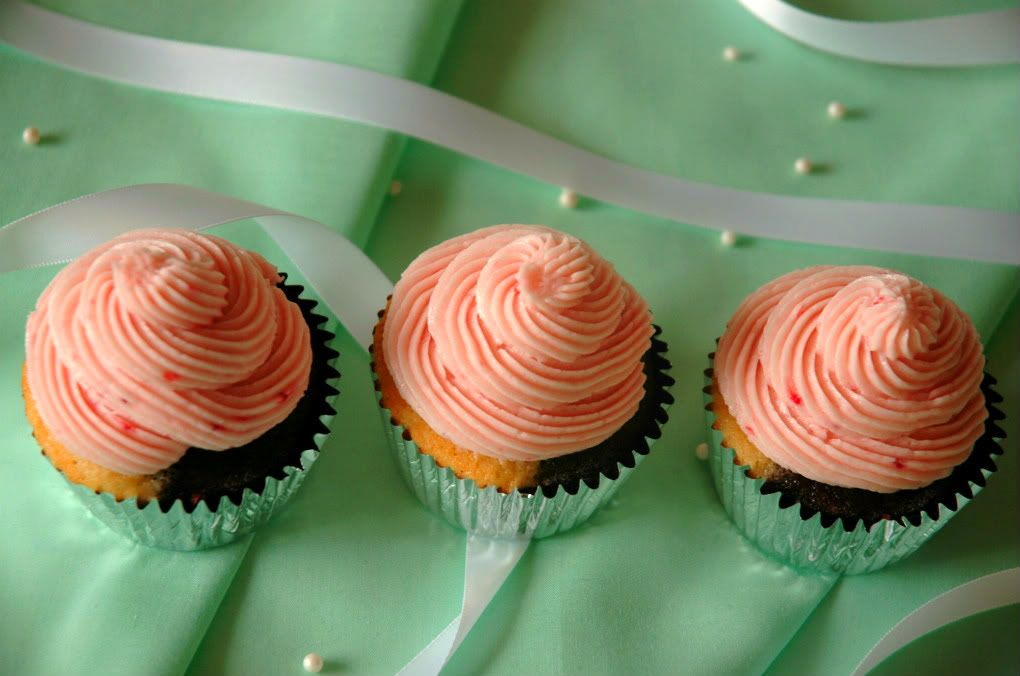
I must give her credit for the piping of the frosting on these cupcakes though. She did a fine job. She was able to utilize my brand new french piping tip. It is so pretty!
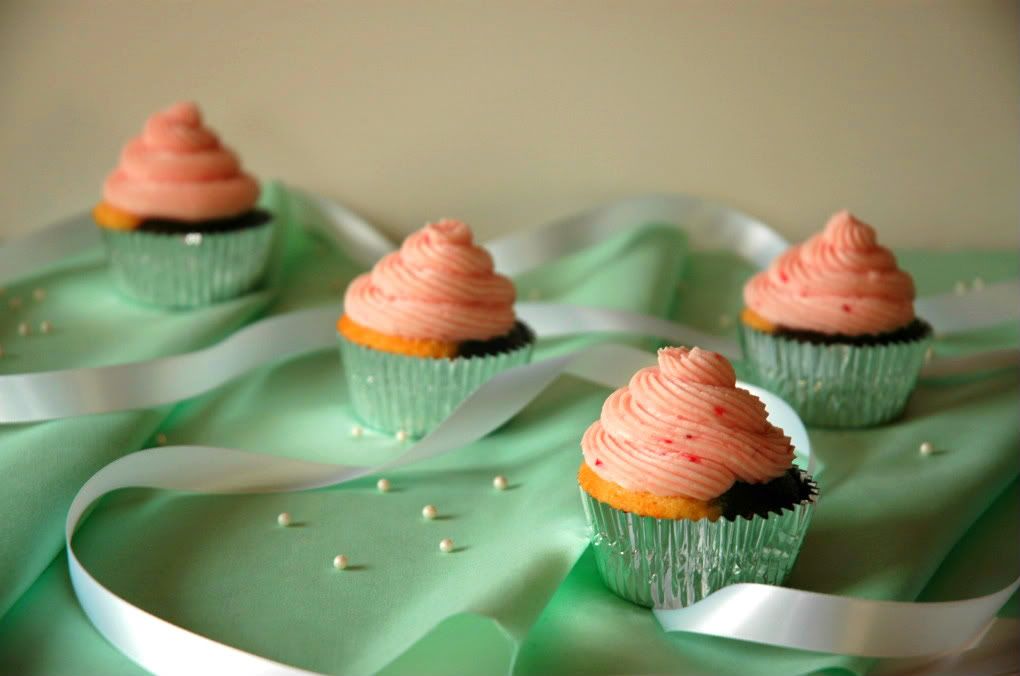
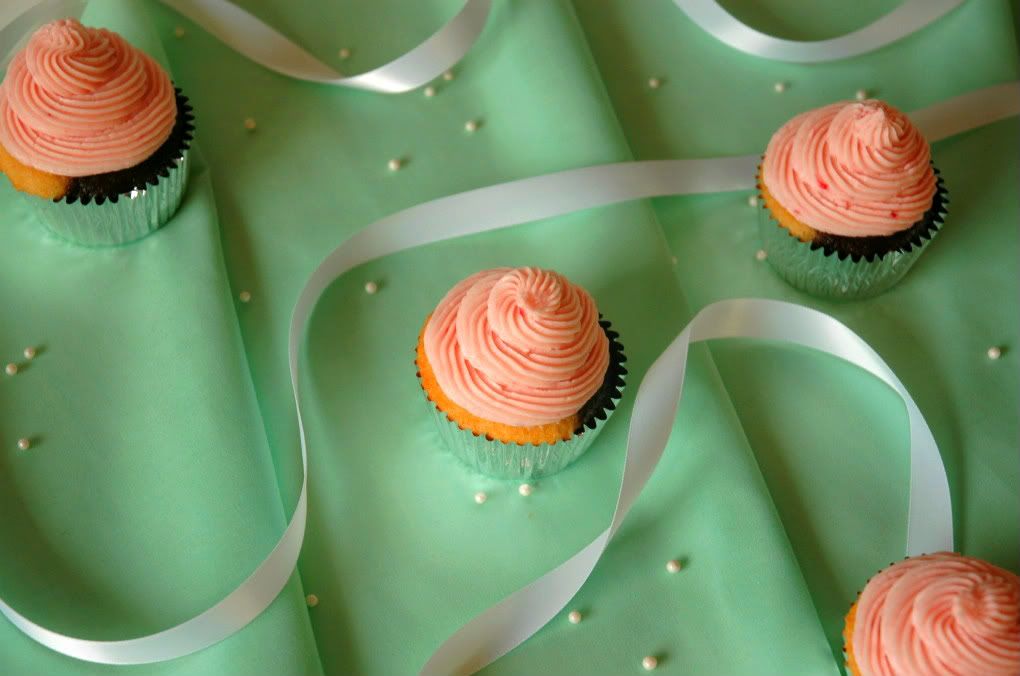
Below is the recipe for the buttercream frosting that literally tastes like strawberry ice cream. I ended up mashing the frozen strawberries with a fork instead of whipping out the food processor so that there were bright red speckles throughout. The cake itself is half chocolate cake, which you can find the recipe here, and the magnolia vanilla cake, which you can find a reference to here. I normally hate confectioner's sugar frostings because I find them grainy. However, I find that you just need to beat the frosting for a very long time so that it gets smoother, fluffier, and creamier. Enjoy!
Whipped Strawberry Frosting
From Sweetapolita
INGREDIENTS
  • 3 sticks + 2 tablespoons butter, room temperature
  • 4 cups sifted confectioner's sugar
  • 1 tablespoon milk
  • pinch of salt
  • 1 1/2 teaspoon vanilla
  • 3 tablespoons strawberry puree, made from frozen strawberries
DIRECTIONS
  1. Beat the butter on medium speed of a mixer until pale and fluffy. Roughly 8 minutes.
  2. Turn down the speed to low and dump in the rest of the ingredients except for the strawberry puree. Beat for one minute, and then increase the speed to medium again for 6 minutes so that the frosting becomes very light and fluffy.
  3. Add in the strawberry puree and beat to thoroughly combine. Use immediately. 

Saturday, April 7, 2012

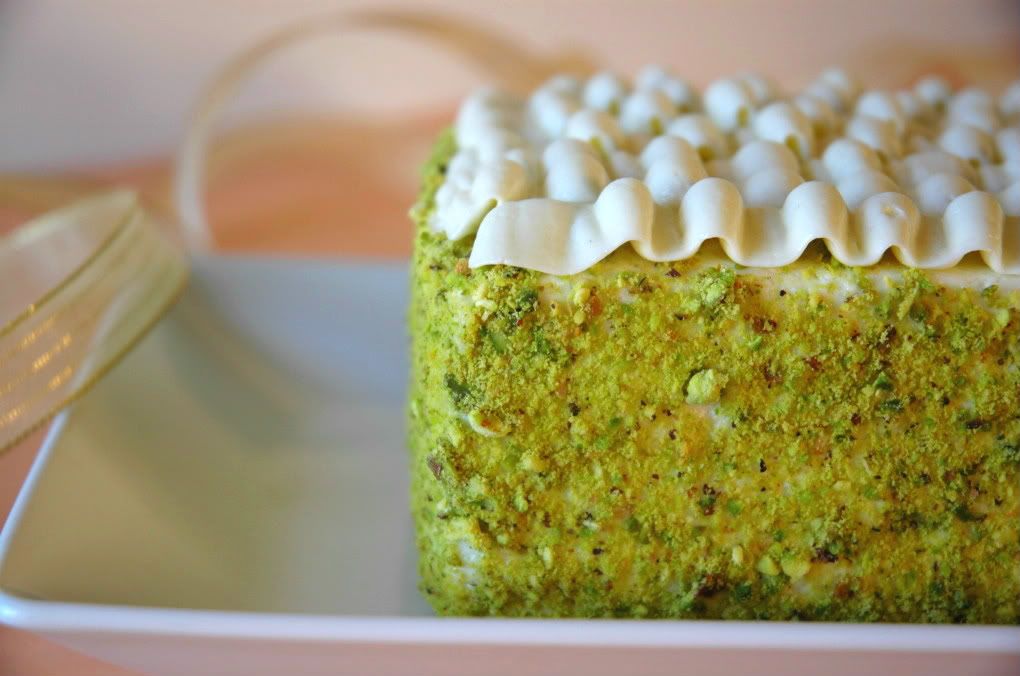
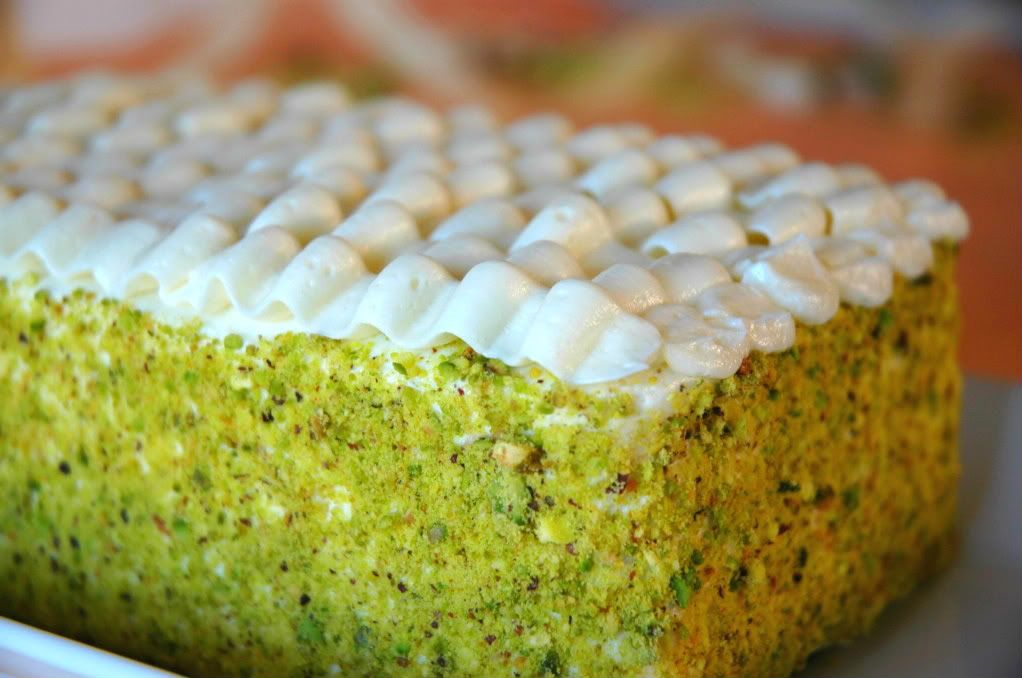
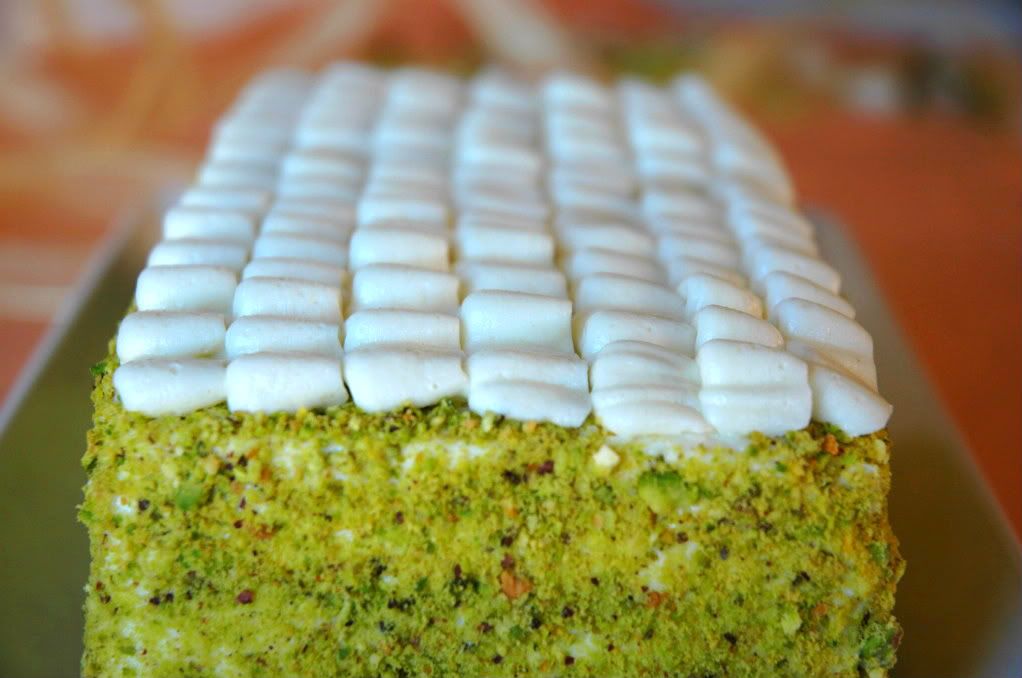
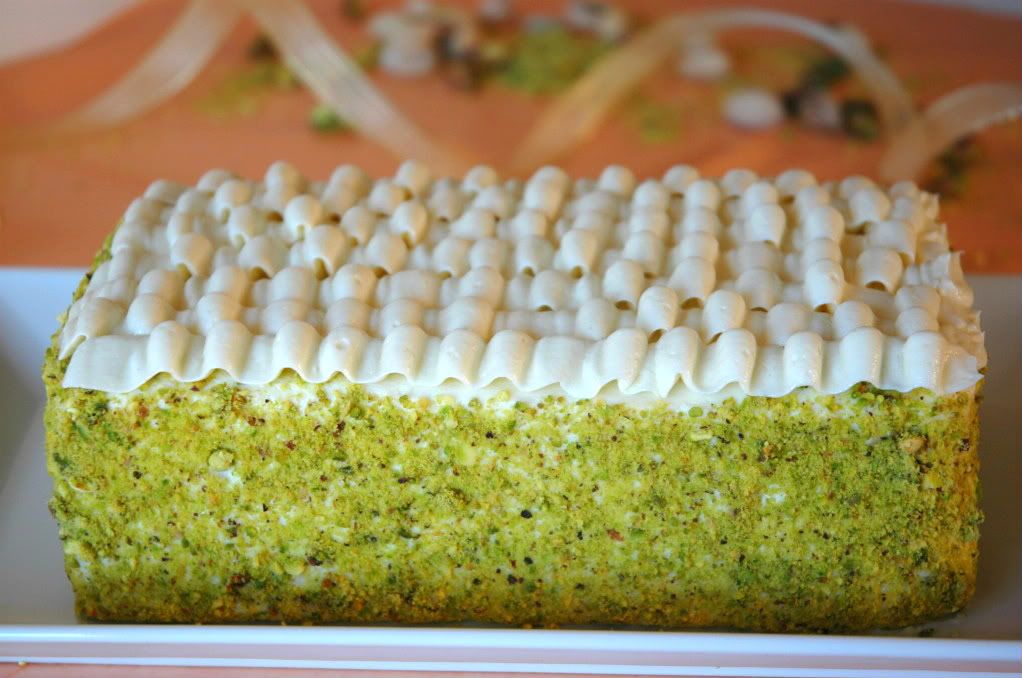
Rose Cherry Pistachio Cake

Pin It
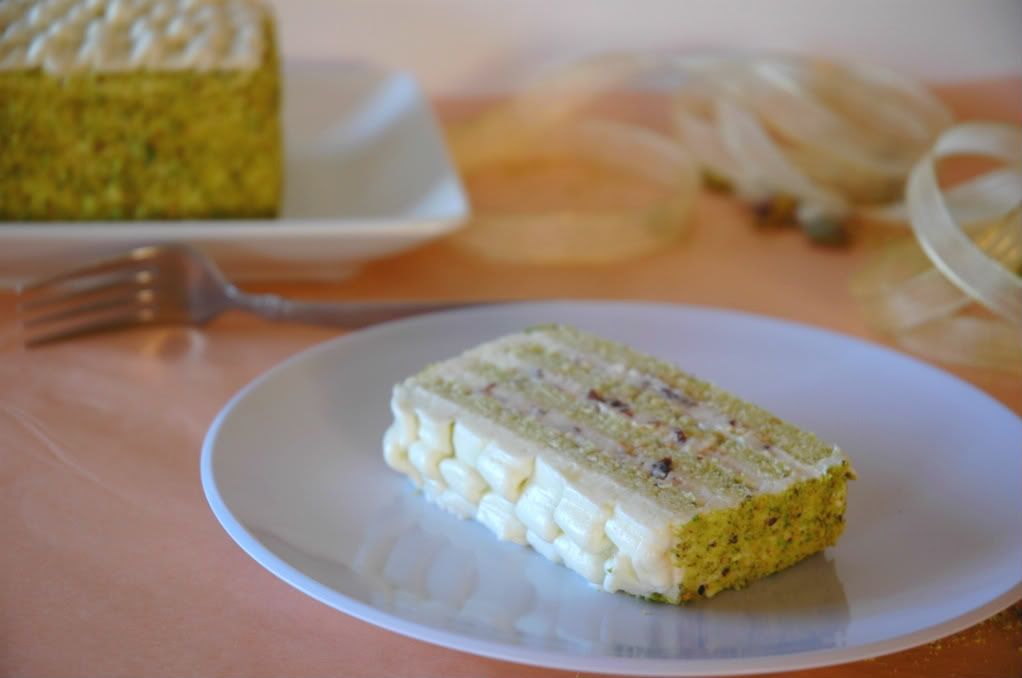
This week's inspiration was one of the new Quaker oatmeal flavors: cherry pistachio. Talk about yum. I also make a box shaped cake. Creative adjectives are not coming to mind. Though, I employ much effort to state that I do believe the structure gives this cake more elegance. Sharp, crisp, clean.
I initially wanted to post this cake last weekend, however catastrophe struck and the cake was a mess. Who knew you could ever have too fluffy of a cake? The layers I baked simply fell apart in my hands. Sad because it did taste good. Sad because I spent so much time whipping up the batter. Sad because the pistachios cost me $14.99 a pound... Back to the farmers market I went so I could post these pictures today. It's been a while since my last post about those strawberries and cream scones. I am determined to keep up with this blog!
I love the color green, perhaps that's why I love pistachios!
I also had to brainstorm what design I wanted to decorate the cake with. I ended up jet doodling sketches of this cake curing calculus. I kid you not, the guy to my right was just doodling memes while the guy to my left checked out into la la dreamland for the period. Within my vicinity I was the most productive. No worries, I will hop right onto calculus studying this weekend!
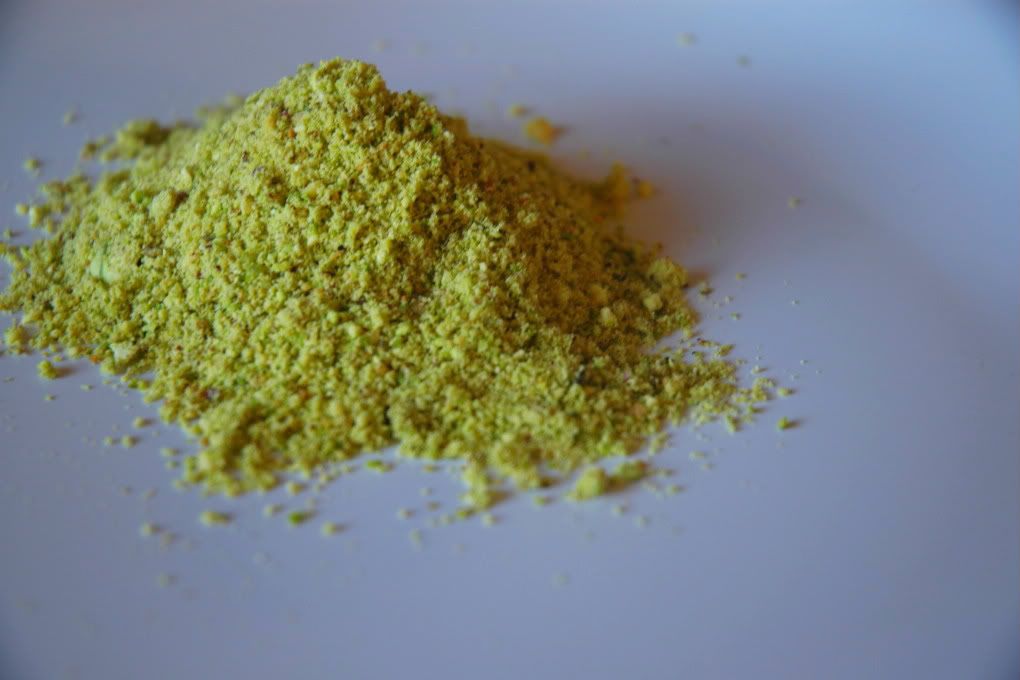
The funny thing about this cake was that I thought I would have saved money by buying pistachios and shelling them myself. I bought a jar for $5.00 and to my dismay the shelled pistachios fill up a quarter of the volume of the container. Talk about a moment of utter despair when I just stared at the bowl of shells and then the pathetic jar of pistachios. Words of advice, just buy unsalted shelled pistachios. Save yourself the anguish.
This cake has fine crumb almost like a chiffon, but it is also dense. The pistachio flavor came out well, and the green hue is simply delicate. The cherries added a bit of tartness and the rose added a hint of a floral note to tie it all together. I also used the delicious buttercream frosting from Cherry Choc Cupcake. I posted the scaled down version I used below using marscapone, but definitely check out her post. This was definitely a fun cake for me to make despite the bumps in the road. Enjoy!
Pistachio Chiffon
Yields one 20 x 16 inch jelly roll pan
INGREDIENTS
  • 120 grams cake flour
  • 160 grams sugar
  • 50 grams finely ground pistachios
  • 1/2 teaspoon baking powder
  • 1/4 teaspoon salt
  • 2 1/2 egg yolks
  • 1/3 cup water
  • 1/4 cup melted butter
  • 1 teaspoon vanilla extract
  • 4 egg whites
  • 3/4 teaspoons cream of tartar
DIRECTIONS
Preheat oven to 325 degrees fahrenheit
  1. Combine the flour, sugar, pistachios, baking powder, and salt in a large mixing bowl.
  2. Whisk together the egg yolks, vanilla, water, and melted butter. Pour this liquid into the dry ingredients and whisk to combine.
  3. Put the cream of tartar into the egg whites. Beginning on low speed of a mixer, beat the egg whites. Increase the speed gradually to obtain soft peaks.
  4. Fold the egg whites into the batter in 3 additions. Pour into a parchment paper lined pan and bake until golden. Roughly 15 minutes for a 20x16 inch jelly roll pan.
Marscapone Buttercream
INGREDIENTS
  • 1 cup sugar
  • 2 1/2 tablespoons flour
  • 2 tablespoons cornstarch
  • pinch of salt
  • 1 cup milk
  • 1 teaspoon vanilla extract
  • 4 oz marscapone
  • 2 sticks unsalted butter, room temperature 
DIRECTION
  1. Whisk together the sugar, flour, cornstarch, salt, and milk. Pour through a sieve to get any chunks out, and cook the mixture over medium heat, stirring constantly until it becomes thick. Allow to cool to room temperature.
  2. On medium speed of a mixer, beat the cooked milk mixture for a few seconds, and then begin adding in the butter a few tablespoons at a time. Once all the butter is incorporated, add in the marscapone.
  3. Beat the buttercream until fluffy, and then add in the vanilla. Use immediately.
  4. To get the cherry rose filling, add in some finely chopped dried cherries and a drop or two of rose essence depending on how you divvy up the frosting.  

Sunday, March 25, 2012

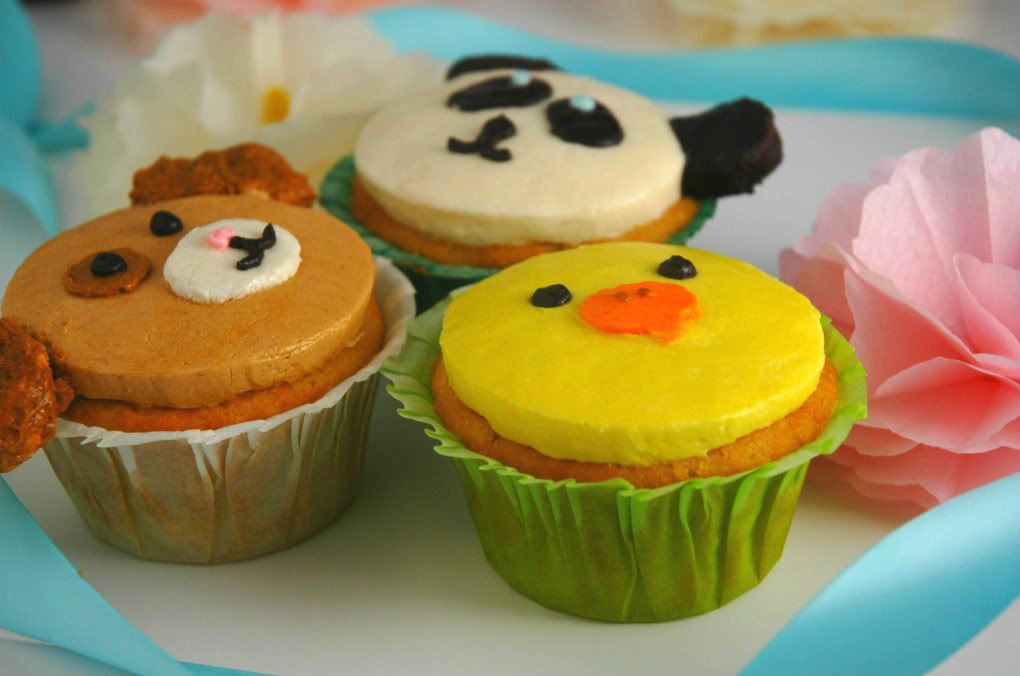
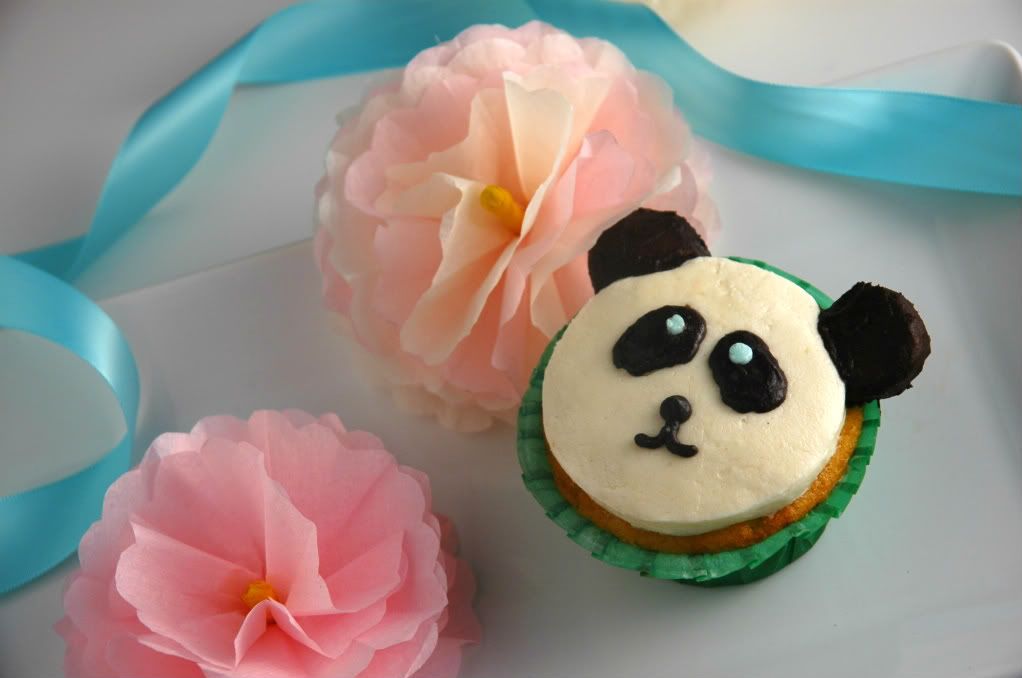
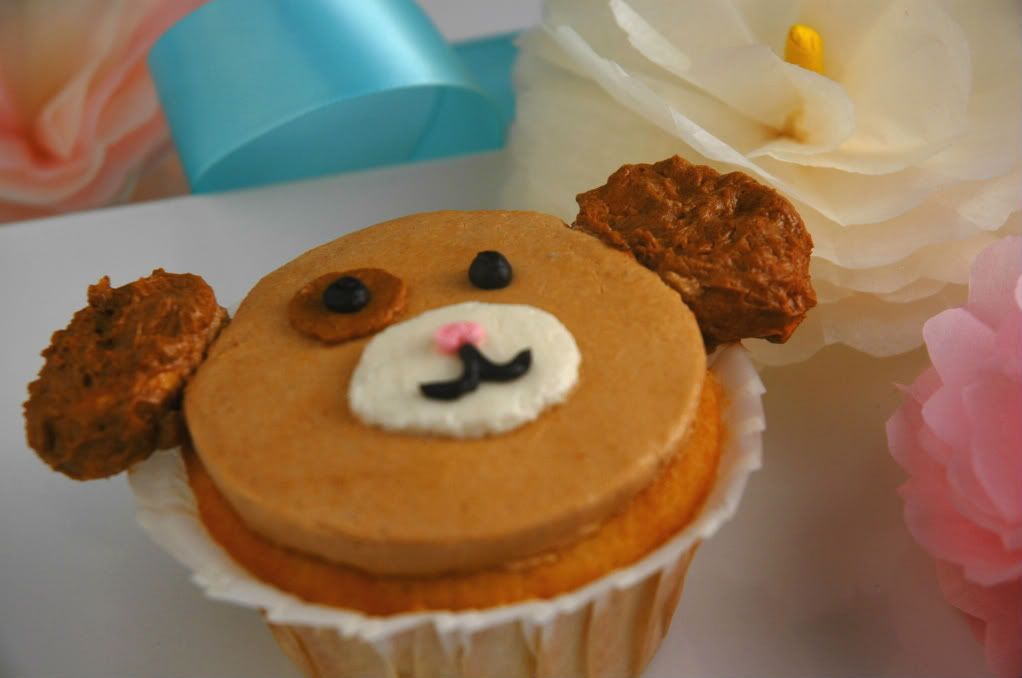
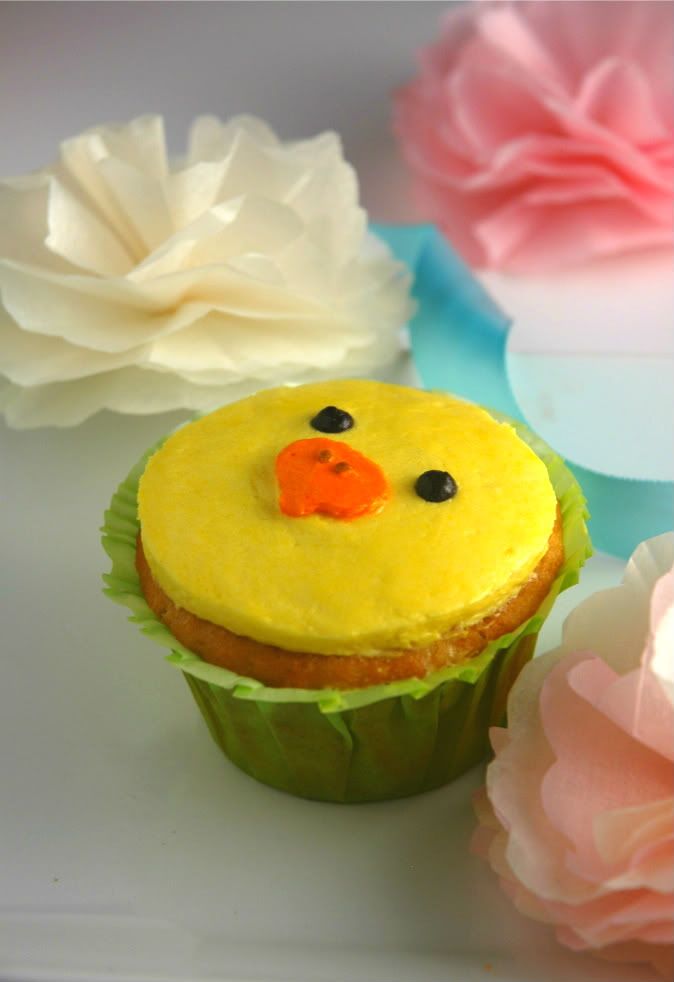
Cute Critter Cupcakes

Pin It
Spring is officially here! It's been inexplicably warm lately. Scratch that, sweltering. Both Thursday and Friday emulated the heat of summer. Imagine two straight hours of class at high noon sitting under the beating sun... in jeans! Sweat fest much. Where are the drizzles of rain, the light breezes, the crisp air?
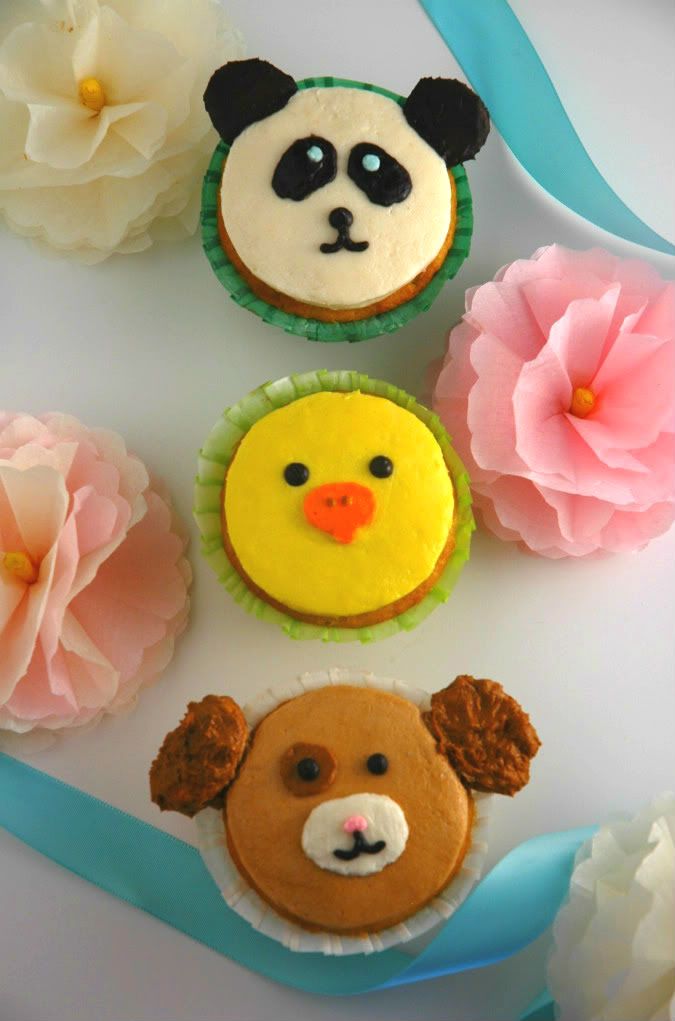
The panda freaks me out a bit... My mom though it was cute though!
On the bright side it is Spring break, which means plenty of time to relax, study a bit, and catch up with old friends. Of course I'm going to bake like a maniac. I'm thinking strawberries and cream scones tomorrow morning. Peaches and cream? We'll just see what flavor I am craving when I wake up.
This is NOT the cupcake recipe below, but the first recipe I tried had an interesting method of crumbling butter into the flour to make a sandy mixture. Unfortunately these cupcakes collapsed:(
I am obsessed with the Draw Something app for the iPod touch/iPhone. It is the new Words with Friends and it has swept the nation it seems. I think what makes it so entertaining is the fact that you can watch the process of the person drawing the word. My sister had to draw the word "pregnant". At first it looked like an alien parasite in someone's belly, and then it looked like a spider hugging a person. That sense of satisfaction when the epiphany strikes you makes the game worth while. It's worth it even if you get stuck staring at the screen, rotating the iPod because you think if you look at it from another angle the amoeba looking doodle will start to resemble something. HAHA. 
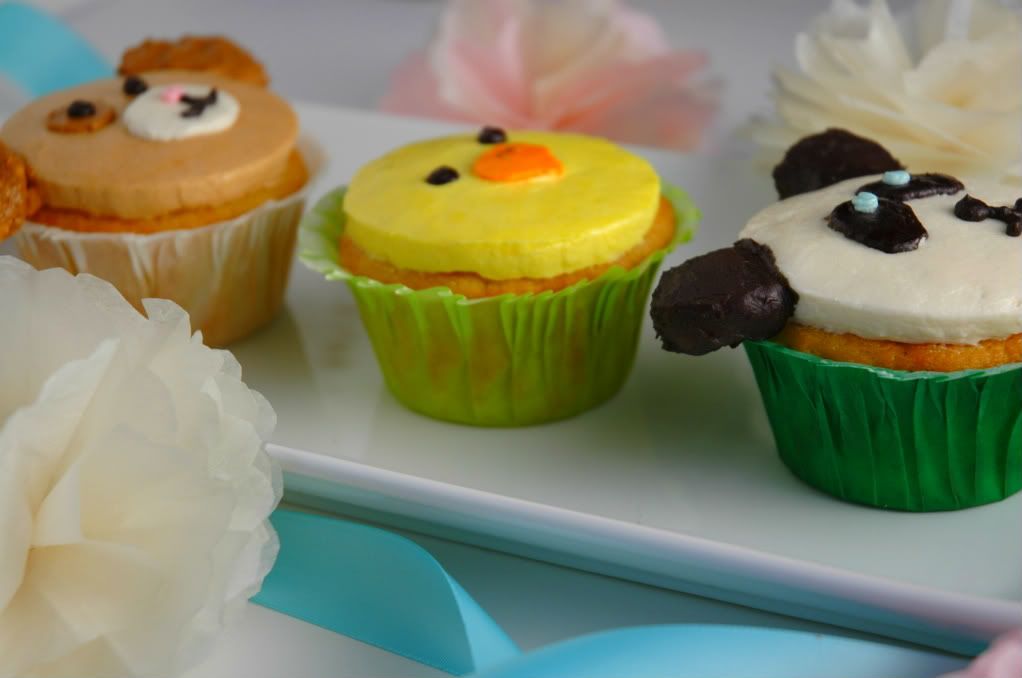
These cupcakes took forever. Surprisingly not as long as the cupcakes from my cupcake wars battle earlier this month. I bought gel food coloring and that made the colors very vivid without altering the texture of the buttercream one bit. Using fondant or modeling chocolate probably would have been the easier route to make the facial features, but unfortunately I had neither on hand. I just stood in the kitchen for two hours smoothing out the buttercream. It was well worth it. The little chuckle my dad gives me as he walks by my baking projects is the seal of approval of mission adorable/cute accomplished.
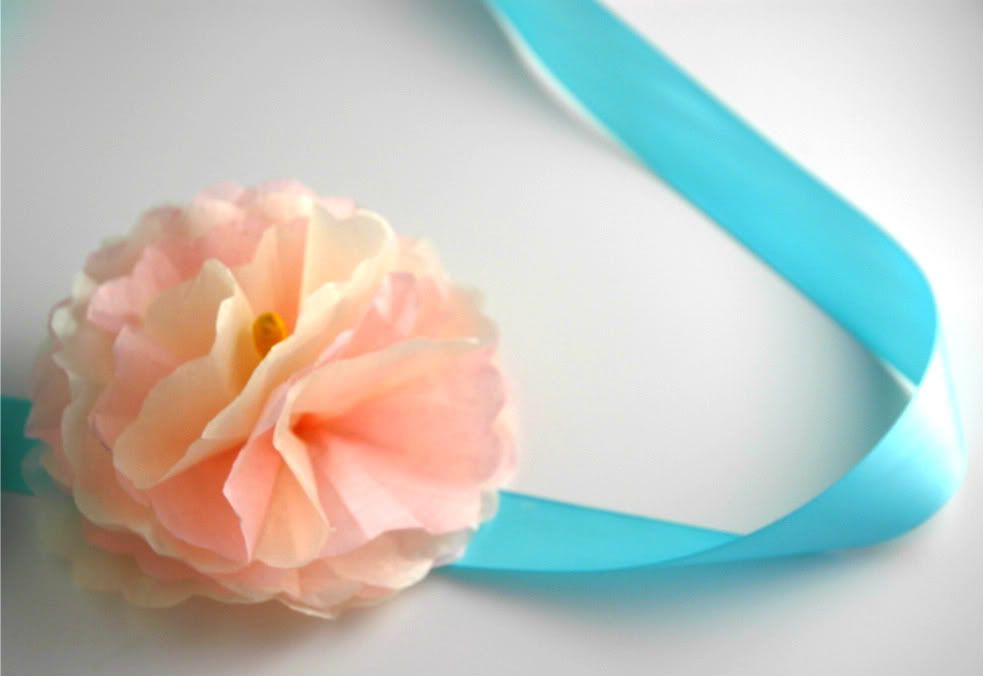
Pretty pink tissue paper flower I made
Try out the recipe below! The little chickadee would be perfect for Easter, the puppy for a birthday party, and well the panda is just random quite honestly. The cupcakes were absolutely delicious. One of the best yellow cake recipes I've made. Use any vanilla buttercream you desire, but I do recommend using one that does NOT crust, unless you are a lightning fast froster/decorator. The ears are simply sliced marshmallow pieces frosted in the buttercream. Enjoy!
Classic Yellow Cake
From The Smitten Kitchen
Yields 12 cupcakes
INGREDIENTS
  • 240 grams cake flour 
  • 1 teaspoon baking powder 
  • 3/4 teaspoon baking soda 
  • 1/2 teaspoon salt 
  • 1/2 cup unsalted butter, room temperature
  • 200 grams sugar 
  • 1 teaspoon vanilla 
  • 2 eggs 
  • 1 cup buttermilk
DIRECTIONS
Preheat oven to 350 degrees Fahrenheit
  1. Sift together the flour, baking powder, baking soda, and salt into a bowl and set aside.
  2. On medium speed of a mixer, cream together the butter and sugar until light and fluffy. Add in the buttermilk and vanilla. It will look very curdled at this point.
  3. Add in the eggs one at a time. 
  4. Mix in the flour on low speed in three parts. Be careful not to over mix. Spoon into cupcake liners until 3/4 of the way full and bake for 15-20 minutes or until golden brown. 

Friday, February 3, 2012

Snow Day:)

Pin It
When life gives you a snow day, you make CAKE!
The first thing I saw this morning. My face = ^o^
The wishing and hoping, the praying and dreaming for the first snow day of the year paid off! Quite honestly though, I probably wouldn't have had stepped outside into the snow even if there was class today. Heck, the whole state should have shut down. Who in their right minds would want to go into the wind and snow?
I sprinkled the top with a bit of sanding sugar for a little sparkle!
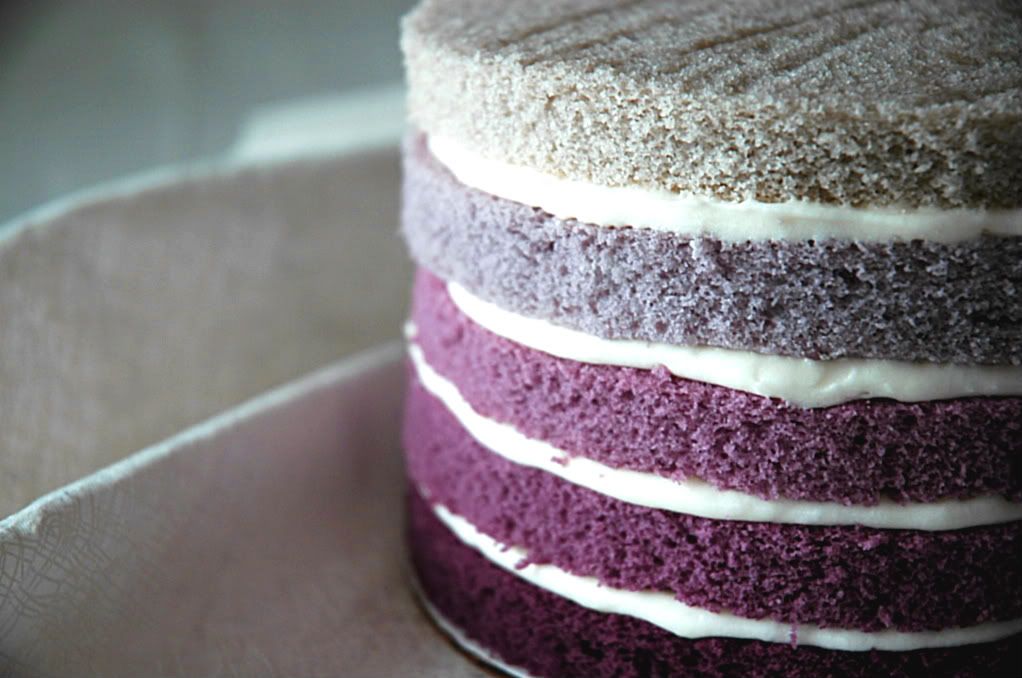
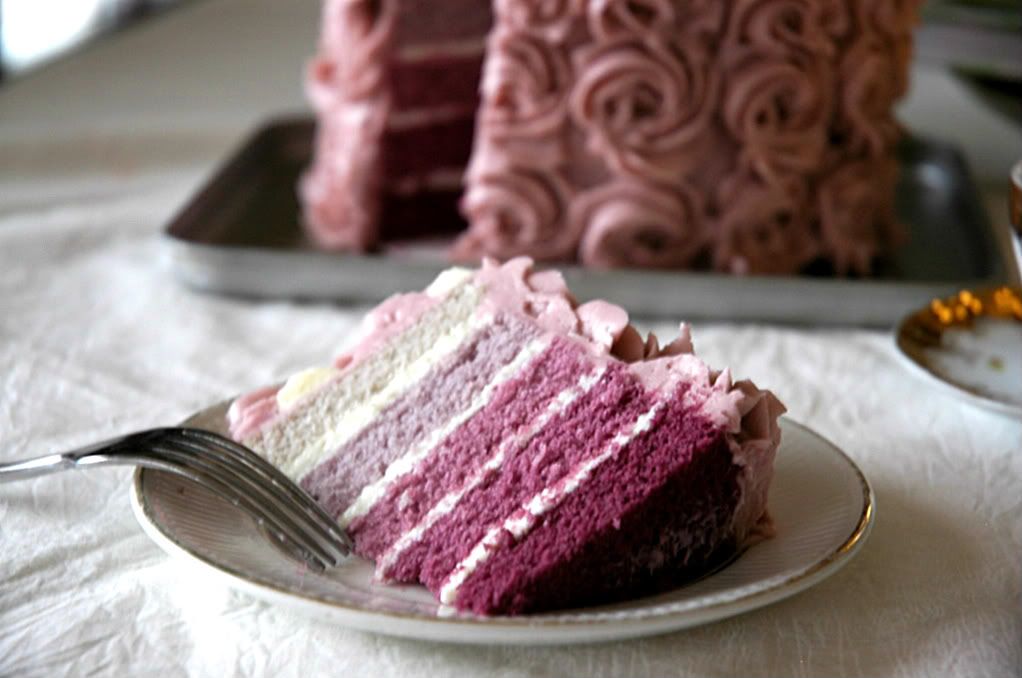
I must admit that indeed it is was pretty outside this morning and throughout the afternoon. Beautiful snowflakes clinging onto the window as the wind swirled the rest of the snow throughout the air. Still, I wouldn't go outside into the winter wonderland. Instead, I slaved over the oven to make an ombre cake! I contemplated the color for a while. One sister wanted pink, the other purple, and I wanted blue... The difficulties of opinions!
I went ahead and took another go at the Magnolia vanilla cupcake recipe. Past experience has led to dense, dry, flavorless cake. This time I used the last of my cake flour and I do believe that resulted in success. The cake is moist and fluffy! I'm embarrassed to even say I disregarded this recipe!
Ooooo! I LOVE the hues of purple<3
Excessive use of food coloring disturbs me, and yet I think there's a level of whimsical appeal that you can only achieve with well, red-90 or yellow-06 dye. The cake is a lovely gradient of purple, but my finger tips are stained blue and red. My thumb looks like I have frost bite because it's so blue. However, that would never be the case because let's stress again that I'm not going into the blizzard. Next time I play with coloring, I will wear gloves!

Nothing too experimental here today. Check out the Magnolia Vanilla Cake recipe here (you may want to substitute all the flour with cake flour instead), and the tasty vanilla buttercream here. Enjoy! And for those who were fortunate enough to bum around like me today because of the blanket of snow, let's raise our glasses of hot cocoa and relax for the rest of the weekend. 
Related Posts Plugin for WordPress, Blogger...
Pin It button on image hover